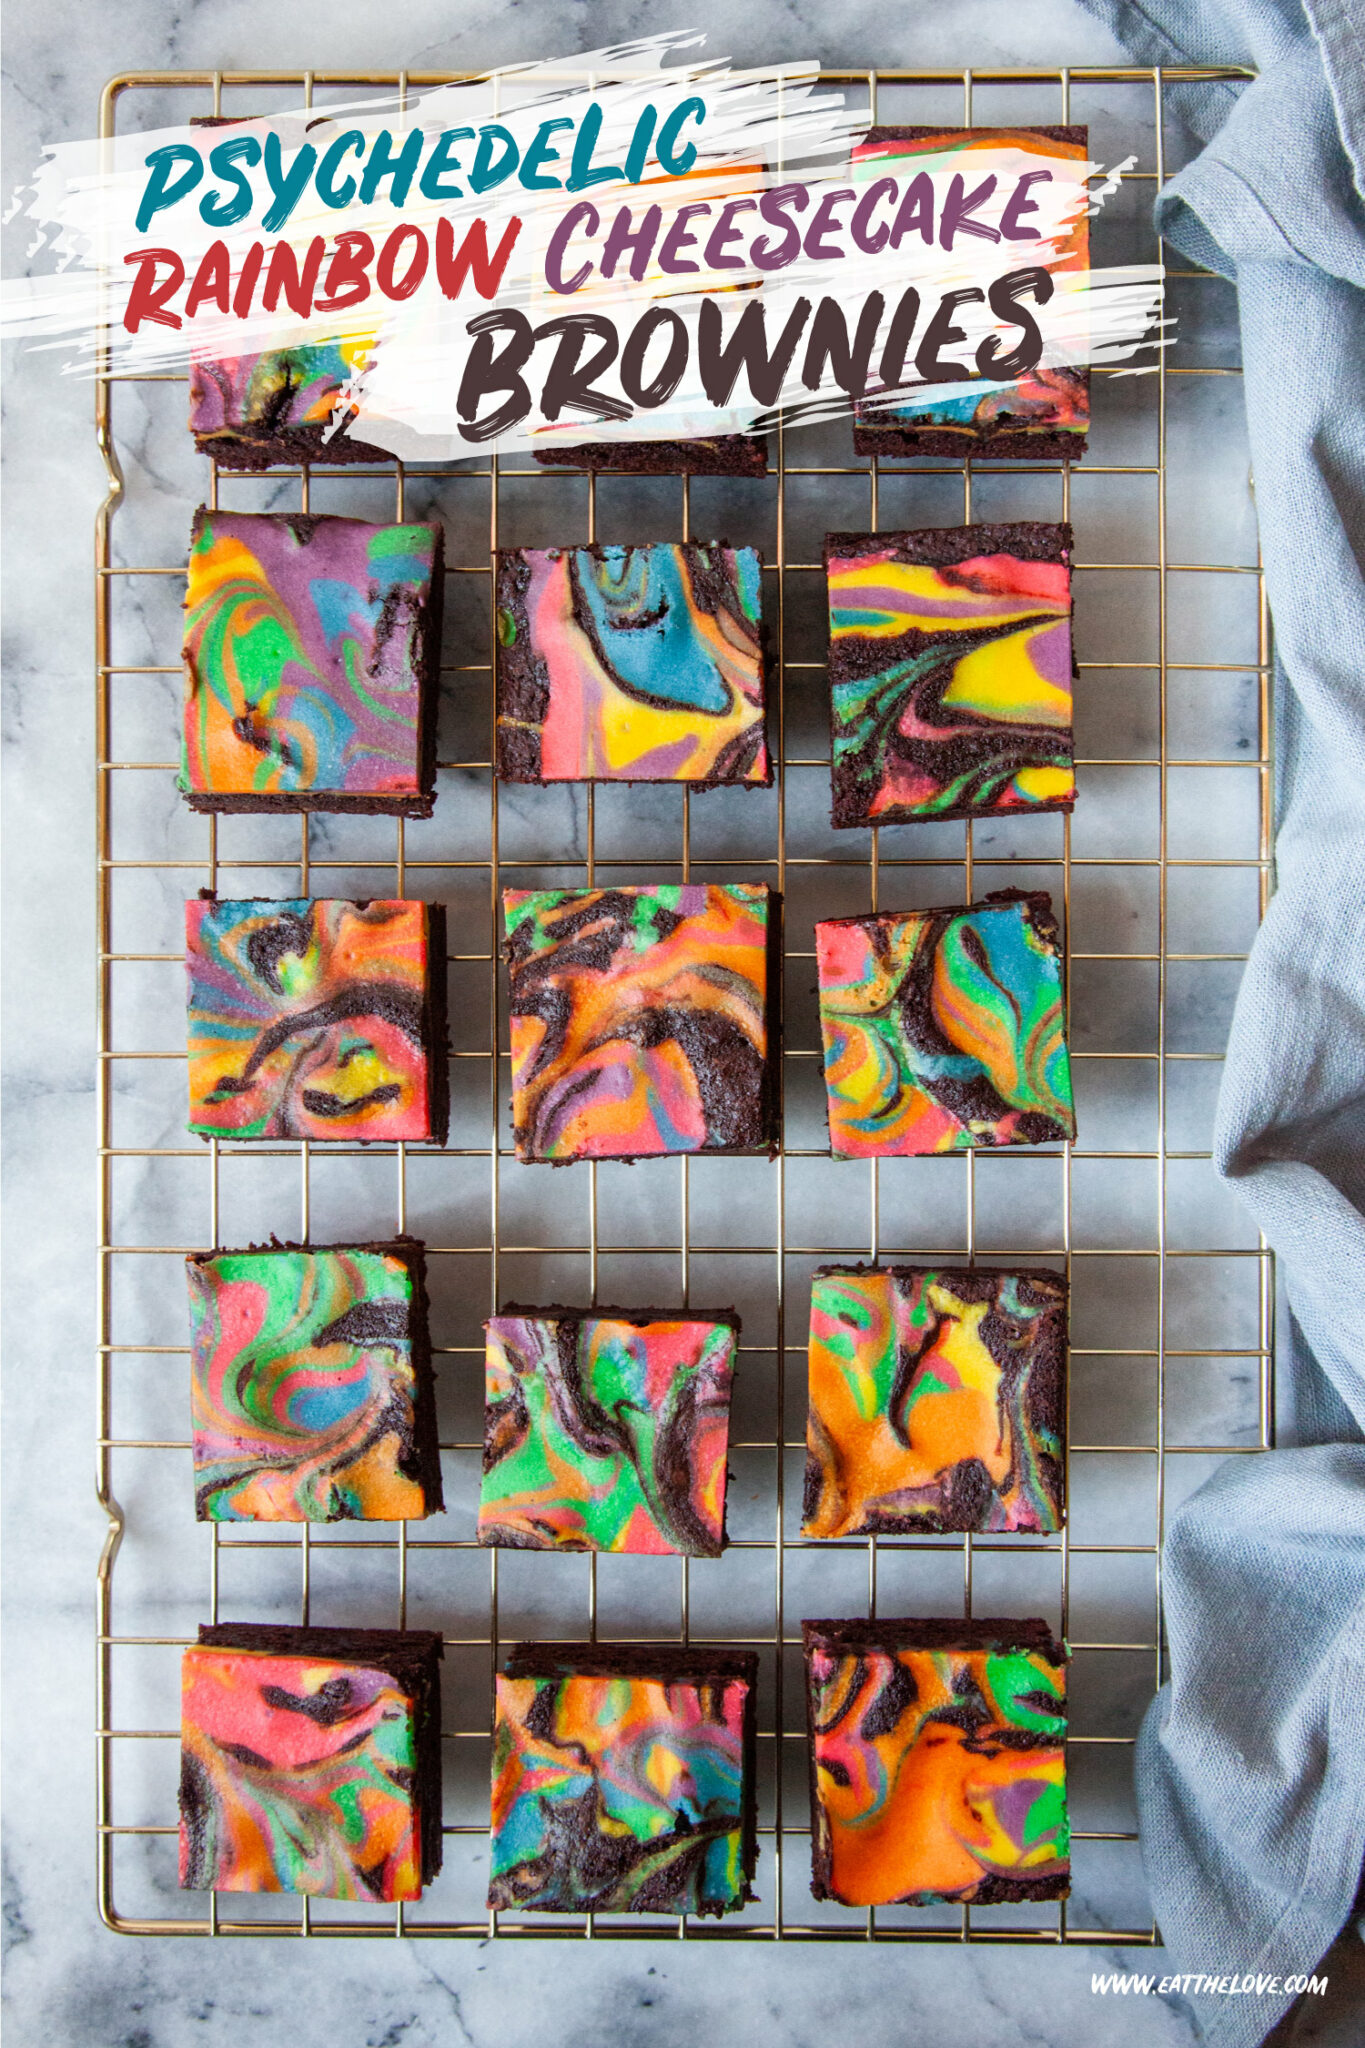
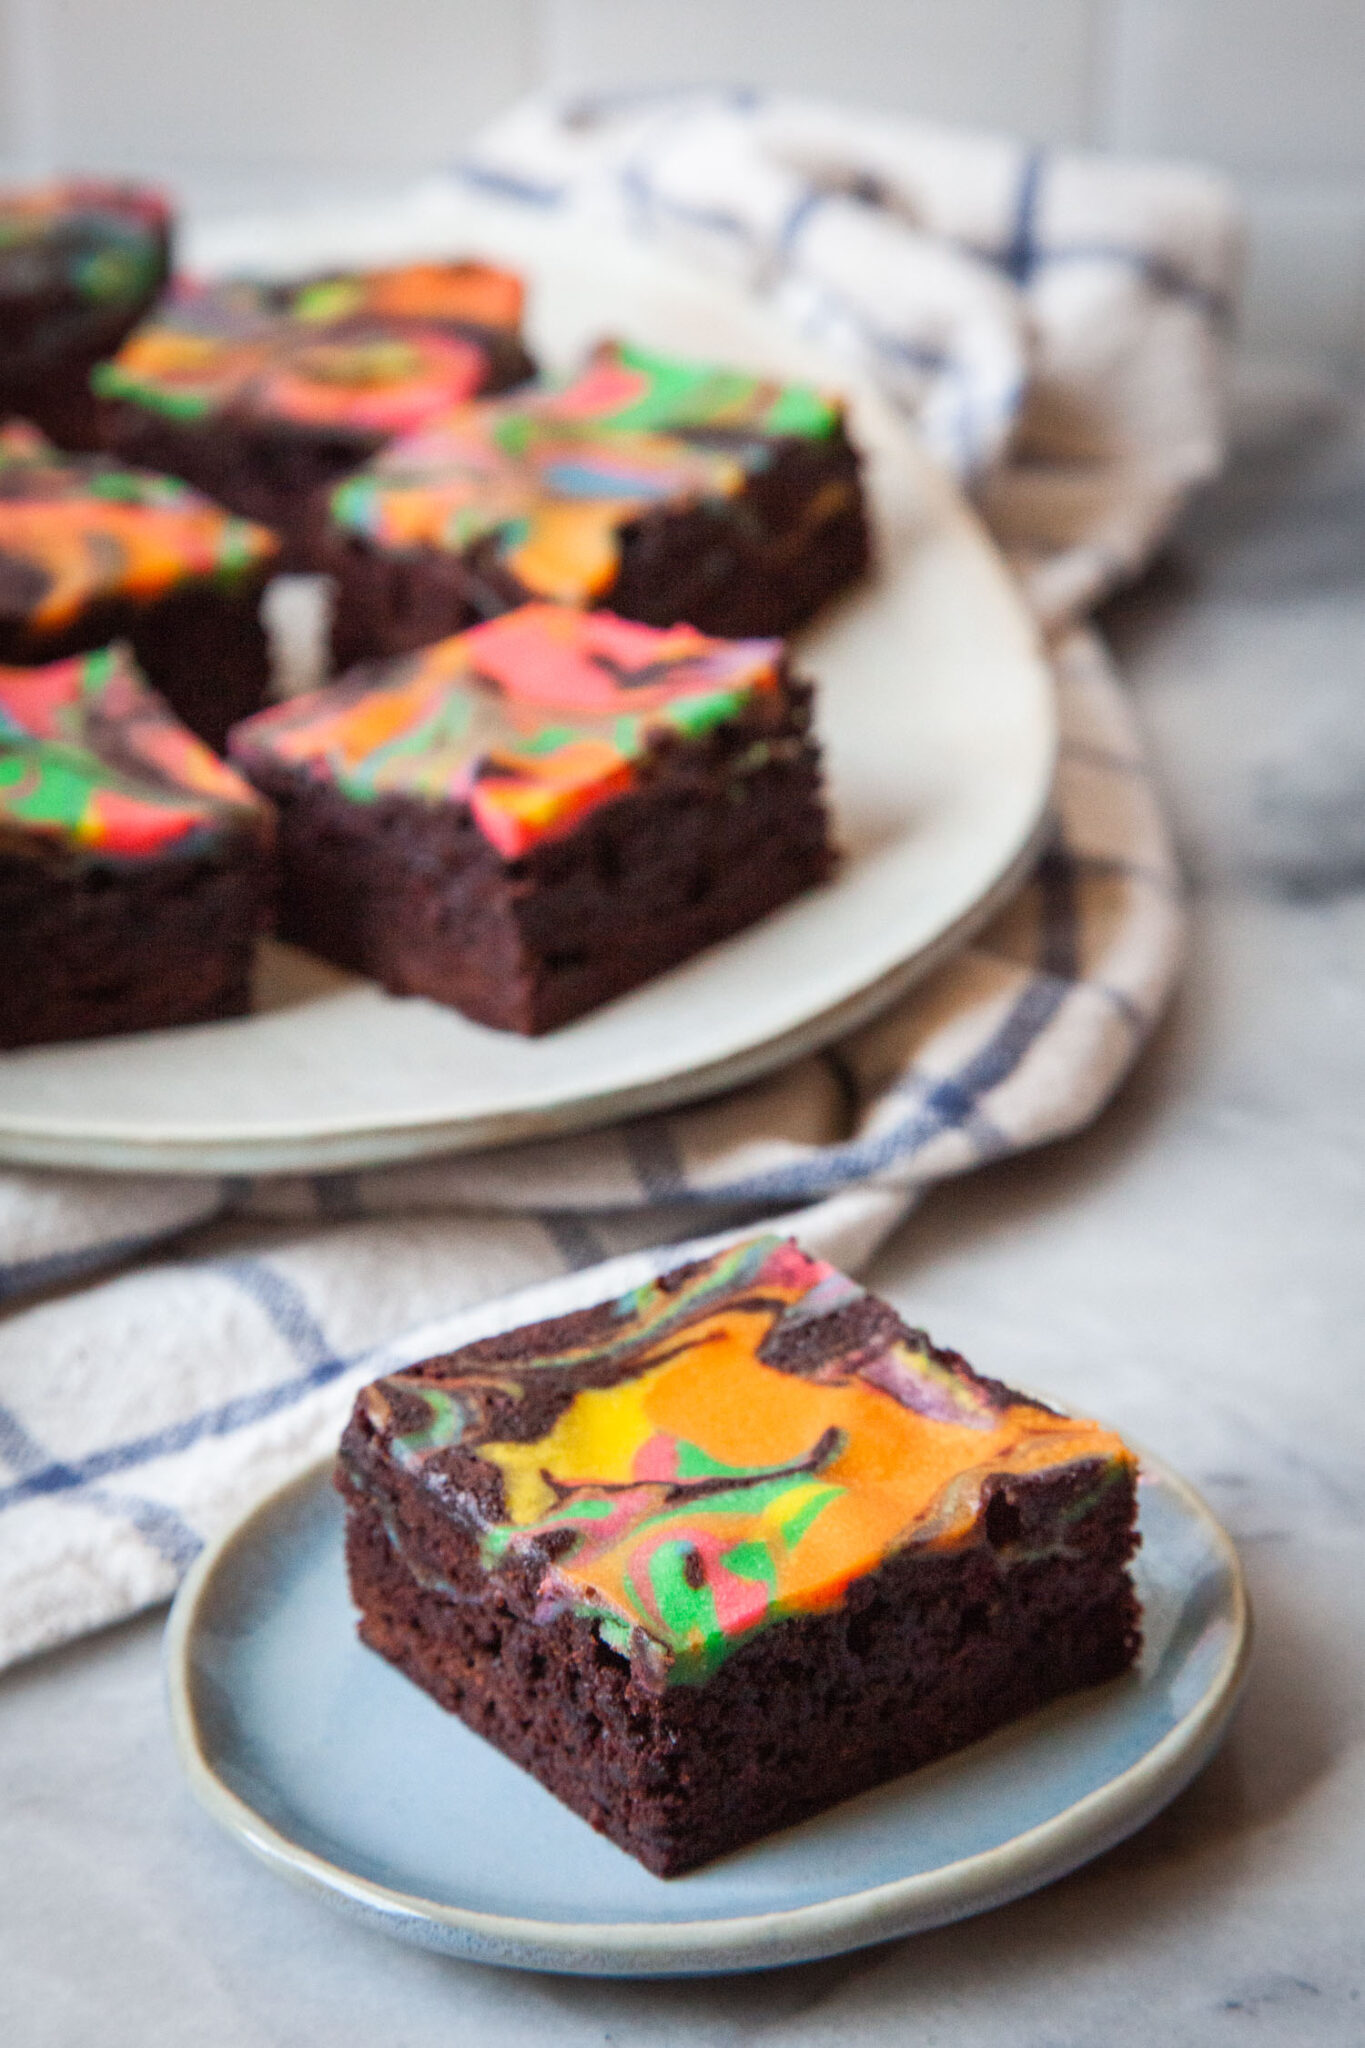
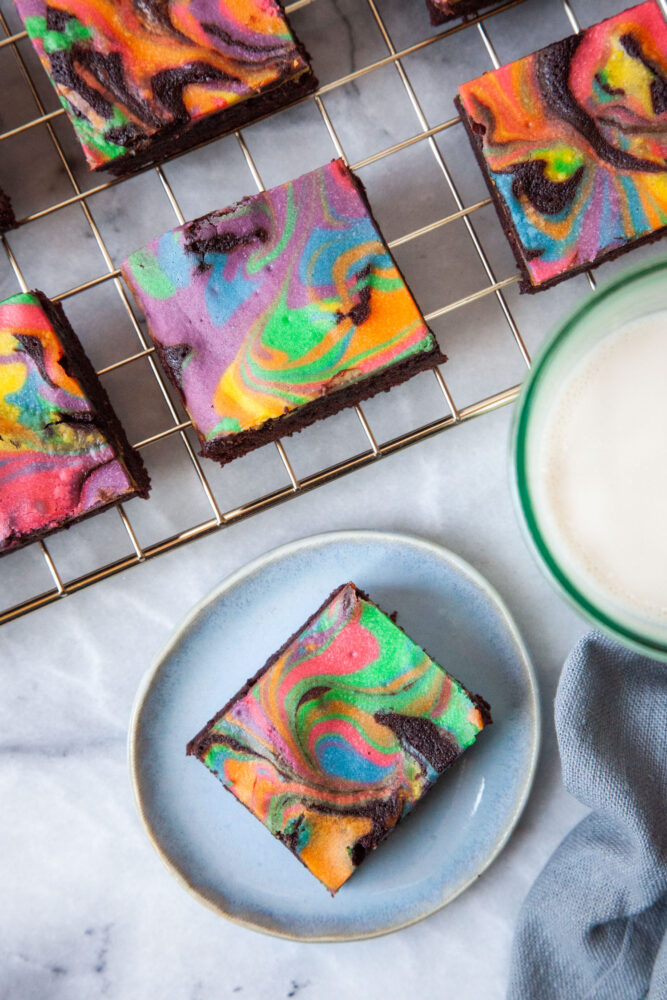
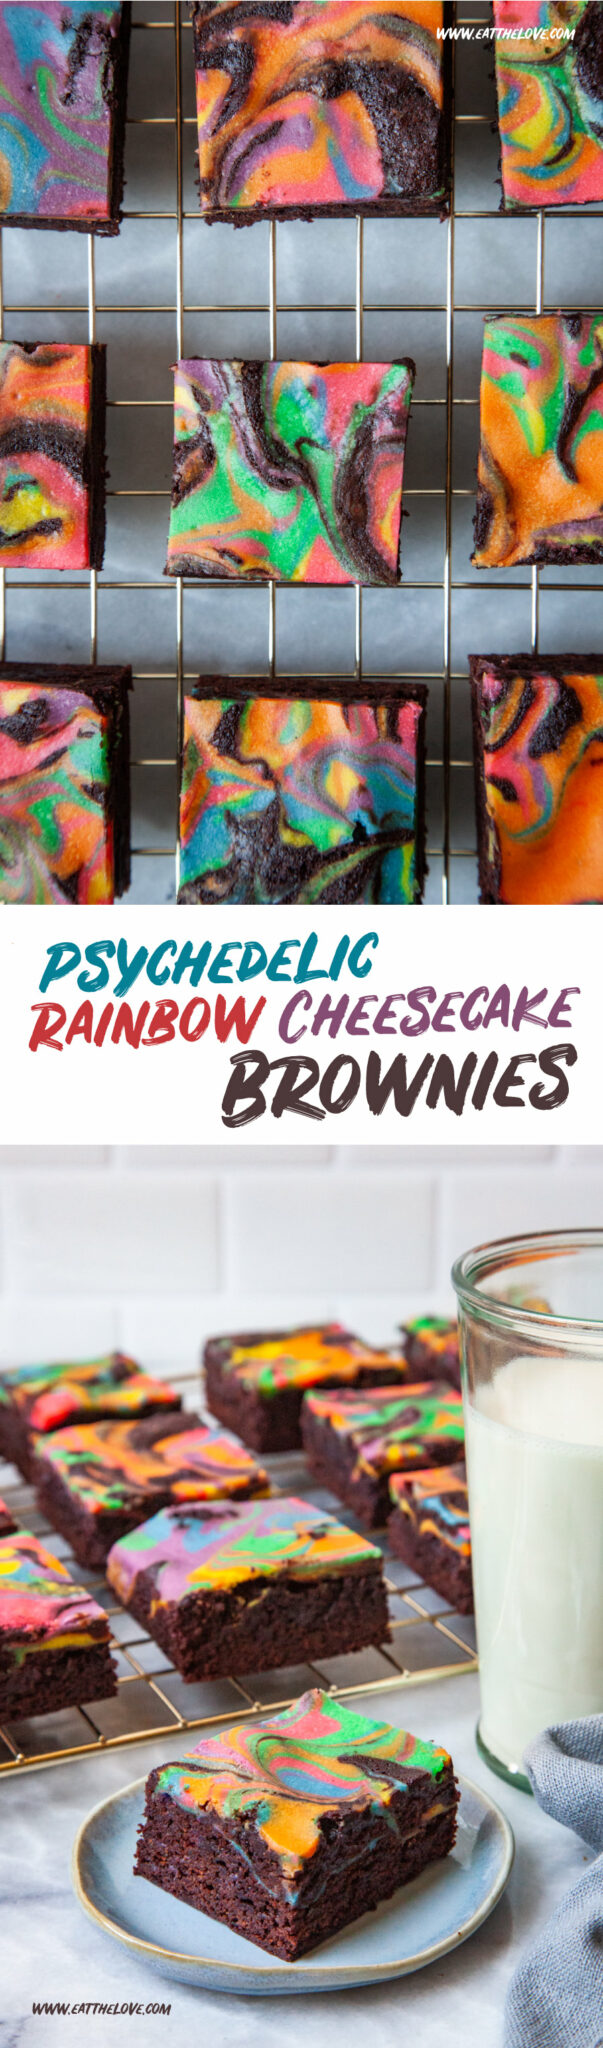
These psychedelic rainbow cheesecake brownies are a vibrant version of regular cheesecake brownies but only take a little more time to make!
Though I was late to the rainbow bandwagon (which is surprising as a gay man), in the past few years I’ve fully embraced baking rainbow goods, especially when it comes to June which is Pride month. I’ve made rainbow chocolate chip cookies and rainbow layer cake with chocolate frosting. And I’ve even made rainbow rice krispie treats for my friends over at Simply Recipes.
But rainbows are an all-year and anytime sort of thing! Especially when it comes to these super fun, psychedelic-inspired rainbow cheesecake brownies. They’re based on my favorite easy fudge brownie recipe, and similar to my Neapolitan cheesecake brownies, but with the added bonus of a brightly colored fun cheesecake swirled on top. Once you set them out, expect your friends and family to swoon over them.
How do you make these rainbow cheesecake brownies?
Making these rainbow cheesecake brownies takes slightly more work than more traditional cheesecake brownies but don’t stress. It’s basically the same recipe and idea as a more tradition cheesecake brownie, you just need to divide the cheesecake batter and add food coloring to it.
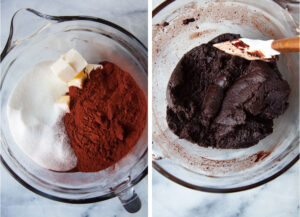
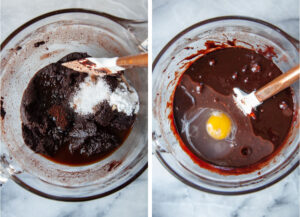
First make the brownie batter by combining melted butter, sugar and Dutch-processed cocoa. Then add vanilla, salt, instant coffee and baking powder. Beat in eggs and then fold in flour. Scrape into a prepared pan and smooth out to an even layer.
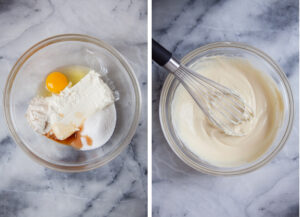
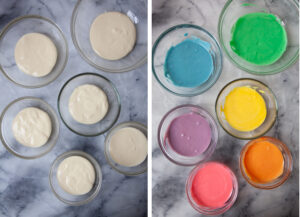
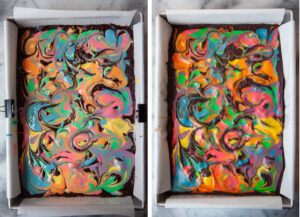
Make the cheesecake batter by beating together softened room temperature cream cheese, egg, sugar, vanilla and flour. Then divide the batter into 6 different bowls. Add food coloring to each bowl to create a range of colors. Drizzle the different colors all over the top of the brownie, then take a knife or chopstick and swirl and marble the colored batter. Now bake and let cool completely before cutting and serving.
What sort of food coloring should you use?
This recipe works with the typical grocery store liquid food coloring, the kind that comes in the teardrop bottles. But you can use professional gel food coloring if you wish. You will need more liquid food coloring and less gel food coloring.
I don’t recommend natural dye food coloring. The natural dyes tend to fade when heated and baked, and they rarely give as intense a color. They are better for non-baking applications like royal icing or buttercream frosting.
If you use professional gel coloring, add the coloring with a toothpick dab, or use a single drop of the gel, as the color is significantly more intense. Add more if desired.
This is amount I used for grocery store liquid food coloring, though your food coloring might vary in intensity depending on the brand. Start with a little bit less coloring and adjust by adding more.
- Yellow: 4 drops liquid food coloring (the batter is already a yellowish tinge to it, so less coloring needed)
- Green: 8 drops liquid food coloring
- Blue: 8 drops liquid food coloring
- Purple: 4 drops red, 3 drops blue liquid food coloring
- Red: 6 drops liquid food coloring
- Orange: 6 drops yellow, 2 drops red liquid food coloring
Keep in mind that food coloring often intensifies slightly once you bake it and let it cool and set.
What sort of cocoa should be used?
I use Dutch-processed cocoa in these brownies, as it gives a darker color that contrasts well with colored cream cheese. It also has a nice mellow richness as opposed to natural cocoa which tends to be more acidic and sharper. Dutch-processed cocoa is cocoa that has the natural acidity in cocoa powder neutralized and taken out. Popular brands include Hershey’s Special Dark (the red label), Droste, Ghiradelli’s Dutch-processed (the purple bag), and Guittard’s Cocoa Rouge cocoa (the red canister) [<- all affiliate links].
If you wish to use natural cocoa, or that’s all you have in your pantry, swap 1 cup of natural cocoa for the Dutch-processed cocoa and remove the baking powder from the recipe. Add in 1/4 teaspoon of baking soda instead. Using natural cocoa powder will change the color of the brownie base and shift the flavor and texture a bit, making it more cakey. But it’ll still be delightful!
Tips, tricks & customization
- Room temperature cream cheese and egg: To ensure a smooth cheesecake batter, make sure both the cream cheese and the egg are at room temperature. Cold cream cheese will lead to lumpy batter which is super annoying to work with. When I start making these brownies, the first thing I do before anything else is to place the cream cheese brick, still in the metal foil, and the egg in a warm water bath. The hot water from your faucet is typically warm enough. Leave the cream cheese brick and egg in the water for 10 minutes, which is roughly the time it takes to make the brownie batter. That’s usually enough time to bring both the egg and cream cheese to room temperature!
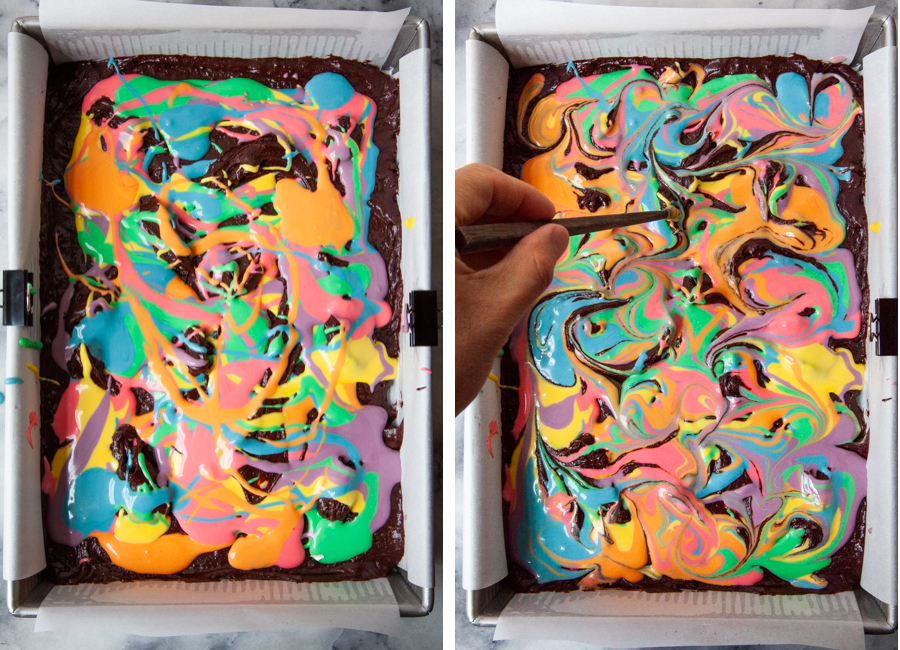
- Don’t over mix: When swirling the colored cream cheese batter, it can be tempting to continue to swirl and swirl together. But the more you swirl, the more the colors can blend together. Just a few swirls here and there are enough to create the psychedelic color blending! I like to use a chopstick, but a skewer, butter knife or a toothpick will work fine.
- Add ins: I kept this brownie pretty straightforward, with just the cream cheese and the brownie. But you can add in extras if you’d like! Some mix-in suggestions include: mini chocolate chips, finely chopped chocolate, mini m&ms, and chopped nuts. Just add in about 1 to 1 1/2 cups of the mix-ins to the brownie batter.
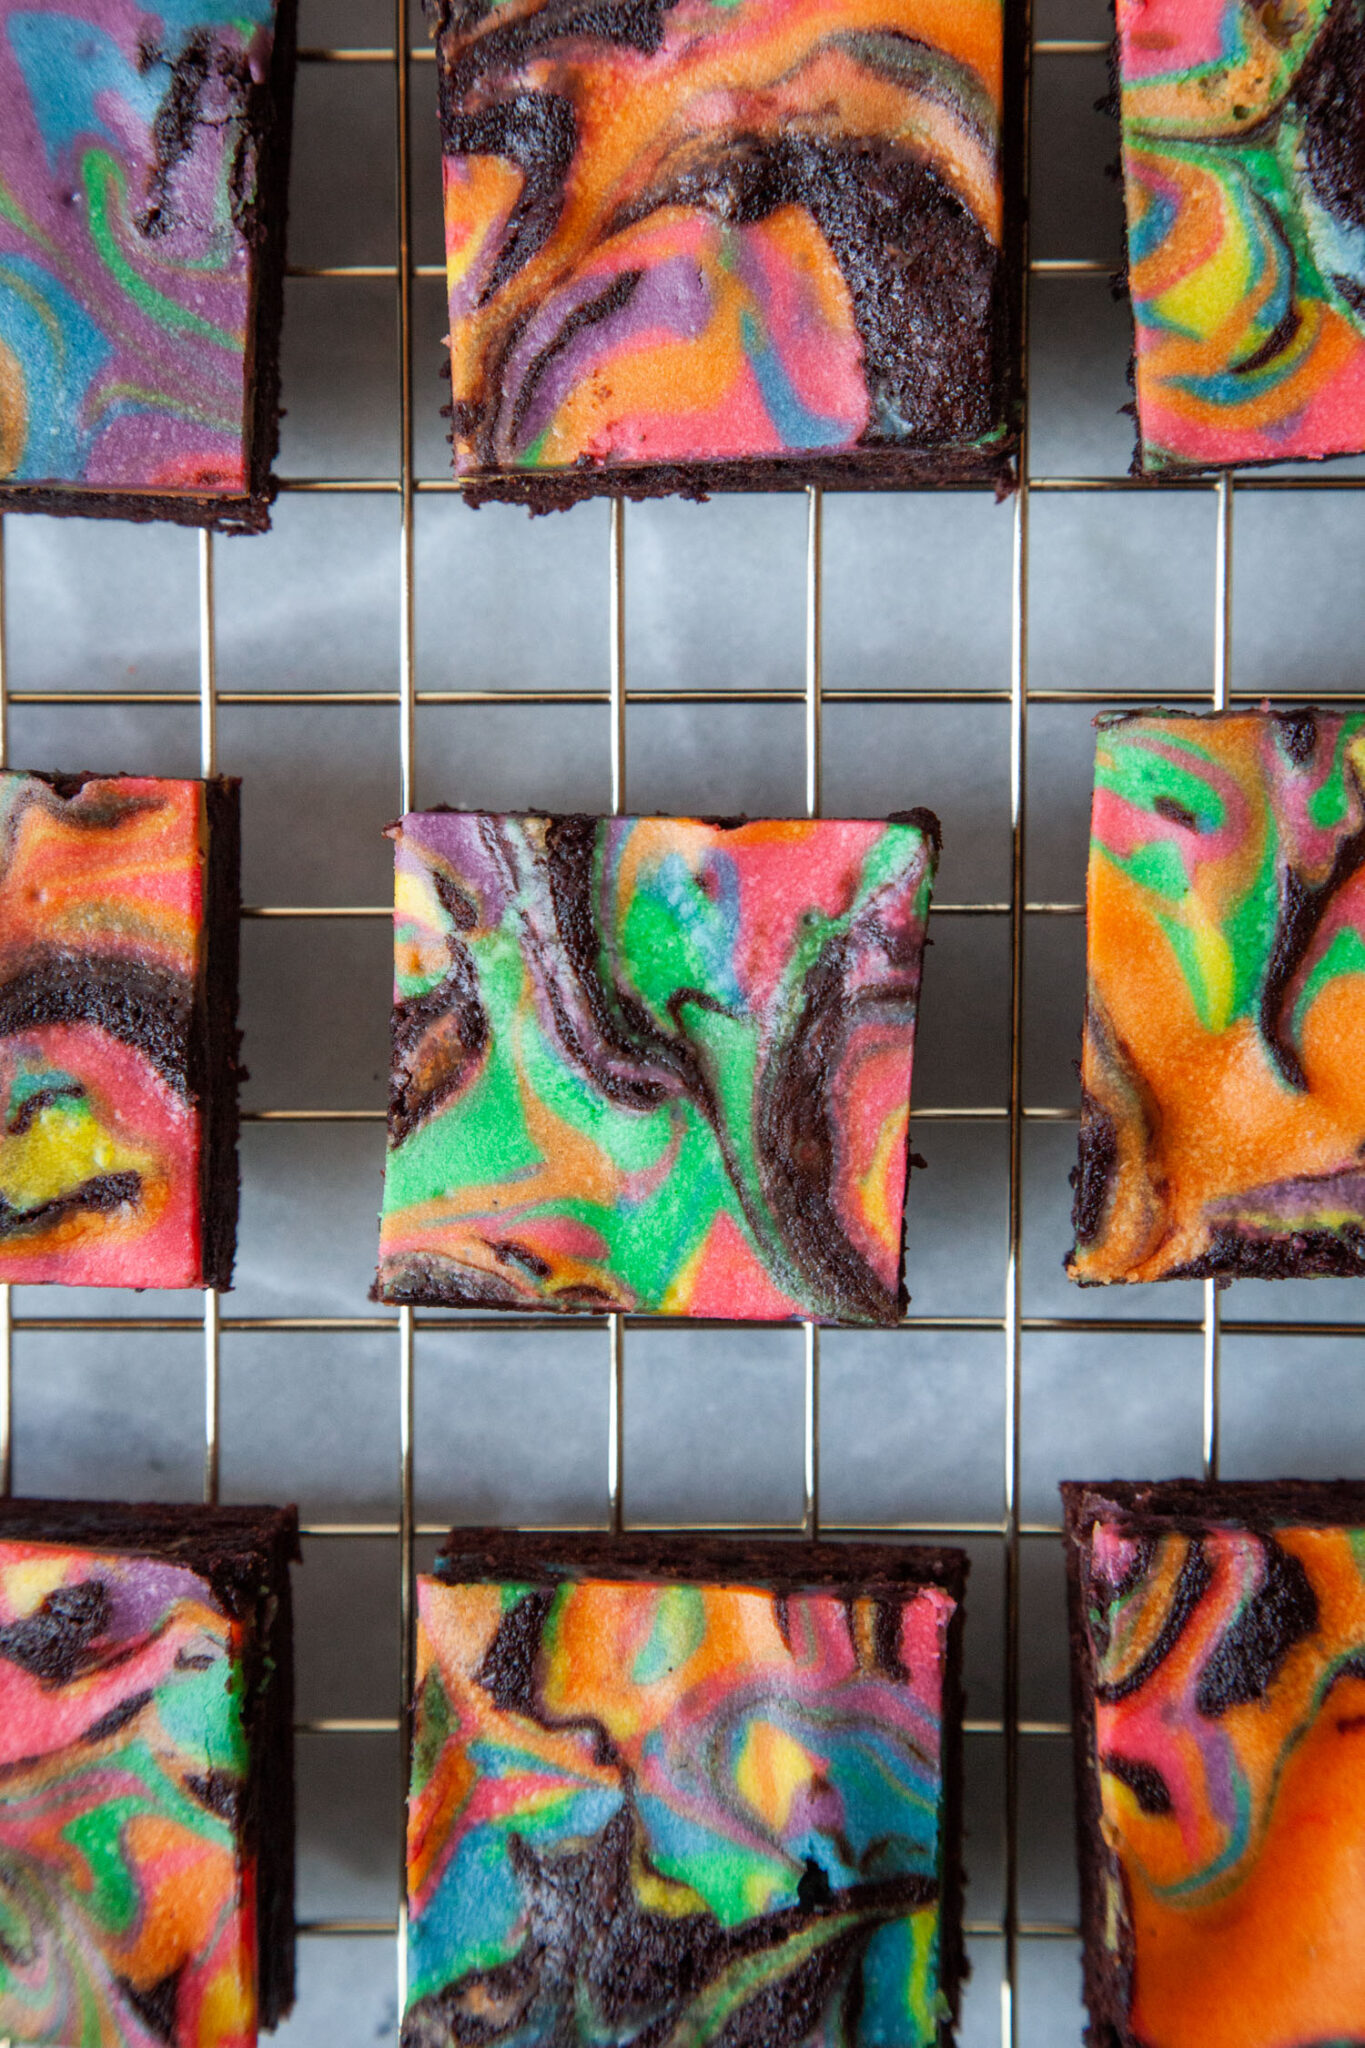
- Customize color: I made these with a full rainbow of 6 different colors but you can make them with less colors or make them more monochromatic. Having a baby shower? Make them with various shades of blue or pink. Throwing a Christmas party? Use red, green and white batter. Celebrating a trans friend’s milestone? Use pink, light blue and white batter. The options are limitless.
- Save some brownie batter (pro tip): I like to save just a little bit of brownie batter to place over the cream cheese batter. This ensure that you see some of the brownie on top as well. Otherwise, the cream cheese batter just covers up the brownie completely. This is completely optional, but if you do save the brownie batter, just thin it slightly with milk or water until it’s the same consistency of the cream cheese batter. Drizzle it on top of the colored cream cheese once you added all the colors. Then swirl away. No need to save a lot of brownie batter, a couple of tablespoons is plenty.
How do you store these brownies?
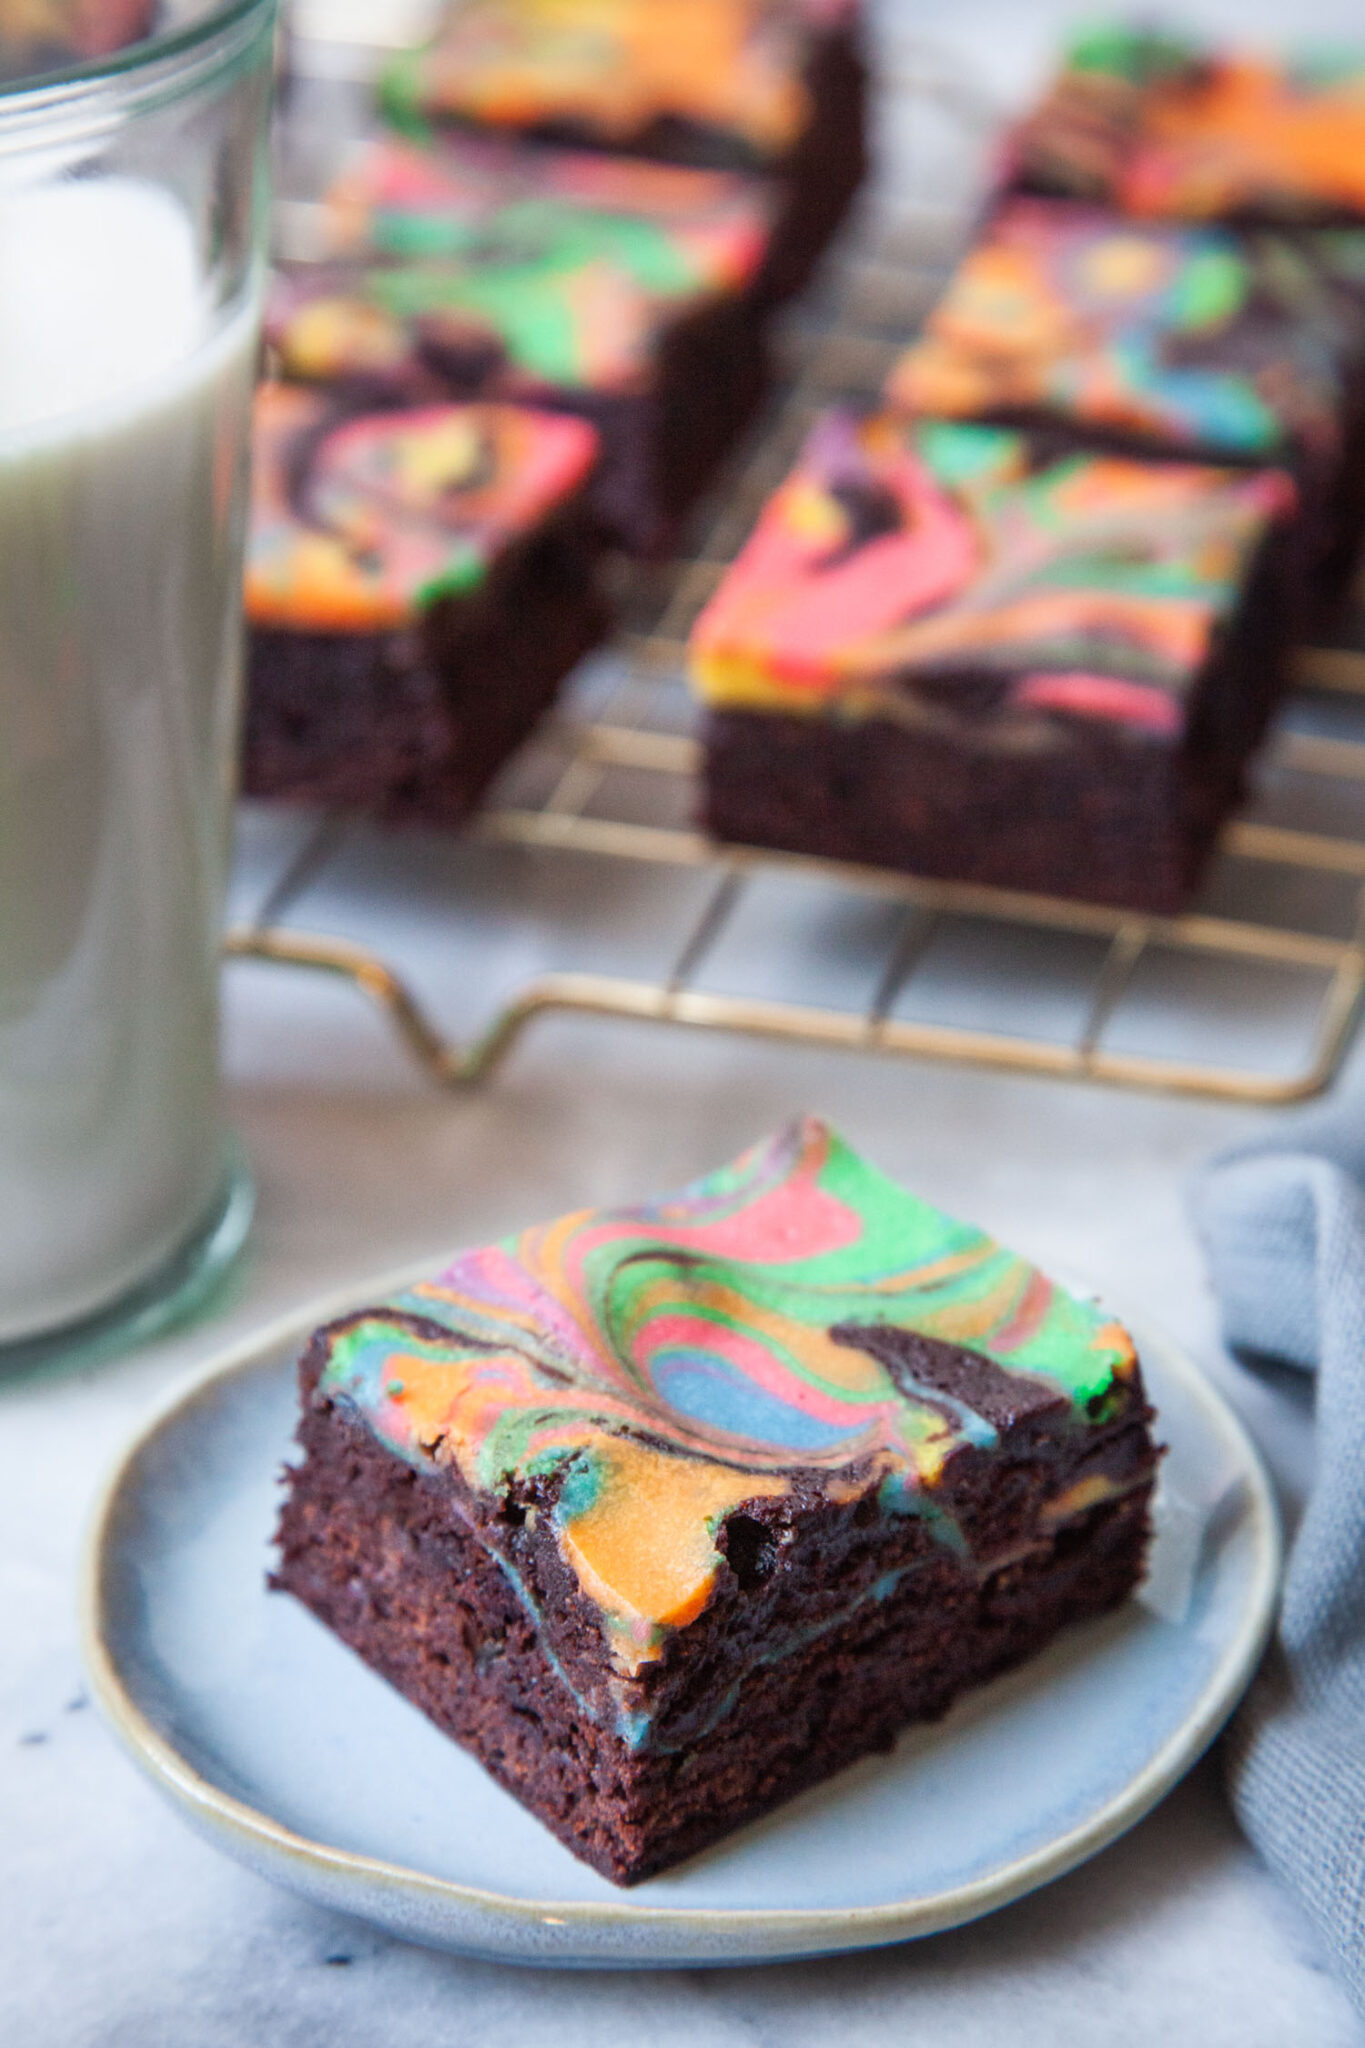
Store these brownies in the refrigerator in an airtight container for up to 5 days. If you stack them, place a piece of wax paper or parchment paper between each layer, as the brownies will stick to one another. Eat them cold or place them on the counter for an hour to bring them to room temperature.
You can also freeze these brownies. Store them in an airtight container, with wax or parchment paper between them, and freeze for up to 2 months. Thaw to room temperature before serving.
If you like these brownies, check out these other chocolate recipes:
- Pumpkin cheesecake brownies
- Peppermint Mocha Cheesecake Fudge Brownies
- Chocolate Banana Bread
- Hot Chocolate Cookies
- Double Chocolate Chip muffins
- Bakery-style Chocolate Chip cookies
- Marble Rum Cake
- Monster Cookies
And check out these other cheesecake recipes:
- Pumpkin Cheesecake
- Pumpkin Cream Cheese Muffins
- Pumpkin Pie Cheesecake Bars with White Chocolate Swirl
- Chocolate Strawberry Cheesecake
- Carrot Honey Cheesecake
- Lemongrass and Rhubarb Cheesecake
- Strawberry Rhubarb Buckle with Cheesecake topping
- Eggnog Cheesecake
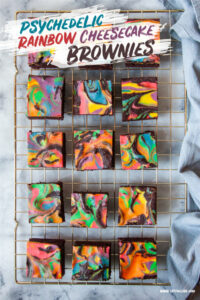
Psychedelic Rainbow Cheesecake Brownies
Ingredients
Brownie batter
- 1 cup unsalted butter 2 sticks or 225 g
- 2 cups white sugar 400 g
- 1 cup Dutch-processed cocoa 110 g
- 1 tablespoon vanilla extract
- 1 teaspoon kosher salt
- 1 teaspoon instant coffee or espresso powder optional but recommended
- 1/2 teaspoon baking powder
- 4 large eggs
- 1 1/4 cup all-purpose flour 175 g
Cheesecake batter
- 8 ounces cream cheese room temperature (1 brick or 225 g)
- 1 large egg room temperature
- 1/3 cup white sugar 67 g
- 1 teaspoon vanilla extract
- 2 tablespoons flour
- Food coloring see note above
Instructions
- Preheat the oven to 350°F. Lightly spray 9 x 13 x 2-inch metal pan with cooking oil. Then line it with parchment paper, leaving a 2-inch overhang on the sides.

- Make the brownie batter by first melting the butter in large microwave safe glass or ceramic bowl. Cook in 30 second bursts, stirring the butter between each interval. Once the butter is melted, stir in the sugar and the cocoa until they are dissolved. Don’t worry if the mixture feels a little grainy, that’s fine for this recipe.
- Stir in the vanilla, salt, instant coffee or espresso powder (if using), and baking powder. Then add the eggs, one at a time, beating with a fork or a whisk, until they are incorporated. Fold in the flour until it is just absorbed and there are no traces of dry flour left. Scrape the batter into the prepared pan and smooth out to an even layer with a small offset spatula or butter knife.
- Make the cheesecake batter by placing the room temperature cream cheese, egg, sugar, vanilla and flour in a bowl. Mix with a whisk until smooth and all the ingredients are blended.
- Divide the cheesecake batter into 6 different bowls. This doesn’t have to be completely even but it’s roughly 60 grams of batter each or about 1/4 cup. Add food coloring to each cream cheese bowl. I have suggestions on the amount of liquid food coloring in a section above (typically it’s somewhere between 6 to 8 drops), but you can just free form and add drops to the cream cheese until it reaches the color you want. Completely stir each color with a clean spoon to makes sure the dye is uniformly distributed. Keep in mind that the colors do intensify a bit once you’ve baked and let the brownie cool.
- Once all the batter is dyed, now comes the fun part! Drizzle the batter over the brownie batter randomly, making sure to use alternate different colors as you go. Don’t just drizzle all the blue batter, then move on to the green batter. Instead, drizzle some of the green, then some of the blue, some of the red, and then go back to green, then add yellow. You get the idea. If you constantly alternate, you’ll get more fun mixes of colors adjacent to each other. After you’ve used up all the colored cheesecake batter, the top of your brownie should look like a Jackson Pollack painting!Once the batter is added, take a chopstick, butter knife, skewer, or toothpick and swirl and marble the batter together. Don’t go overboard. You only need to do it a few times to swirl all the batter into a lovely pattern. More swirling potentially means you mix the batters together, and the fun psychedelic look of the batter is a result of keeping the colored batters separated.
- Once the batter is marbled on top, bake the brownies for 27 to 32 minutes or until a toothpick inserted in the middle comes out clean. Let the brownies rest and cool on a wire rack until they are room temperature.When cool, remove the brownies from the pan by lifting the parchment paper up and over to a cutting board. Cut the brownies and serve.

Nutrition
Leave a Reply