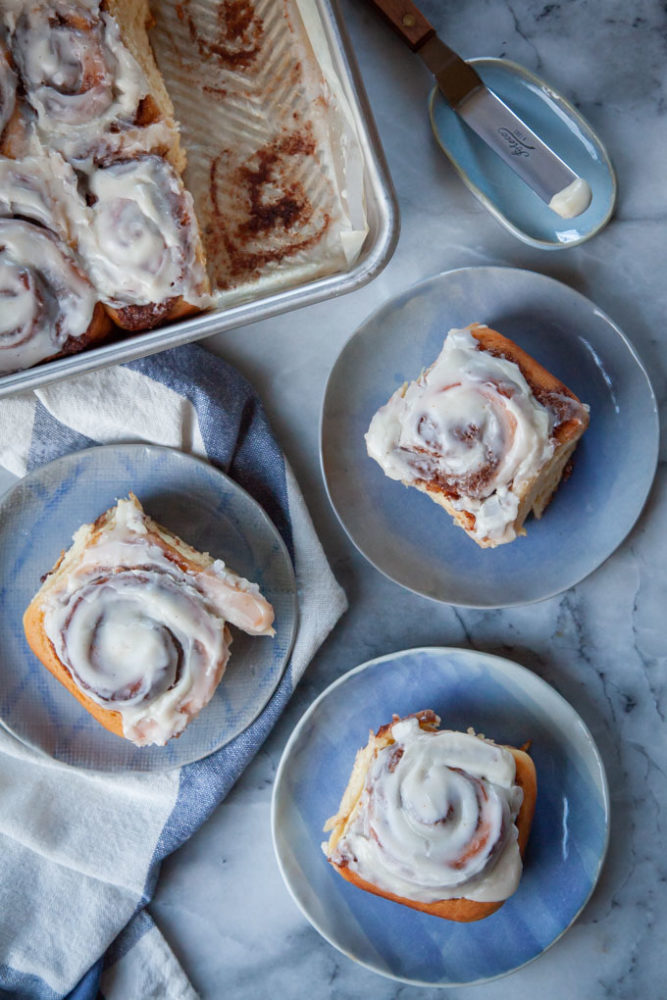
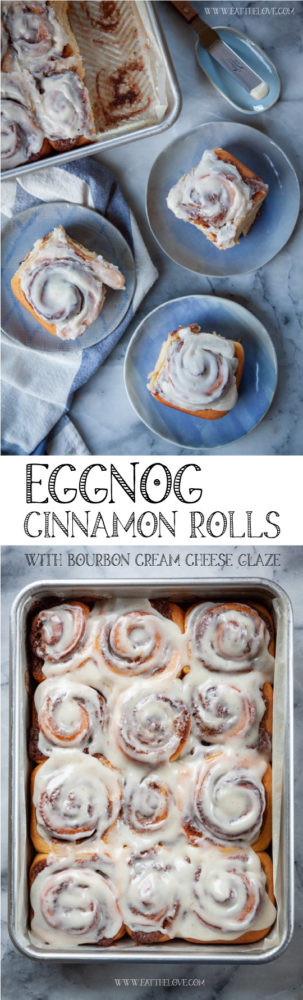
These eggnog cinnamon rolls use store-bought eggnog and have a bourbon cream cheese glaze! They’re one of the best holiday morning treats you can make.
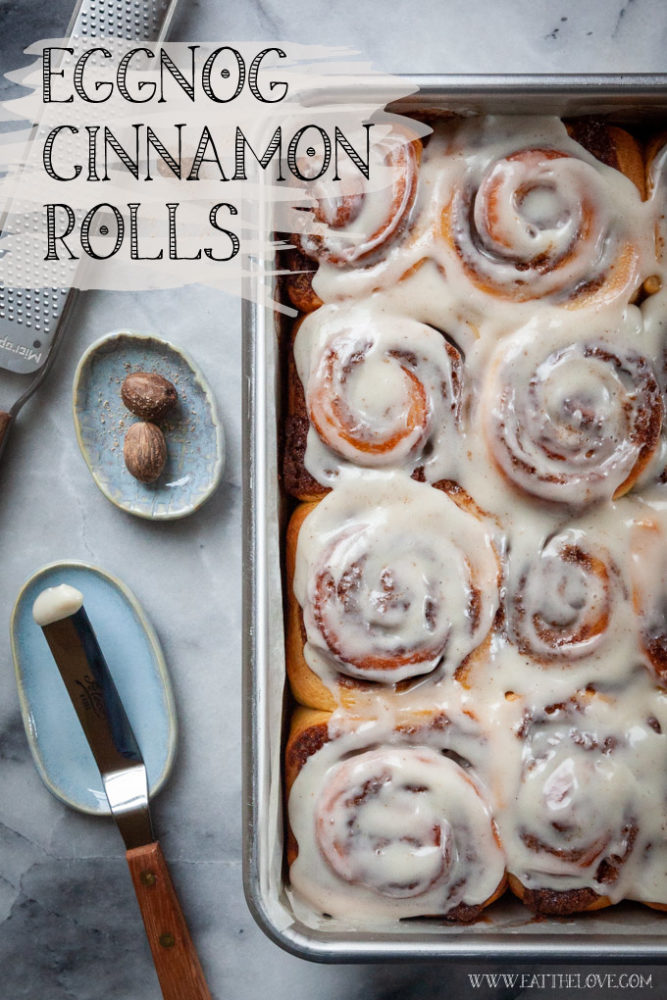
If you poke around my blog you’ll noticed that I have a mild obsession with eggnog. I’ve made eggnog pancakes, eggnog cheesecake, apple fig cobbler with eggnog biscuits and even a triple layer spice cake with eggnog frosting! And I also happen to have a (un)healthy love of cinnamon rolls, like my sweet potato cinnamon rolls, my pumpkin cinnamon rolls, my rosemary and pistachio cinnamon rolls (they sound a little weird but trust me, they are SO. GOOD.) and my quick and easy cinnamon rolls. But somehow, I have NOT gotten around to making eggnog cinnamon rolls…until THIS YEAR. And can I just say I’m regretting my life choices in not actually making these earlier?
How do you make eggnog cinnamon rolls?
Eggnog cinnamon rolls are similar to other yeasted cinnamon rolls, except the milk is replaced with eggnog. My version starts with an enriched dough, which is basically just a yeasted dough with butter, egg and eggnog in it. To make the dough you dissolve yeast in warmed eggnog. You can use homemade or store-bought eggnog. Then the liquid is mixed with some sugar, butter, egg. Knead in flour and the dough is done!
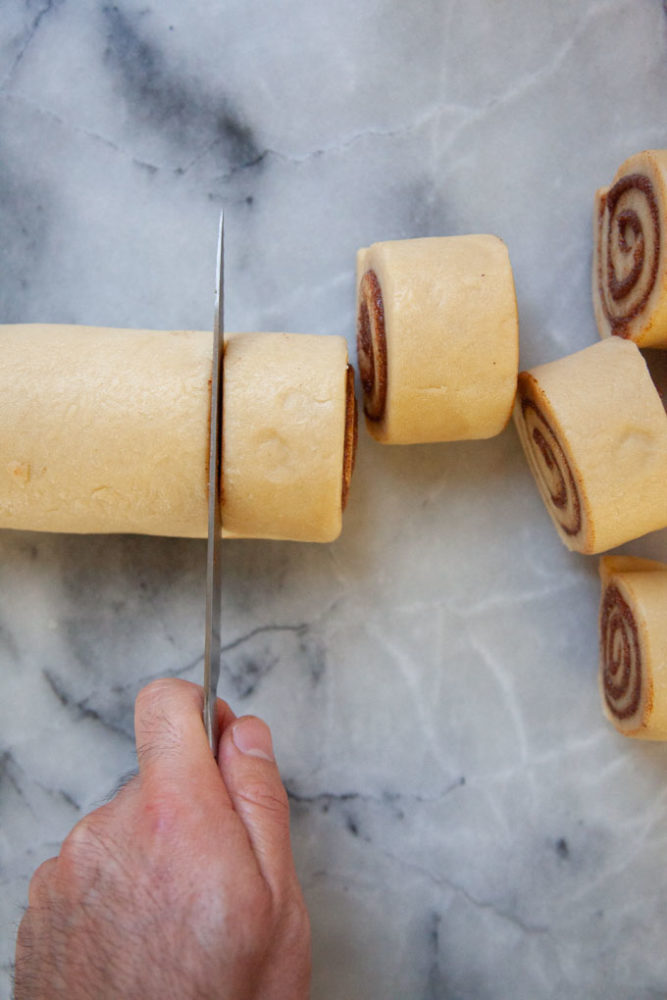
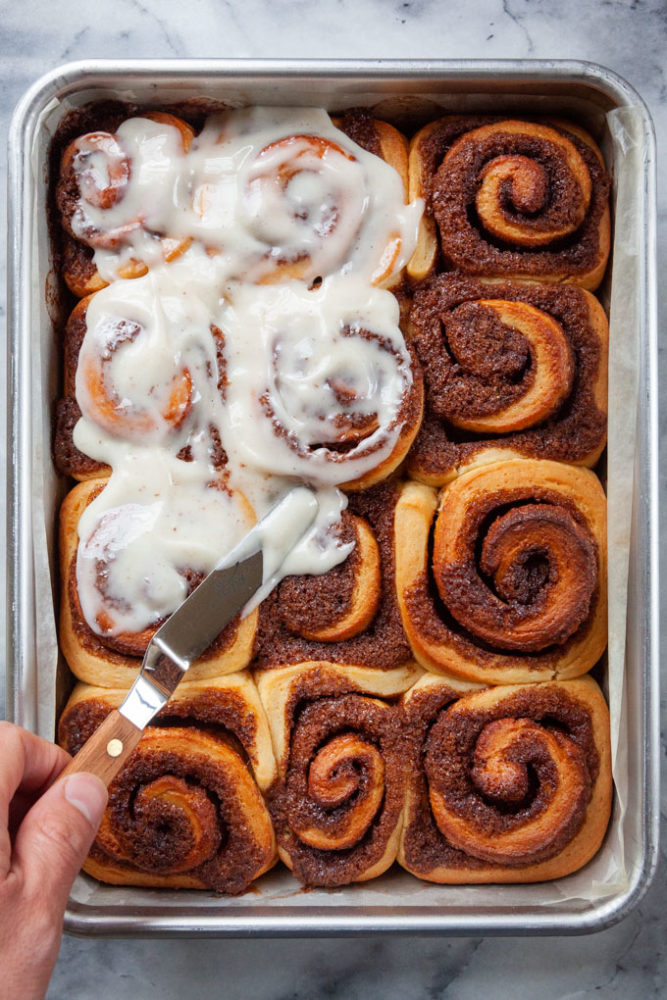
Let the dough rise and then roll it out. Spread the dough with a mixture of butter, brown sugar, cinnamon and nutmeg. Roll the dough up, cut out the rolls and place in a pan. Let it rise again and then bake! While it bakes, you make the cream cheese frosting with a dash of rum or bourbon (or apple juice or more eggnog if you’re not into alcohol). Spread the frosting after the rolls have baked and are still warm. Then serve!
Can I make the frosting for these rolls without alcohol?
Yes! You can totally leave out the rum or bourbon in the frosting. Instead, replace the alcohol with 1 tablespoon of eggnog, milk or apple juice/cider.
Can I make these overnight eggnog cinnamon rolls?
Absolutely YES! There are numerous ways to make this recipe easier for you and your schedule. Make the dough and instead of letting it rise initially, cover it with plastic wrap in a greased bowl and refrigerate it overnight.
The next day bring the dough back to room temperature (about an hour or two sitting on the counter, depending on how cold your kitchen is) and then let it rise until it has doubled in size (about another hour or two). Then proceed with the recipe as directed.
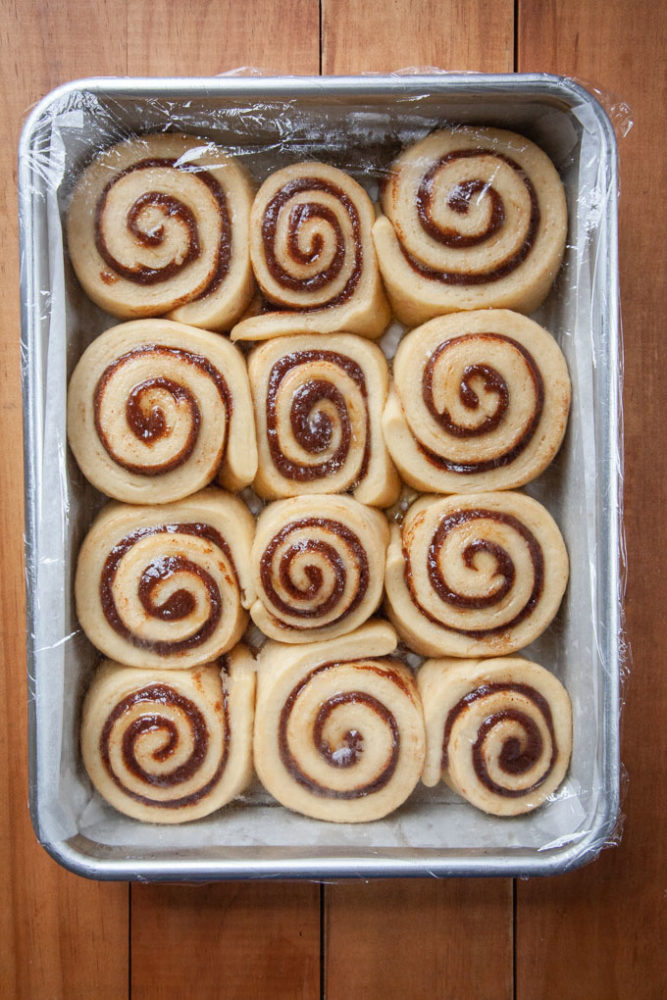
Or you can make the dough, let it rise, roll it out and spread the filling, and roll and cut the cinnamon buns and place them in the pan. Once they are in the pan, cover it with plastic wrap and refrigerate overnight! Again the next day you bring back to room temperature, and then let it rise until double in size, and bake.
You can even do both refrigeration steps, extending it into two days and allowing you to make the rolls at your convenience.
Can I freeze unbaked rolls?
Why yes, you can! If you’re the sort of person that plans stuff out in advance (not me) and has extra space in the freezer (definitely not me) you can TOTALLY make these rolls and then freeze them. Just follow the instructions all the way through to the rolling and cutting of the dough. Place them in the prepared pan, then cover it with plastic wrap tightly, and then with foil. If your pan has a lid, use that instead. Then freeze the entire thing!
To bake, just thaw the rolls overnight in the freezer and then let it come to room temperature the next day. Let it rise until the rolls are touching each other and the bake as directed!
How do I make these cinnamon rolls rise faster?
Because of the eggnog in the dough, these cinnamon rolls do rise a little slower than regular cinnamon rolls. If you want to speed up the rise time, you need to place the rolls in an environment that will help the yeast grow!
To do that you need a warm environment. You can place them in an oven with the light turned on. Or you can turn the oven on to 200°F (or the lowest temperature it will turn on to). Then, once the oven has started to warm up, immediately turn the temperature off. This will warm up the oven enough to help kick start the yeast growth. You can check the oven periodically (every 20 to 30 minutes or so) and if it too cold, repeat this trick by turning the oven on and then off again. Just remember to turn the oven off! If you leave it on, the rolls will bake without rising! Worse, you might melt the plastic wrap over the rolls, which will ruin the pastries, and make the pan difficult to clean (I know this from experience!).
Some new models of ovens (and toaster ovens) even have a “proofing” or “warm” setting. This is also an option to help speed up rise time.
But one of my favorite methods is to use hot water to help with the rise! Just boil some water, and pour it in a shallow bowl or pan. Place it on the lower rack of the oven and put the covered cinnamon rolls pan in the oven with it, on the top rack. The heat from the water will warm the oven and create a great environment for the yeast to grow. There’s no risk of forgetting to turn the oven off as well, so this is great for those busy folks that are multi-tasking. Just replenish the boiling water every so often. This keeps the environment warm.
How do I make the frosting for cinnamon rolls?
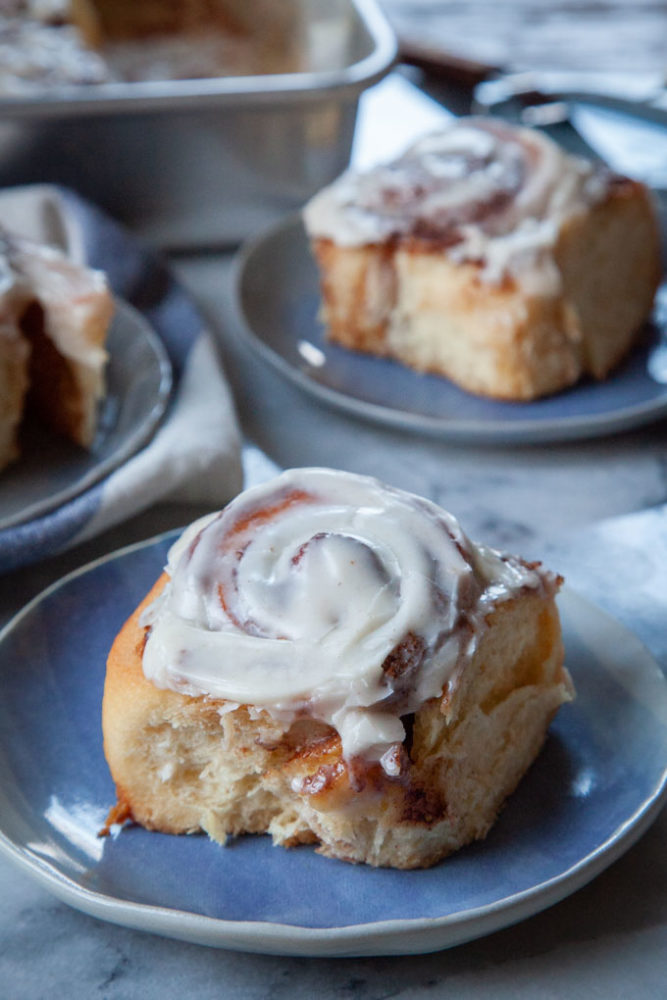
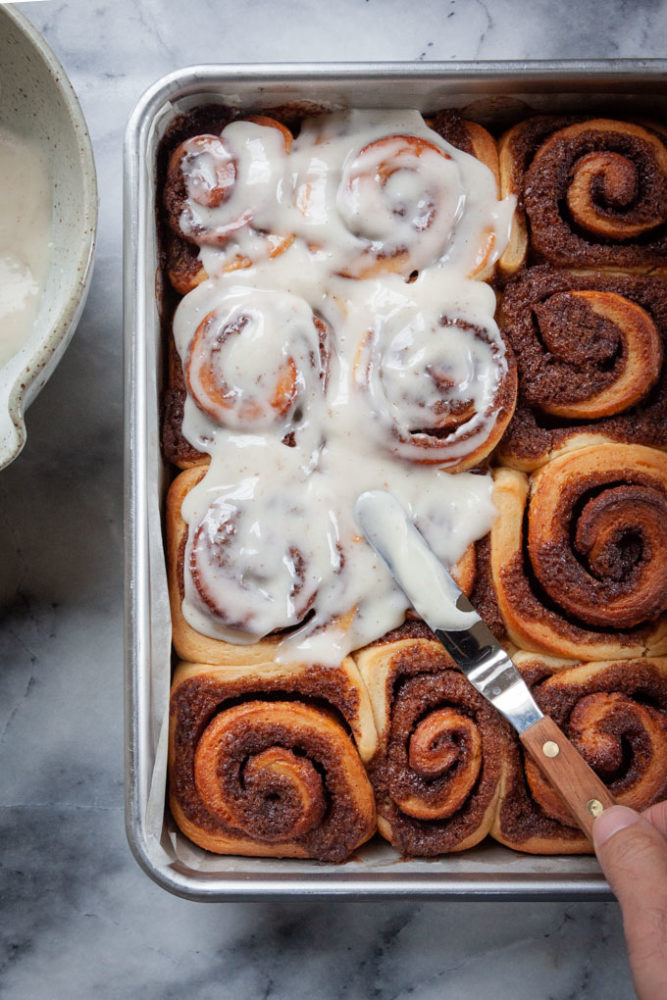
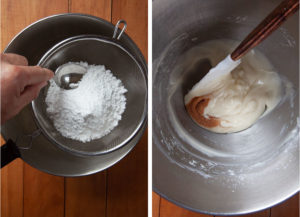
Making the frosting for the cinnamon roll is easy, you just combine all the ingredients for the glaze in a bowl and mix. But I highly recommend that you warm up the cream cheese and sift the powdered sugar before you start mixing the ingredients. This will prevent lumps in the frosting. Lumps that are nearly impossible to get out once you start mixing the frosting together!
This recipes uses less sugar than a lot of other frostings, and is also thicker because it isn’t thinned with a lot of milk. Spreading it over the cinnamon rolls right out of the oven means the frosting will melt into a glaze, pooling into the crevices of the roll while being easy to work with.
How do I store these eggnog cinnamon rolls?
The best way to eat them is to eat them the day you bake them! But you can store them at room temperature on your counter, in an airtight container or under tight plastic wrap for up to 48 hours. Keep in mind the longer you keep them around, the less fresh they taste.
You can also extend the lifespan of cinnamon rolls by refrigerating them. They should last up to a week in the refrigerator, again stored in an airtight container or under tight plastic wrap.
Can I freeze baked cinnamon rolls?
Yes you can! Make sure the rolls are completely cooled to room temperature and then freeze them either in the pan or separate them apart, freeze them on a baking sheet until frozen (about 2 hours) and then store them in a large resealable freezer Ziploc bag. They can be frozen with or without the frosting!
Defrost the rolls on the counter, for about an hour or try microwaving one roll at 50% power for 45 to 60 seconds. Keep in mind that when you thaw the in the microwave, the frosting will get pretty melty.
If you like these eggnog cinnamon rolls, check out some of other breakfast pastries and treats!
- Pumpkin Spice Morning Buns
- Gingerbread Cupcakes with Cranberry Filling
- Fig and Hazelnut Scones
- Pumpkin Butter Pop Tarts
- Chocolate Waffles with Vanilla Swirl
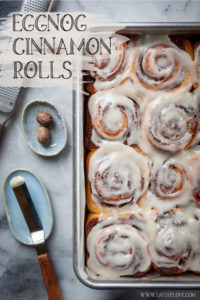
Eggnog Cinnamon Rolls
Ingredients
dough
- 1 cup eggnog grocery store bought
- 4 1/2 teaspoons active yeast 14 g or 2 packages
- 1/2 cup unsalted butter 115 g or 1 stick
- 1/2 cup white granulated sugar 100 g
- 2 large eggs
- 1/2 teaspoon kosher salt
- 4 1/2 cups all-purpose flour 630 g
Filling
- 1/2 cup unsalted butter 115 g or 1 stick
- 3/4 cup packed dark brown sugar 165 g
- 2 teaspoon ground cinnamon
- 1 teaspoon nutmeg
- 1/4 teaspoon kosher salt
Frosting
- 4 ounces cream cheese 115 g or 1/2 brick
- 1 1/4 cups powdered sugar sifted, 145 g
- 1 tablespoon bourbon or dark rum (or 1 1/2 teaspoon rum extract)
- 1 /2 teaspoon ground nutmeg
Instructions
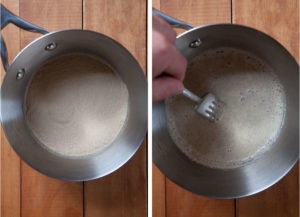
- Make the dough by first heating up the eggnog on the stove to about 90 to 100°F. This should only take about 15 to 30 seconds with the heat on high. Sprinkle the yeast over the warm eggnog and stir it in to dissolve it.

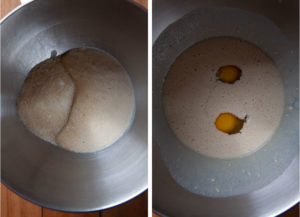
- Add the eggnog to the bowl of a stand mixer fitted with the paddle attachment, or a large bowl if you are doing this by hand. Make sure to scrape out any thick yeast paste into the bowl. Mix in the sugar, eggs and salt on low speed until the eggs are broken up and the sugar is incorporated.
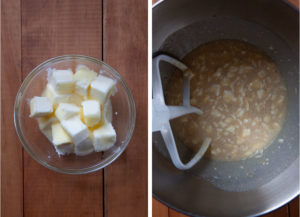
- Cut the butter into 1/2-inch chunks and place in a small microwave safe bowl. Microwave on high for 30 seconds. The butter won’t be completely melted but that’s ok. Add all the semi-melted butter and mix on low speed until the butter starts to break up a little bit. There will still be little chunks of butter that haven't broken apart. That's OK!
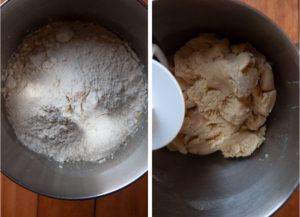
- Switch the attachment to the dough hook and add the flour. If you are doing this by hand, use a large wooden spoon. Mix on low speed until a dough forms and all the dry ingredients are incorporated. You might need to stop the mixer and periodically scrape down the sides and bottom for dry flour to help mix it into the dough. Once a dough has formed, increase the speed and knead the dough for 5 minutes. Watch the dough, as it’s fairly tight and will creep up on the dough hook. If you are kneading by hand, dump the dough onto a clean surface, and knead by hand for 7 to 8 minutes. Once the dough has been kneaded, it will still look a little rough, and not as elastic as you might be used to with yeasted dough. That’s normal.
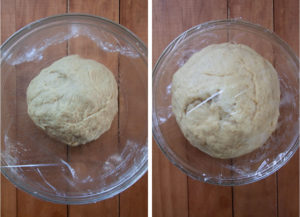
- Form a ball with the dough and place it in a greased bowl. Cover tightly with a plastic wrap. Let it rise until double. This will take 1 to 2 hours depending on the environment that you place the dough in. You can also refrigerate the dough overnight at this point if you are running out of time or don’t want to continue. Just take it out the next day and let it rise at room temperature until it is double in size.
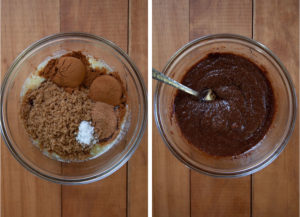
- While the dough is rising, make the filling. Place the butter in a medium sized mixing bowl. Microwave for 60 seconds. The butter will be mostly melted but not completely. Again, that’s ok. Add the remaining ingredients for the filling to the bowl and stir until uniform in color. Set aside.
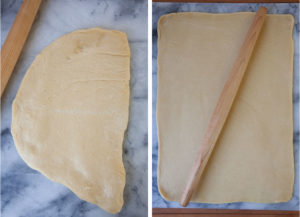
- Once the dough has risen, dump it on to a clean surface dusted lightly with flour. Roll the dough out into a large 18 x 12 inch rectangle, landscape orientated. The dough will be fairly thin (about 1/4 inch thick).
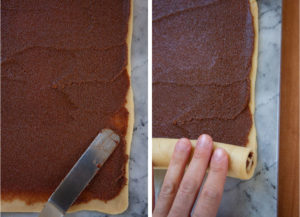
- Spread the filling over the dough using an offset spatula, butter knife or silicon spatula. Make sure to spread the dough all the way to the edges of the dough. Tightly roll the dough up the long way up, so you have a long 18-inch log.
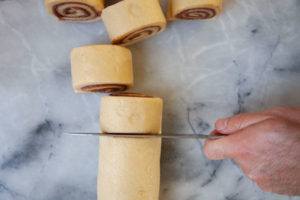
- Using a sharp knife, cut 1 1/2-inch thick disks from the cinnamon roll. You can also use unflavored floss thread to cut out the disks but I find this “trick” kind of annoying to do and always have mint flavored floss in the house so I never bother with it.

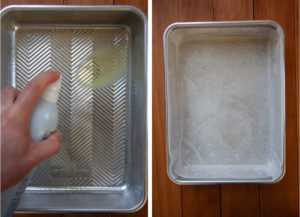
- Lightly spray a 9 x 13 x 2 inch baking pan with cooking oil. Line it with parchment paper.
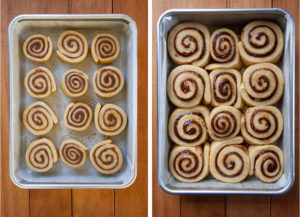
- Place the cinnamon roll dough in it, in a 3 x 4 inch grid. The rolls will not be touching. Cover with plastic wrap. If the plastic wrap doesn’t stick to your pan, use foil over the plastic wrap to help seal it. Let the dough rise until it is double in size and the rolls are barely touching, about 1 to 2 hours. You can also place the dough in the fridge and chill it overnight if you want. Again, just take it out and let it rise at room temperature until the rolls are double in size.
- Once the rolls are ready to be baked, preheat the oven to 375°F Bake the rolls for 23 to 25 minutes or until an instant read thermometer inserted into the middle of the rolls reads 185 to 190°F.
- While the dough is baking, pull out the cream cheese, cut it into 1/2-inch cubes, and let it come to room temperature on the counter. Cutting it into smaller cubes will help it warm up. Right before the rolls are done baking, sift the powdered sugar over the cream cheese in the clean bowl of a stand mixer fitted with a paddle attachment. Add the bourbon or rum. Mix until the powdered sugar is absorbed. Stir in the nutmeg.
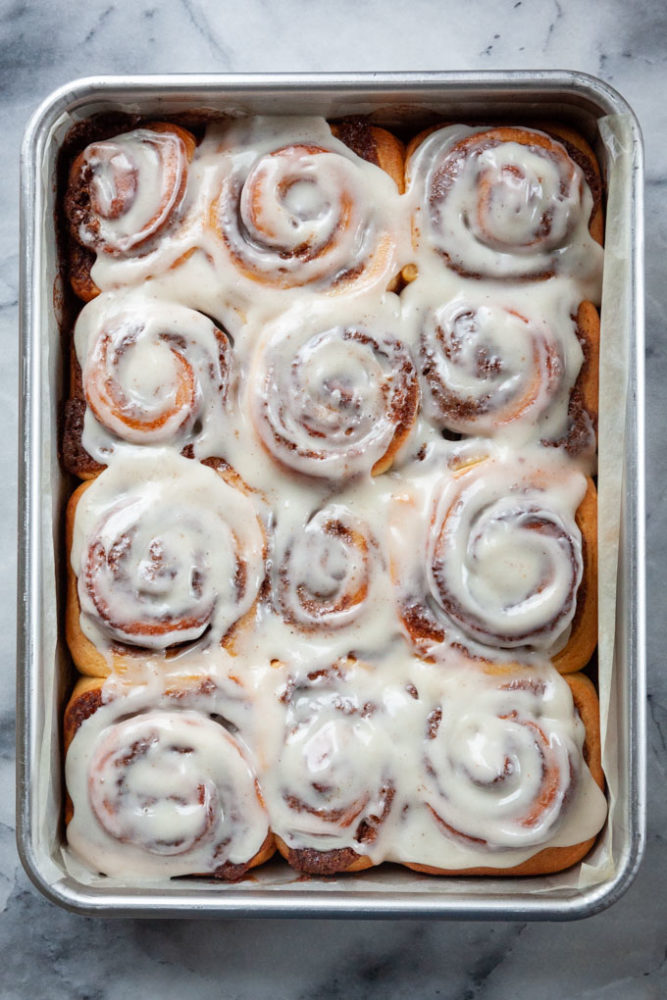
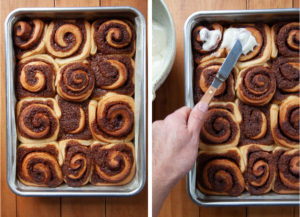
- Once the cinnamon rolls are done baking, pull them out of the oven and let it cool for 5 minutes. Then spread the cream cheese frosting over the still warm rolls. The warmth will help melt the frosting so it coats the crevices and valleys of the roll. Let cool slightly before serving.
Beatrice says
These look great!
I was wondering if you had any recipe for homemade eggnog. I really dislike store-bought, both in terms of taste and what it contains health-wise.
Thanks!
Anne W. says
Oh my! I thought I had the will power to resist buying yet another half gallon of eggnog for my coffee and now this temptation! I surrender. Eggnog cinnamon rolls here I come! These sound too good to pass up. Think I will try with the Southern Comfort eggnog. Thanks for another iteratively recipe.
Anne W. says
That was “irresistible”. My iPhone can’t spell.
Tara B says
I’ve tried a lot of recipes for cinnamon rolls online, and this is my favorite! Great way to use up eggnog from the holidays, too.
Tara B says
I’ve tried a lot of recipes for cinnamon rolls online, and this is my favorite! Great way to use up eggnog from the holidays, too.