• Skip to primary navigation
  • Skip to main content
  • Skip to primary sidebar
  • My Cookbook: Marbled, Swirled, and Layered
  • Recipes
  • Travel & Events
  • About this Blog
  • Bio
  • FAQ
  • Work with Me

Eat The Love

Recipes, Photographs and Stories about Desserts, Baked Goods and Food in general, with a healthy dose of humor and happiness for the food obsessed

You are here: Home / bread / Made-From-Scratch Cloverleaf Rolls

November 17, 2023

Made-From-Scratch Cloverleaf Rolls

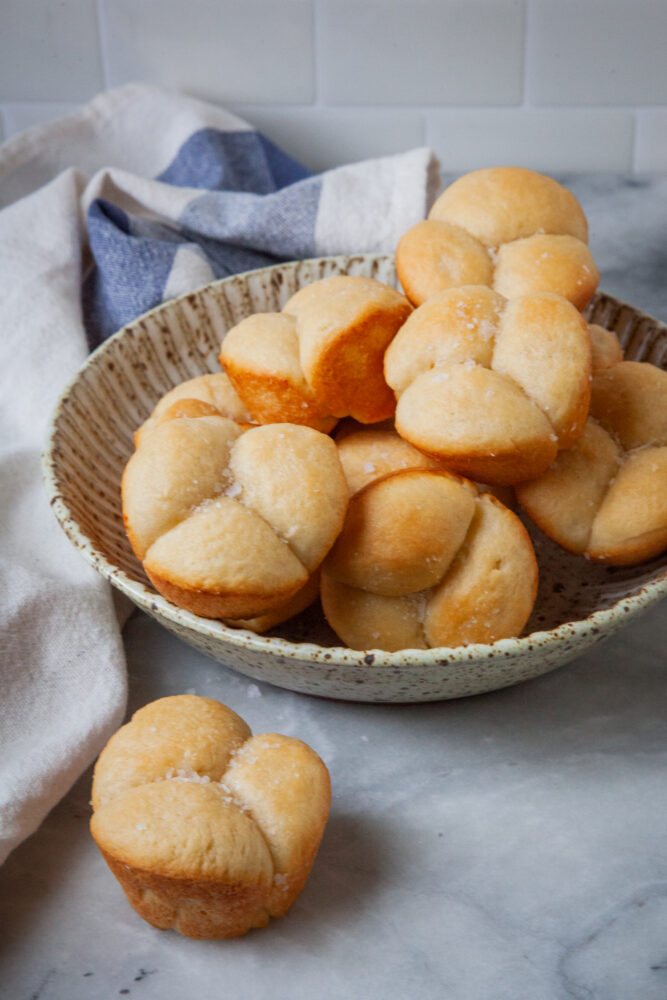
These made-from-scratch, cloverleaf rolls have a soft crumb and are easier to make than they look. They are a great addition to any meal!

Jump to recipe

A bowl of cloverleaf shaped bread rolls, with one roll on the counter. A blue and white cloth napkin is next to the bowl. The type on the image says Cloverleaf Rolls.

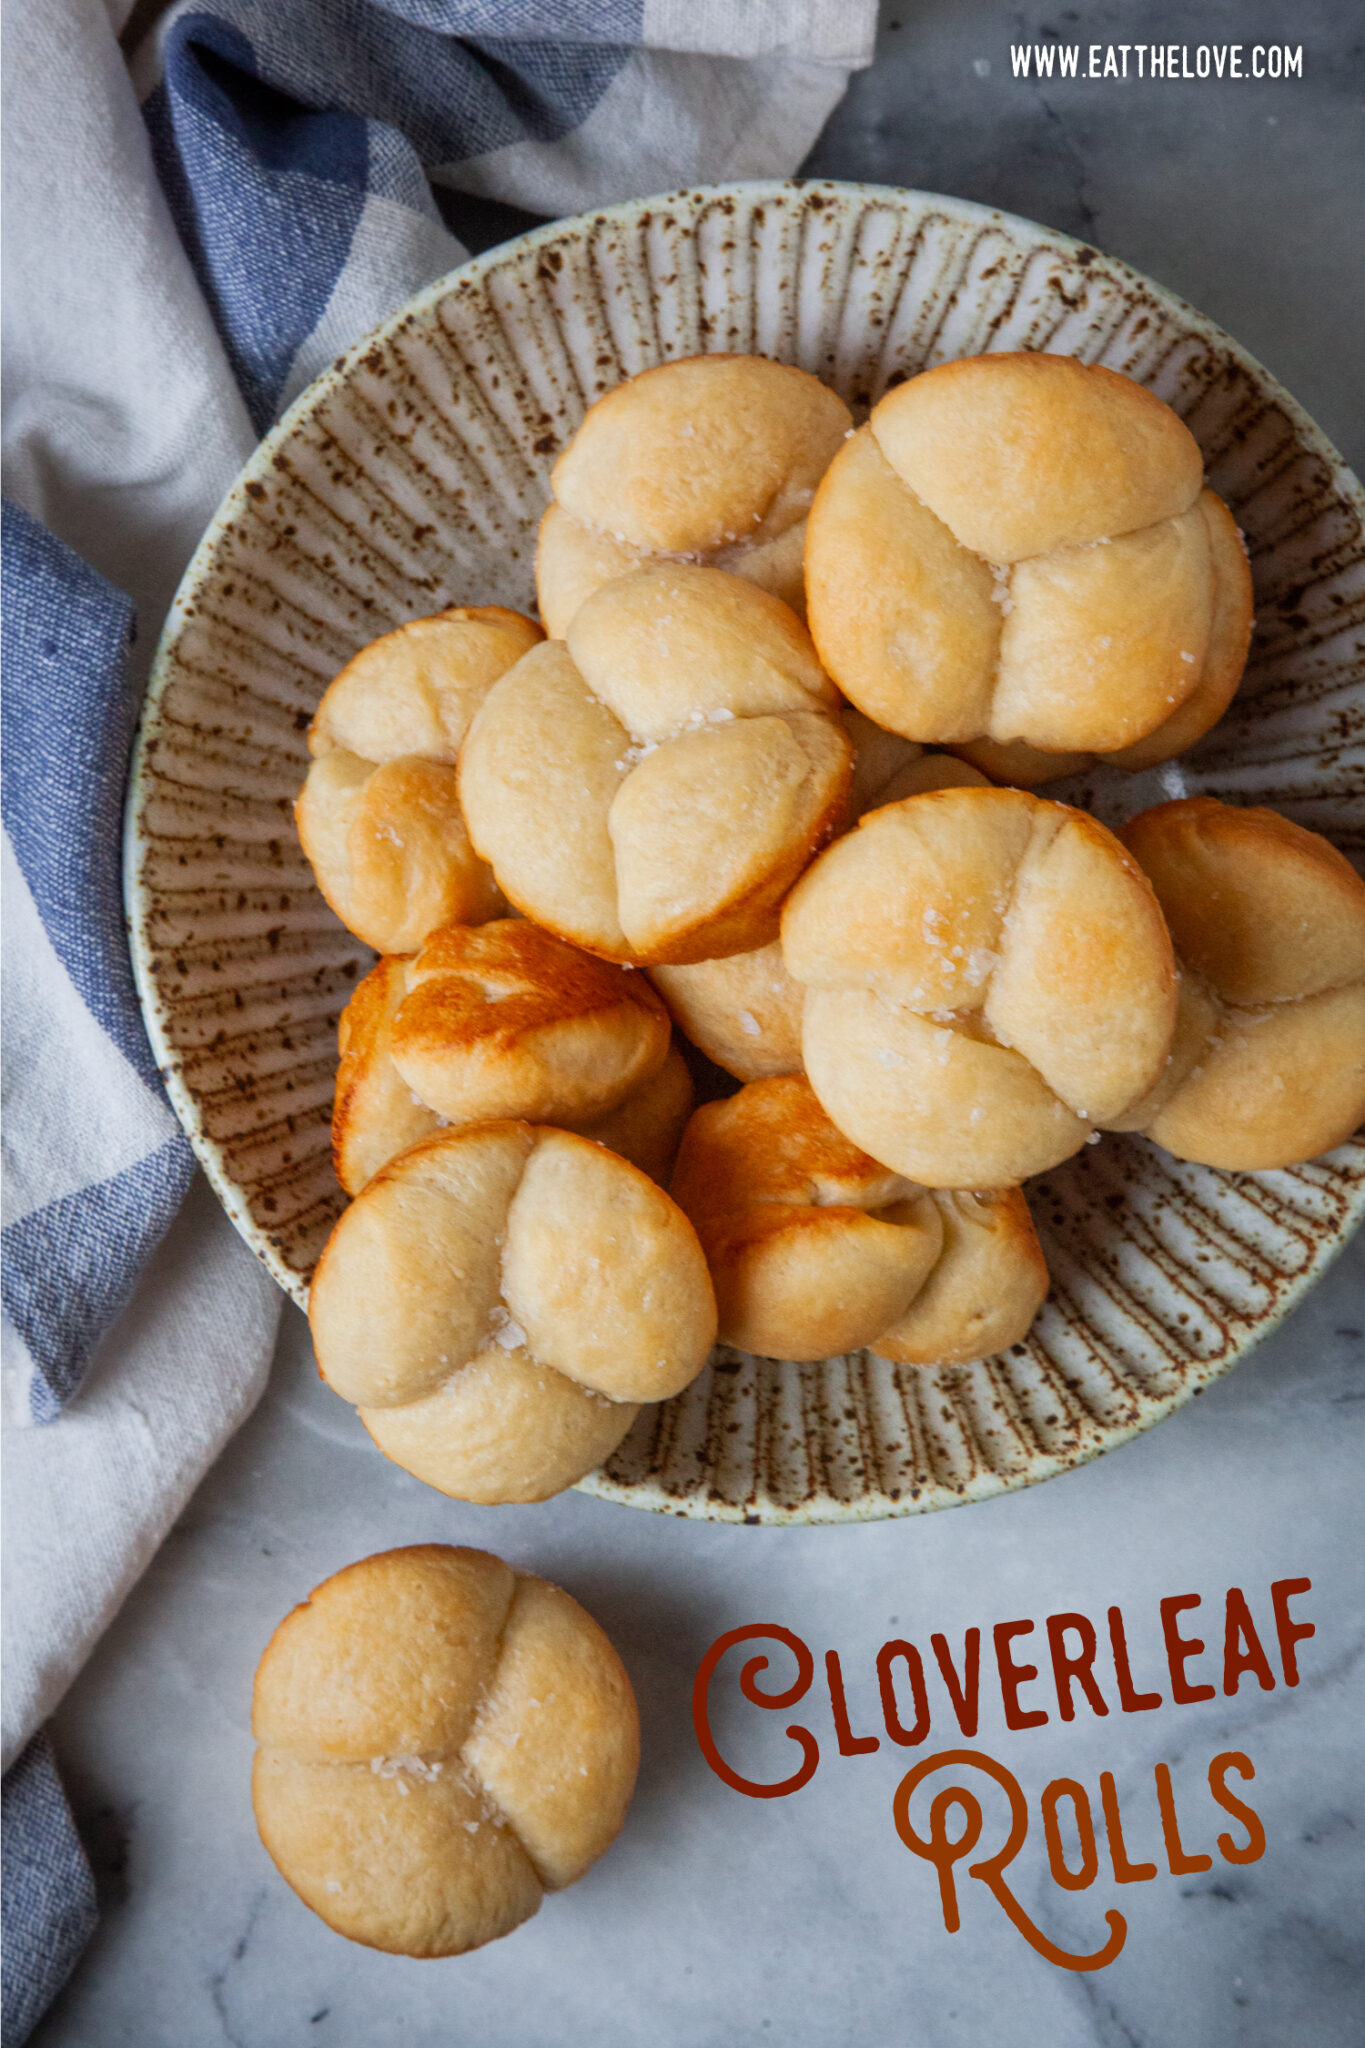
Sadly, I did NOT grow up with dinner rolls. In fact, I didn’t discover dinner rolls until I had dinner at my elementary school friend’s Jamie Gentry’s house. His mom made cloverleaf rolls like these and they possibly were life change. And though I have plenty of recipes for dinner rolls here on the blog, like Parker House rolls, Ukrainian Pampushky, potato rolls, garlic knots, and herb Parmesan wool roll bread, I decided I need to add these clover rolls to the blog because of the nostalgia and soft spot I have for them. They’re tender, rich, soft, and a delightful addition to any meal!

How to make these

Cloverleaf rolls on a wire cooling rack.

A lot of cloverleaf rolls use store-bought bread dough, which is a super easy shortcut. I explain how to do that in a section below. But this recipe uses an enriched dough made from scratch. Enriched just means there is the addition of butter and egg in the dough, which yields a richer and more tender roll. But don’t worry, it’s still an easy bread dough to make!

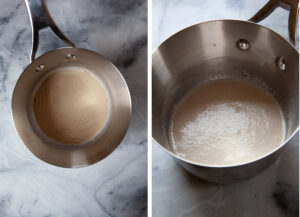
Start by warming up a small amount of milk in a small saucepan. You want to bring the milk to about 100°F, which is warm to the touch. It should only take 15 to 30 seconds to do this, so don’t overheat the milk. Once it’s warmed, add in a little sugar (which helps the yeast rise) and the active dry yeast. Stir and let sit to proof.

Left image is yeast sprinkled on warm milk in a saucepan. Right image is the yeasty milk proofed, with the surface slightly bubbly and textured.

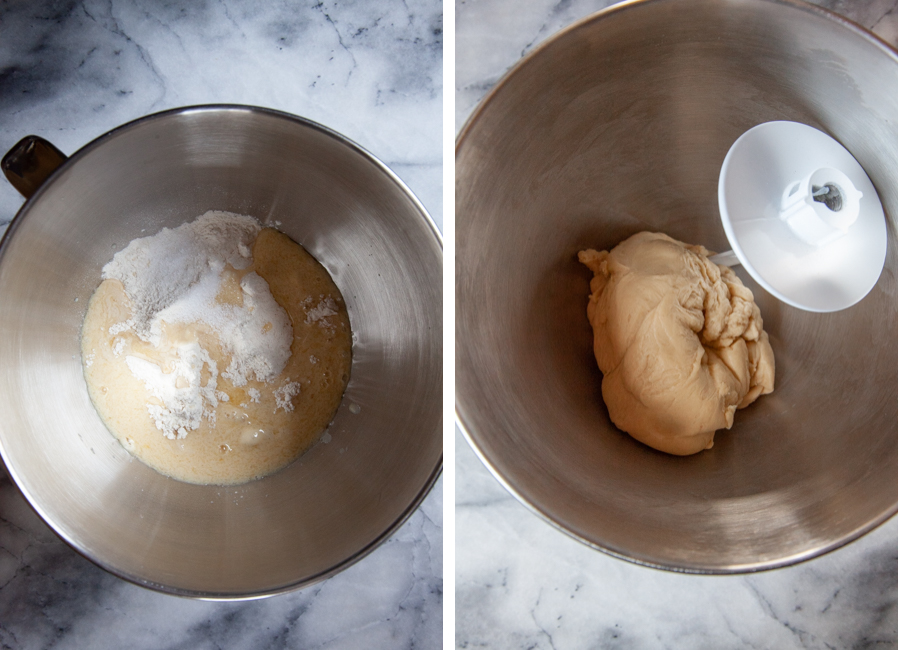
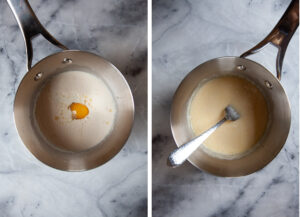
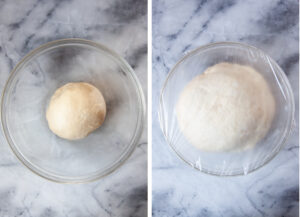
Once proofed, beat in melted butter and an egg to the warm milk liquid. Then place the flour and salt in the bowl of a stand mixer. Add all the liquid to the bowl and knead with a dough hook for 7 to 12 minutes, until the dough is shiny, smooth and elastic.

Left image is flour and yeasty milk in a mixing bowl. Right image is the ingredients kneaded into a smooth dough, with a dough hook in the bowl.

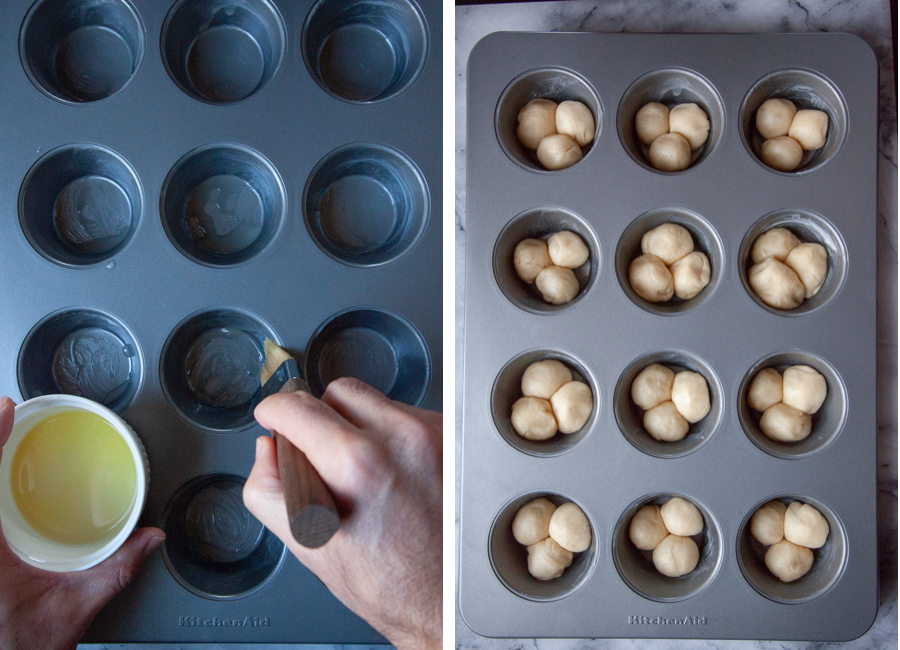
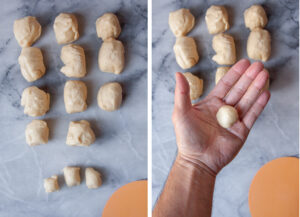
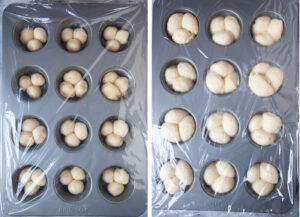
Let the dough rise until double (about 1 to 2 hours depending on where you place it). While it rises, brush the inside of each cup in a standard muffin pan with butter. Then divide the dough into 12 pieces. Take a piece, divide it into 3 parts, roll each part into a small ball, and place all the balls inside a muffin cup. Repeat with the remaining dough.

Left image is a hand brushing a muffin pan with melted butter. Right image is three individual balls of dough placed inside each of the cups of the muffin pan.

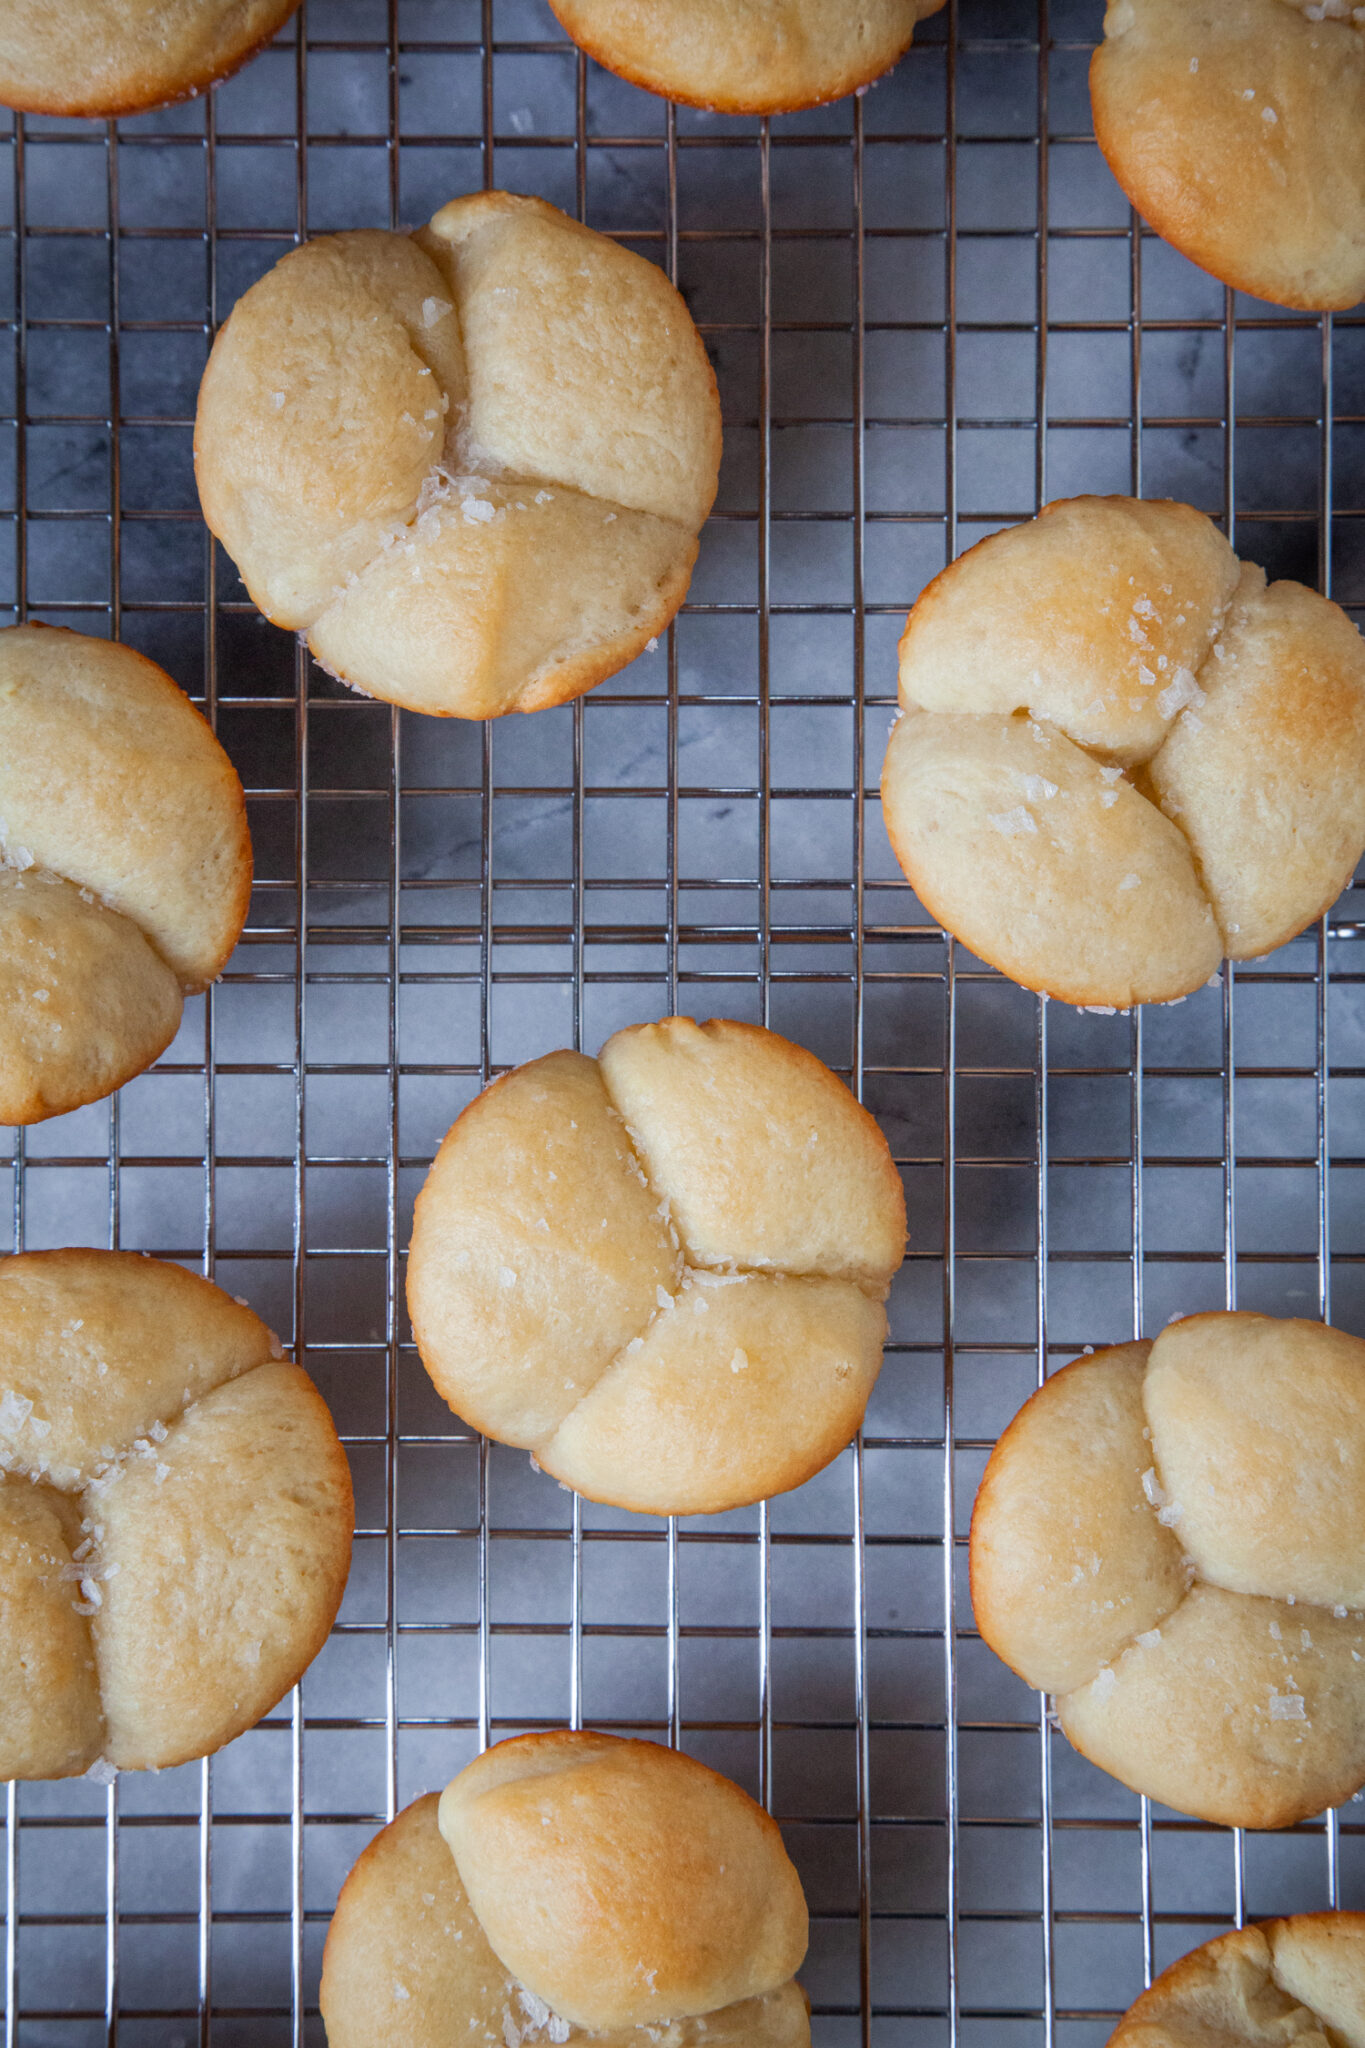
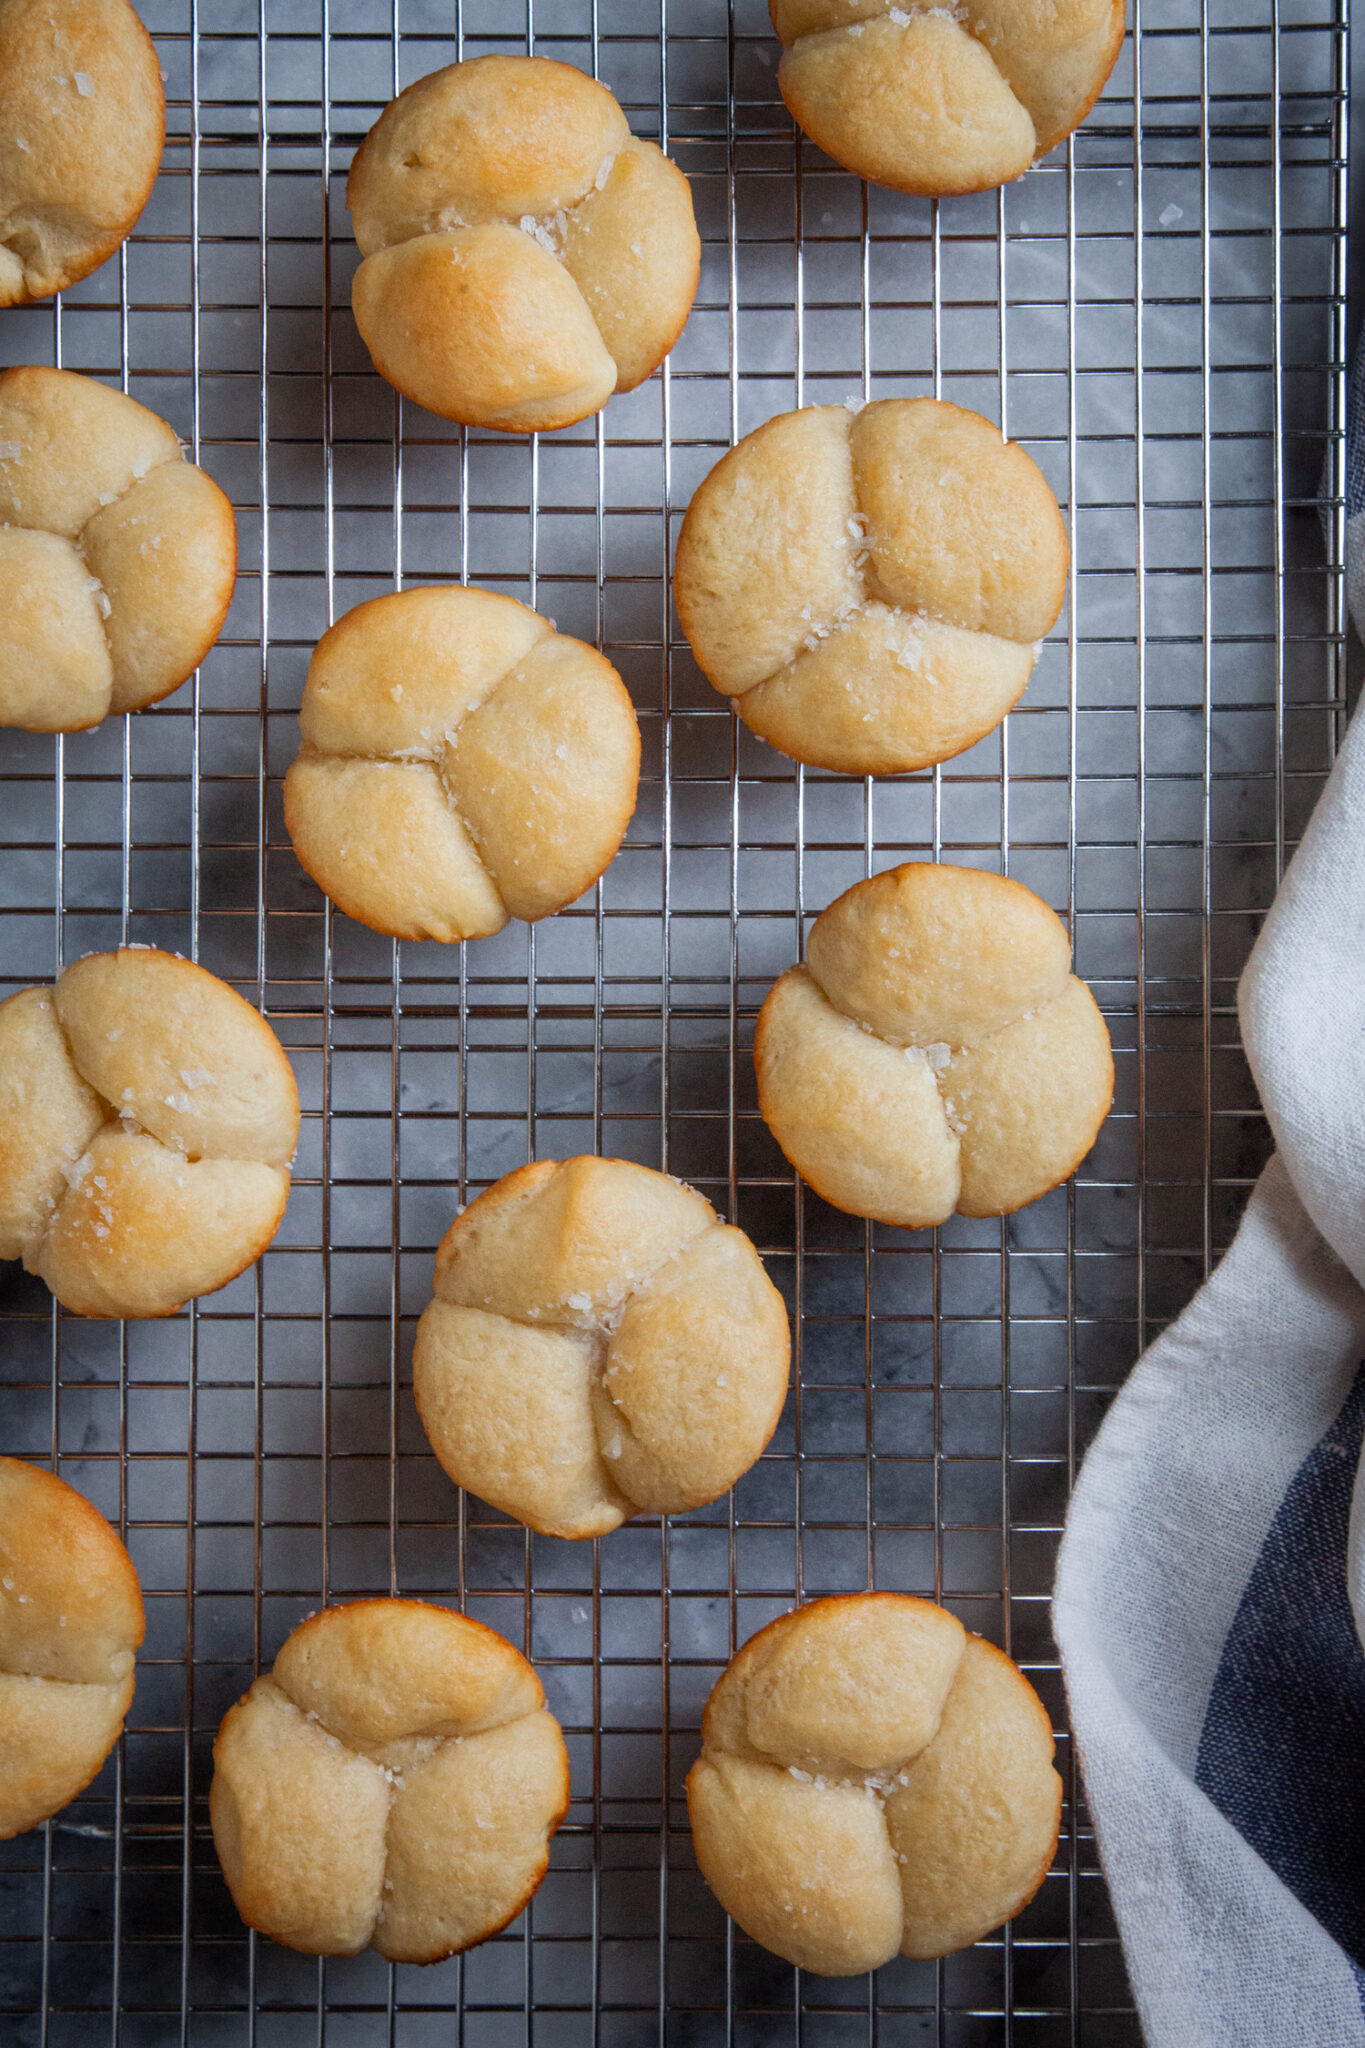
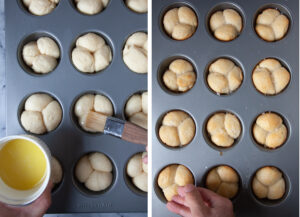
Cover and let rise again, then brush with butter and bake until golden brown. Brush with more butter and sprinkle with salt and serve.

How to use store-bought bread dough

If you want to skip the making of the dough, just buy 1 pound of bread dough or pizza dough, then divide the dough into 12 pieces. Take a single piece and divide it into 3 parts, rolling each small piece into a small ball, Place the 3 small balls inside a buttered muffin cup, and then repeat with the remaining dough. Cover and let rise until double, gently brush with 2 tablespoons of butter, and bake for 12 to 14 minutes or until golden brown.

A bowl of cloverleaf rolls in a bowl, with a single roll on the countertop. A blue and white cloth napkin is next to the bowl.

What sort of yeast to use

If you’ve never used yeast before, it can be a little confusing when you’re at the store as there are so many options. I use active dry yeast in this recipe, which is a common style of yeast that you can find pretty much anywhere. 

You can also use instant dry yeast or rapid rise yeast in place of the active dry yeast. With instant dry yeast, just add the yeast into the flour and salt, there’s no need to dissolve in the milk first. If you’re using rapid rise yeast, add it to the milk but keep in mind that it works more rapidly (thus the name) so check the dough earlier as it rises. Once it’s doubled, which can be as short as 30 minutes with rapid rise yeast, start dividing and forming the bread roll. Continue the recipe as directed. 

Make them overnight rolls

If you want to simplify your life, you can turn these into overnight rolls! Just make the dough, let it rise, then divide and form the cloverleaf rolls in the muffin pan. Once the rolls are formed, cover the dough with plastic wrap and place the dough in the fridge overnight. The next day, take the dough out of the fridge, let it come to room temperature (which could be up to 2 hours, depending on how warm your kitchen is) and let the dough rise until it’s double. Bake as directed.

Cloverleaf rolls on a wire cooling rack. There is a blue and white cloth napkin next to the wire rack.

Variations

  • Herb Butter Rolls: Make these herb butter rolls by chopping 2 teaspoons of fresh herbs, like parsley, oregano, sage, thyme, or rosemary leaves (always use fresh herbs, not dried ones for this recipe) along with 1 teaspoon of kosher salt. Then mix them into the melted butter and brush them on top after the rolls are baked. 
  • Parmesan Garlic Rolls: Make these Parmesan garlic rolls by mincing 2 medium-sized cloves and placing them in a small saucepan. Add 3 tablespoons of butter and heat the saucepan until the butter is melted and you can smell the garlic. Remove from heat, add 1 tablespoons of grated parmesan and 1 tablespoon of chopped parsley. Brush over just baked rolls.
  • Salted Honey Rolls: Make these salted honey rolls by mixing in 1 tablespoon of honey into the melted butter. Brush over the top of the rolls and then sprinkle with flaky salt.

How to store

These rolls are best eaten the day they are baked. But you can store leftovers in an airtight container or in a Ziploc bag at room temperature. They will keep for 2 days. Refresh them in a 300°F oven or toaster oven for 5 to 10 minutes before serving.

More yeasted bread recipes

  • Beer Pretzel Twists
  • Crumpets
  • English Muffins
  • Bialy
  • Pumpkin Star Bread
  • Traditional Bavarian Pretzels
  • Tomato and Rosemary Foccacia
  • Everyday Easy Pizza Dough
  • Cinnamon Rolls
  • Cinnamon Orange Pull Apart Bread
A bowl of cloverleaf shaped bread rolls, with one roll on the counter. A blue and white cloth napkin is next to the bowl. The type on the image says Cloverleaf Rolls.
Print Pin
5 from 3 votes

Made-from-Scratch Cloverleaf Rolls

These fun clover shaped dinner rolls are made from scratch but are easier than they look! Once you’ve pulled them out of the oven, be sure to brush them with extra melted butter and salt. It makes all the difference!
Course bread, Side Dish
Cuisine American
Keyword bread, side dish
Prep Time 30 minutes minutes
Cook Time 15 minutes minutes
Rise time 2 hours hours
Servings 12
Calories 168kcal
Author Irvin

Ingredients

Dough

  • 1/2 cup milk 115 g
  • 1 teaspoon white sugar
  • 2 1/4 teaspoons active dry yeast 7 g or 1 package
  • 4 tablespoons unsalted butter melted
  • 1 large egg
  • 1 teaspoon kosher salt
  • 2 cups all-purpose flour 280 g

For pan

  • 1 tablespoon melted butter

Before baking

  • 2 tablespoon unsalted butter melted

After baking

  • 2 tablespoons unsalted butter melted
  • 1 teaspoon flaky or kosher salt like Maldon or Diamond Crystal

Instructions

  • Warm the milk to about 105°F in a small saucepan on the stove (warm to the touch). Stir in the sugar, then the active dry yeast, making sure the yeast has dissolved. Set aside for 5 minutes to proof. The yeast won’t foam and bubble like it would with water after the 5 minutes, but the surface of the liquid should be slightly textured.
    Left image is yeast sprinkled on warm milk in a saucepan. Right image is the yeasty milk proofed, with the surface slightly bubbly and textured.
  • Whisk in the melted butter and egg into the yeasty milk.
    Left image is egg and butter added to the yeasty milk. Right image are all liquid ingredients whisked together.
  • Place the flour in the bowl of a stand mixer fitted with a dough hook. Pour the liquid into the bowl and turn the mixer on low speed. Continue to mix until the liquid is absorbed, and a rough dough has formed. Increase the speed to medium low speed and knead the dough until it is shiny, smooth, and elastic which should take about 7 to 10 minutes.
    Left image is flour and yeasty milk in a mixing bowl. Right image is the ingredients kneaded into a smooth dough, with a dough hook in the bowl.
  • Grease a bowl with cooking oil. Then take the dough and pull the dough until there is a smooth ball that formed, then place it in the bowl, with the rough side of the ball facing down. Cover with plastic wrap and put in a warm place (like the oven with the light turned on) and let rise until double in size, about 1 to 2 hours.
    Left image is dough gathered into a ball and placed in a greased glass bowl. Right image is the dough after it's risen and doubled in size.
  • Once doubled, brush butter inside the cups of a standard muffin pan.
    Divide the dough into 12 equal parts. Take one lump of dough and divide each it into 3 parts, rolling each part into a ball. Place the balls into one muffin pan. Repeat with the remaining dough.
    Left image is dough divided into 12 pieces, with one of the pieces further divided into 3 smaller pieces. Right image is a hand showing one of the small pieces rolled into a ball and sitting in the middle of the hand.
  • Lightly spray some plastic wrap with cooking oil, then cover the muffin pan with it, letting the dough rise for another 45 minutes to 1 hour, or until it has doubled.
    Left image is a muffin pan with the cloverleaf bread dough formed and placed in the muffin pan. Right image is the dough after it has risen and doubled in size.
  • Preheat the oven to 375°F. If you are using the oven as a place to proof your dough, make sure to remove the pan from the oven before you preheat! Gently brush the top of the risen dough with melted butter. Then bake in the oven for 12 to 14 minutes, or until the rolls are golden brown on top.
    Finish the rolls by brushing them with more butter, then sprinkling salt on them before serving.
    Left image is a hand brushing the top of the uncooked rolls with butter. Right image is a hand sprinkling the baked rolls with salt after it has been brushed with more melted butter.

Nutrition

Calories: 168kcal | Carbohydrates: 17g | Protein: 3.4g | Fat: 9.6g | Saturated Fat: 5.8g | Cholesterol: 39mg | Sodium: 460mg | Potassium: 60mg | Fiber: 0.7g | Sugar: 1g | Calcium: 20mg | Iron: 1mg

Filed Under: appetizers, bread, Fall, side dish, thanksgiving, Winter Tagged With: bread, rolls, yeast

Reader Interactions

Comments

  1. marionwatkins says

    January 24, 2024 at 10:50 pm

    The feeling of biting into a soft cake that fills my mouth and then sitting down to play pico park is a feeling I have been looking for for a long time

    Reply
  2. Alissa Streitz says

    June 11, 2024 at 12:54 pm

    when do you add the salt?

    Reply
  3. mina12 mina says

    October 1, 2024 at 9:30 pm

    This is, in my opinion, one of the best posts that you have made. Your work is quite outstanding in both quality and quantity. I am grateful to you for it candy clicker 2 free game

    Reply
5 from 3 votes

Leave a Reply Cancel reply

Your email address will not be published. Required fields are marked *

Recipe Rating


Primary Sidebar

Follow Me On

Twitter-Link-to-Eat-the=Love Facebook-Link-to-Eat-the-Love Pinterest-Link-Eat-The-Love Instagram-Link-Eat-The-Love RSS-Feed-Link-Eat-The-Love
on Mastodon

Available Now: Marbled, Swirled and Layered
Available Now: Marbled, Swirled and Layered Available Now: Marbled, Swirled and Layered Available Now: Marbled, Swirled and Layered

"Mr. Lin, a graphic designer in San Francisco who writes the food blog Eat the Love, takes risks in nearly every one of the 150 elaborate recipes in his book. He doesn’t just paint the lily; he bejewels and shellacs it, too."
–MELISSA CLARK for the New York Times

“My goodness, this cookbook! It’s filled to the brim with recipes for the most splendidly beautiful cakes, cookies, breads, and tarts I think I’ve ever seen. My eyes kept getting wider and wider as I turned every page—both the flavor combinations and the photos are out of this world. Irvin Lin has most definitely outdone himself. This book is a triumph!”
—REE DRUMMOND, New York Times best-selling author of The Pioneer Woman Cooks

“Irvin Lin gives home-baked treats a twist, ramping them up with a range of contemporary flavors that are sure to surprise and delight. From beer-battered brownies to smoky butterscotch taking a classic cake to the next level, I can’t wait to mix, stir, and bake my way through Marbled, Swirled, and Layered!”
—DAVID LEBOVITZ, author of My Paris Kitchen

Search

Subscribe via Email

The Writer, The Baker, The Recipe Maker

Hey there! Thanks for visiting my blog. I'm Irvin Lin, a critically acclaimed cookbook author, IACP-Award winning photographer, IACP-nominated blogger, award winning baker, award winning former graphic designer, storyteller, recipe developer, writer and average joe bon vivant. I currently reside in San Francisco a block from Dolores Park and right near Tartine Bakery, Bi Rite Market & Creamery, and Delfina.

Feel free to contact me by clicking on that picture of me up above or emailing me eatthelove {at} gmail {dot} com.

IACP Photography Contest Best in Show WinnerIACP Photography Contest Best in Show Winner

“Irvin Lin is the creative mind behind his Eat the Love food blog. Lin’s impressive photography skills support his training in graphic design on the site, and you would never believe that is food blogger is a self-taught baker.” - PBS Food

“We love Eat the Love because Irvin's beautiful sweets look as good as they taste — his art director's eye appreciates the ruby sparkle of a pile of pomegranate seeds against the matte canvas of chocolate ganache.” - Saveur.com, Sites We Love

Popular Posts

Brookie Recipe (brownie and cookie) with potato chips, pretzels and double chocolate chips. Photo and recipe by Irvin Lin of Eat the Love.

Brookie Recipe with Salty Sweet Snack Treats

Perfect Soft Boiled Egg. Recipe and Photo by Irvin Lin of Eat the Love. www.eatthelove.com

Perfect Soft Boiled Egg

Korean Fried Chicken Recipe. Photo and recipe by Irvin Lin of Eat the Love. www.eatthelove.com

Korean Fried Chicken Recipe – insanely easy, super addictive

Personal Posts

Mexican Chocolate Corn Coffee Cake by Irvin Lin of Eat the Love.

Mexican Chocolate Corn Coffee Cake (and how AJ and I get engaged)

Grape and Blueberry Pie by Irvin Lin of Eat the Love.

Grape and Blueberry Pie

Crispy Oven Roasted Potatoes by Irvin Lin of Eat the Love.

Crispy Oven-Roasted Potatoes (and remembering a childhood friend)

Marbled, Swirled, and Layered.

My cookbook MARBLED, SWIRLED, and LAYERED

Recent Travel & Events

San Francisco Meals on Wheels Star Chefs and Vintners Gala 2019

Photo Essay: Meals on Wheels Gala 2019, part 2

Meals on Wheels Gala 2019

Photo Essay: Meals on Wheels Gala 2019, part 1

More Travel & Events

Wordless Recipes

EatTheLove Wordless Recipes #1 How to make your own ice cream "magic" chocolate hard shell

WORDLESS RECIPE #1: How to Make Your Own Ice Cream “Magic” Chocolate Hard Shell

Eat the Love presents: WORDLESS RECIPES #2 Halloween Edition - Haunted Honey Caramel Popcorn

WORDLESS RECIPE #2 Halloween Edition – Haunted Honey Caramel Popcorn

Molten-Lava-Chocolate-Cake-Wordless-Recipes-Valentines-Day-Eat-The-Love-Irvin-Lin-cover

WORDLESS RECIPES #3 Valentine’s Day Edition – Molten Chocolate Lava Cake

Bluth's Original Frozen Banana Copycat Wordless Recipe by Irvin Lin of Eat the Love. www.eatthelove.com

Wordless Recipe #4: Arrested Development’s Bluth’s Original Frozen Banana “Copycat” Recipe

Disclaimer

This blog currently has a partnership with Amazon.com in their affiliate program, which gives me a small percentage of sales if you buy a product through a link on my blog. I only recommend products (usually cookbooks, but sometimes ingredients or equipment) that I use and love, not for any compensation unless otherwise noted in the blog post. If you are uncomfortable with this, feel free to go directly to Amazon.com and search for the book or item of your choice.

Copyright © 2010–2026. Eat the Love. All rights reserved. | Privacy Policy

Rate This Recipe

Your vote:


A rating is required
A name is required
An email is required

Recipe Ratings without Comment

Something went wrong. Please try again.