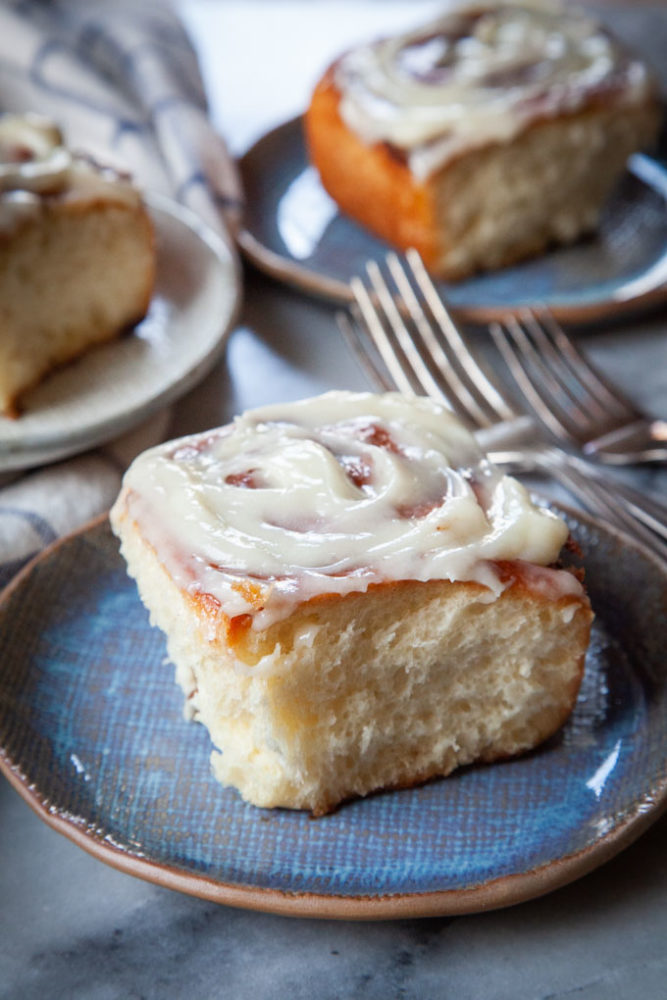
These fluffy cinnamon rolls are easy-to-make from scratch and have an extra amount of cinnamon in the filling make to give them zip and pop! Make them the night before if you want a special breakfast with minimal morning effort.

My obsession with cinnamon rolls is a little over the top. This is clearly evident in my archives, as I have recipes for pumpkin cinnamon rolls, sweet potato cinnamons, rosemary pistachio cinnamon rolls, red velvet cinnamon rolls, eggnog cinnamon rolls, and quick and easy cinnamon rolls. Heck I even have a cinnamon bun cookie on this blog! WHAT. IS. WRONG. WITH. ME. (some would argue SO MUCH, but that’s probably a blog post for another day). YET…somehow I have never shared a recipe for my basic classic cinnamon rolls. Partly it is because I keep on tinkering with the recipe, trying over and over to find that center of the Venn diagram of easy-to-make, super fluffy, and extra tasty without being too sweet. Finally, here’s my favorite homemade cinnamon roll recipe.
How do you make cinnamon rolls from scratch?
Classic cinnamon rolls start with a yeasted enriched dough, which is just fancy phrasing for a dough made with yeast, flour, butter, milk and eggs. It’s not difficult to make, though it does helps if you use a stand mixer to help knead the dough. Fear not though! If you don’t have a stand mixer, you can still make excellent cinnamon rolls. I have instructions for that too, just see the hand kneading section below!
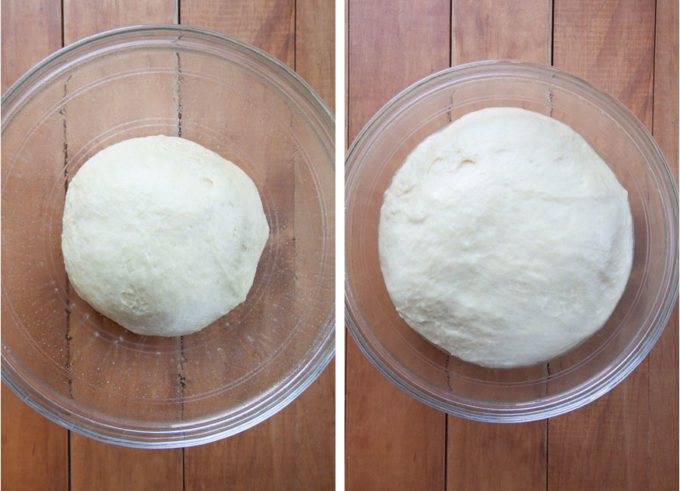
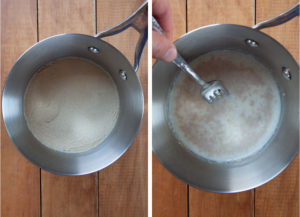
First proof the yeast (see the yeast section below on what this means) by dissolving it in milk with a little sugar. Then combine the yeasty liquid with flour, sugar, butter, and eggs. Knead until a dough forms. Let the dough rise until double in size.
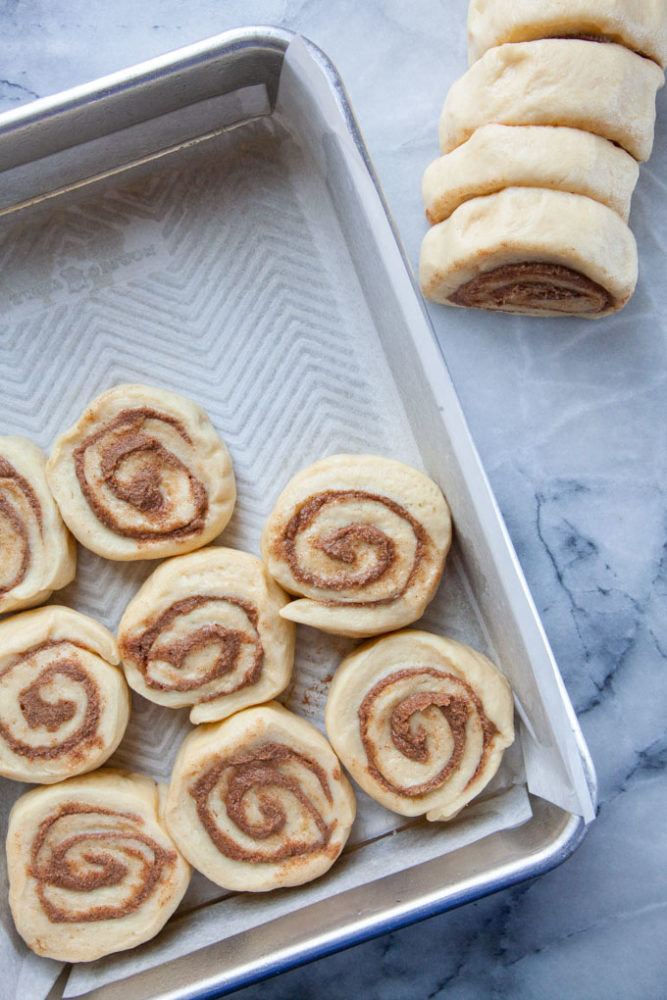
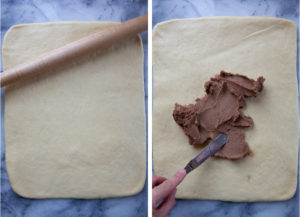
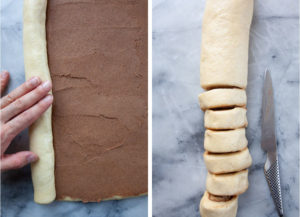
Once the dough is made and rolled out into a rectangle, you spread the cinnamon filling out on it, then you roll up the dough! Cut the dough into small disks, place in a baking pan, and let it rise again.
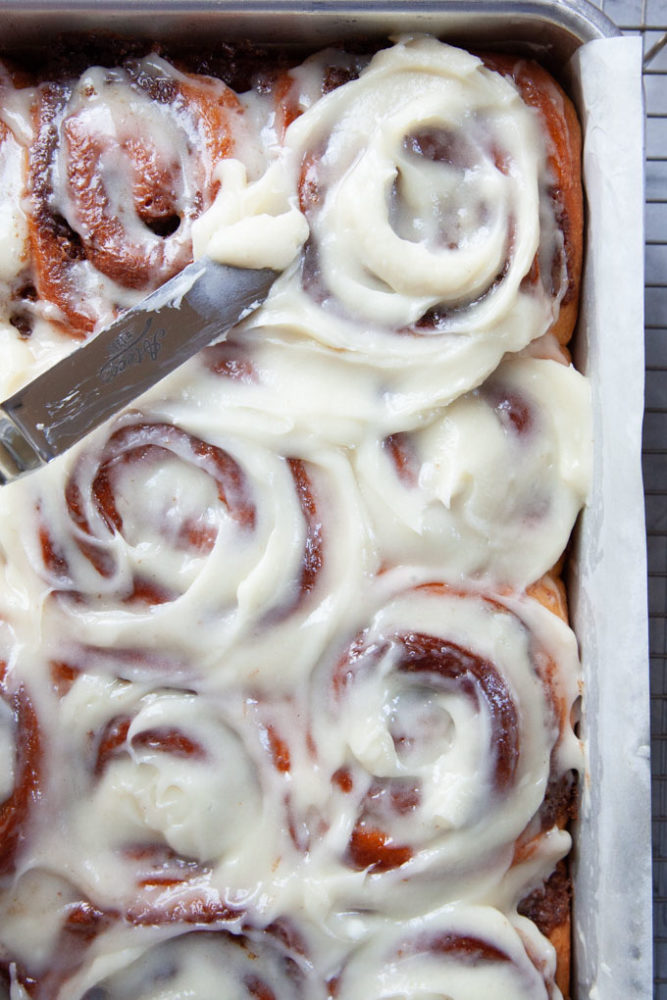
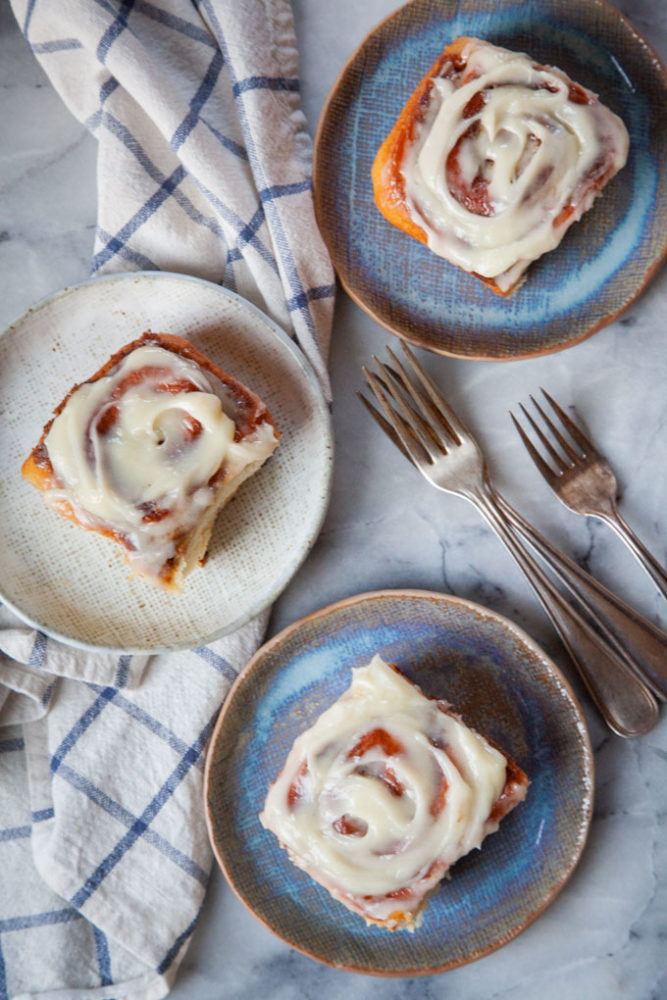
Then bake the rolls until they are gloriously golden brown! Glaze with a classic cream cheese frosting and serve them up.
Yeast scares me! Do you have any tips on using it?
I feel ya! I used to be scared of yeast too. But nowadays commercially available yeast (the kinds that come in packets at the grocery store) is pretty foolproof. Here are a few tips on how to comfortable use this common baking ingredient.
Use recently purchased yeast. Make sure the yeast package is well within the expiration date and hasn’t been languishing too long in the back of a hot kitchen cabinet. Storing your yeast in the fridge will help keep the yeast viable. Some folks even store it in the freezer, but I don’t bother as I go through it too fast.
Proof the yeast. This process sounds scary but all it entails is dissolving the yeast in warm (but not hot) liquid. If the yeast is “alive” you’ll start to see bubbles at the top of the liquid. Optimally the water or milk should be 90 to 100°F. But I never bother to get the thermometer, I just make sure the liquid is lukewarm to the touch.
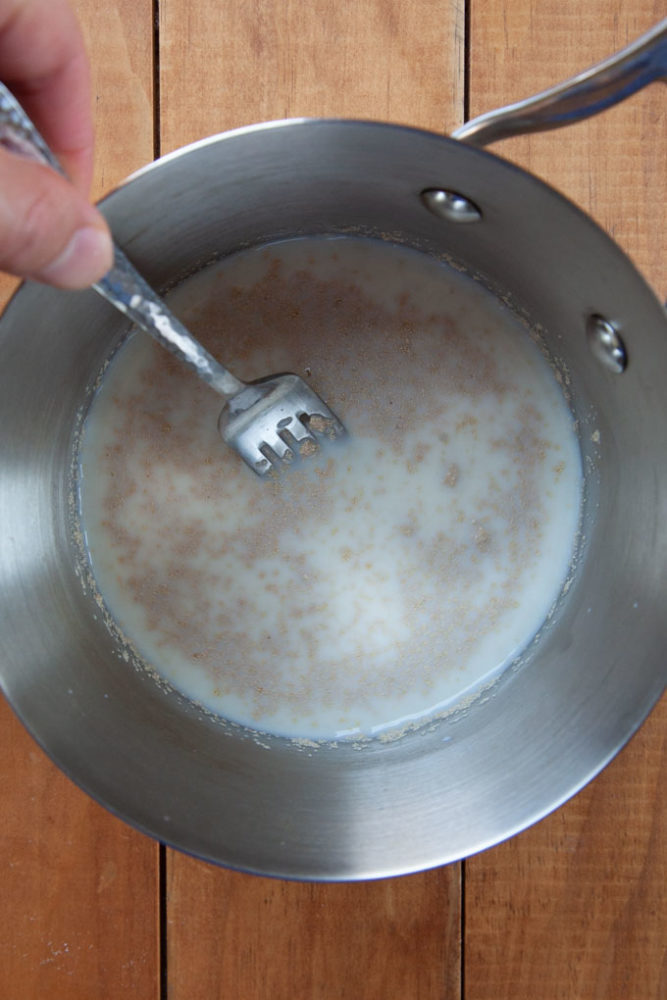
Sprinkle a little sugar into the liquid to give the yeast some “food” to grow. And keep in mind that milk (which is what I use in this recipe) often doesn’t proof the yeast as well as plain water. So don’t stress too much if you don’t see as much bubbles on the surface.
Don’t be confused or worried by the different variants of yeast! There are numerous names for the type of yeasts out there, and even more confusing, varies brands have their own name.
Regular active dry yeast is what I use to develop this recipe. But you can use Rapid Rise or Instant yeast as well! Just realize that both of them will make the dough rise faster. Just keep an eye on dough and just form the rolls when the dough has doubled in size. Then proceed with the recipe as directed.
I don’t have a stand mixer. Can I hand knead the dough?
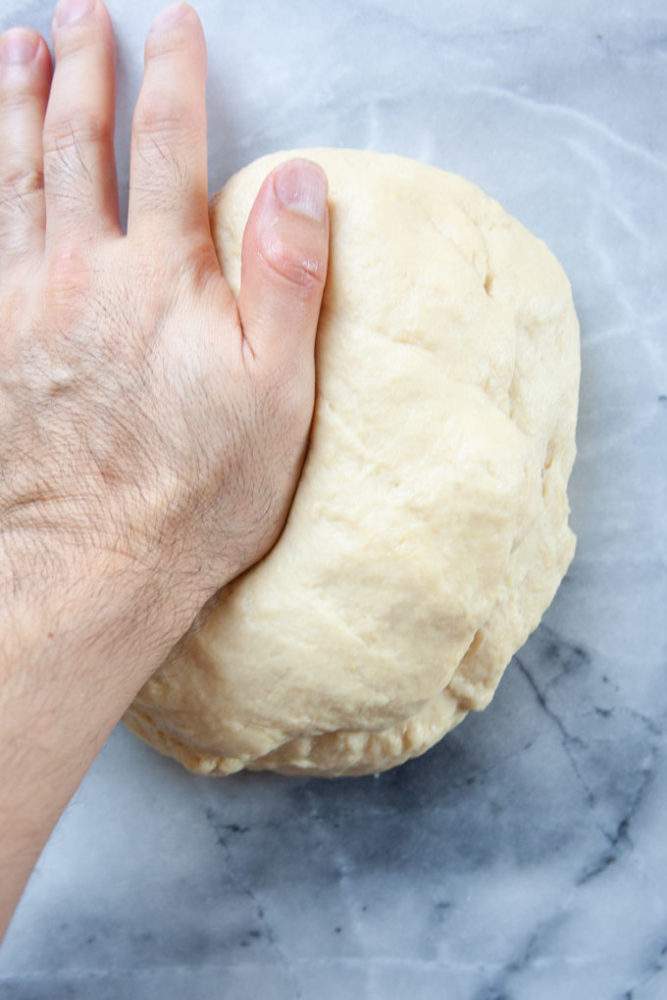
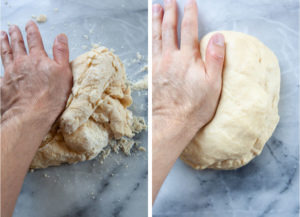
Yes! You don’t need a stand mixer to make cinnamon rolls, but it does make it a little bit easier is all. Just follow the instructions, mixing all the ingredients together in a large bowl with a wooden spoon or wooden spatula. Once a dough has formed and most of the wet ingredients are incorporated, carefully dump the content onto a clean surface.

Using the heels of your hands, push the dough down, then fold it over and push again. Continue this kneading process on the dough, incorporating the remaining dry ingredients into the dough. Continue to knead until you have a smooth elastic dough, about 5 to 6 minutes. Make sure to dust your hands and surface with extra flour if necessary. Keep in mind that the final dough is slightly tacky but not sticky.
Can I make these overnight rolls?
Yes! If you want, make the dough, let it rise, form the rolls and place them in the baking pan. Then cover them and let them sit in the refrigerator overnight. Bring them to room temperature the following morning (about an hour on the countertop) and proceed with baking them. If the rolls are still a little cool from the fridge and haven’t quite gotten to room temperature, don’t worry. Just bake them a few minutes longer.

You can make the frosting in the morning, or you can make it the night before, storing it in the fridge with the unbaked rolls. Just take the frosting out of the fridge when you take the rolls out of the fridge as well, so the frosting isn’t too stiff. Warm cinnamon rolls in the morning is the best!
How do I store these rolls?
Cinnamon rolls are best when they right out of the oven. The longer the rolls sit around, the drier and more stale they become. However, you can store leftover rolls for up to 1 day on the counter, covered in an airtight container. Or you can cover and store for up to 3 days in the fridge. Just make sure the rolls come to room temperature before serving or eating them.
Can I freeze these rolls?
Yes! These cinnamon rolls totally freeze. That said, the cream cheese frosting does get a little gooey when you pull the out of the freezer. If you are making them to serve a batch ahead of time, you might consider freezing them before you frost them. Thaw them out and then frost and serve.
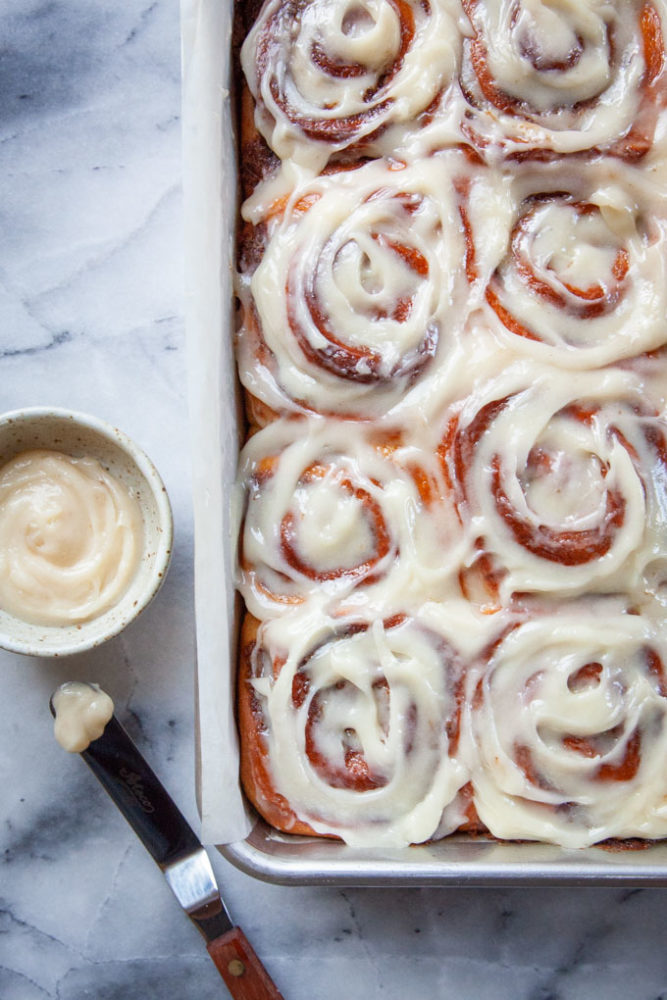
That said, you can store already frosted rolls in an airtight container in the freezer for up to 2 months. Thaw on the counter before serving. If you choose to store then in a Ziploc gallon freezer bag, I suggest covering the glazed cinnamon rolls with parchment or wax paper first, then placing them in the freezer. The paper will peel off the frozen frosting easier than trying to scrape the frosting off the plastic freezer bag.
If you like these cinnamon rolls check out these other morning baked goods:
- Apple Fritters
- Pumpkin Spice Latte Bread
- Pumpkin Spice Morning Buns
- Easy Kouign Amann
- Apple Cider Donuts
- Fig and Hazelnut Scones
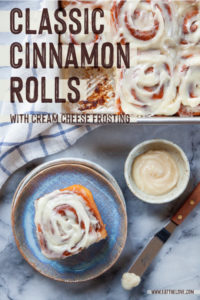
Cinnamon Rolls
Ingredients
Dough
- 1 cup warm milk, any kind 90 to 100°F
- 1/2 cup white sugar, divided 100 g
- 2 1/4 teaspoon active dry yeast
- 4 1/4 cups all-purpose flour 595 g
- 4 tablespoons unsalted butter, melted 57 g or 1/2 stick
- 1 teaspoon kosher salt
- 2 large eggs
Filling
- 1/2 cup unsalted butter at room temperature 115 g or 1 stick
- 3/4 cup packed dark brown sugar 165 g
- 2 tablespoon ground cinnamon
- 1/2 teaspoon ground nutmeg optional but recommended
- 1/4 teaspoon kosher salt
Frosting
- 1/2 cup unsalted butter at room temperature 115 g or 1 stick
- 4 ounces cream cheese at room temperature 1/2 cup or 1/2 brick
- 1 teaspoon vanilla extract
- 1/4 teaspoon kosher salt
- 1 cup powdered sugar, sifted 115 g
Instructions
- Make the dough by first proofing the yeast. Dissolve 1 teaspoon of the sugar (taken from the 1/2 cup) into the warm milk, then sprinkle the yeast over it and stir. Let the yeast proof for 5 minutes or until you see a few bubbles on the surface. Keep in mind that milk doesn’t proof yeast as easily as water, so don’t expect a lot of activity.

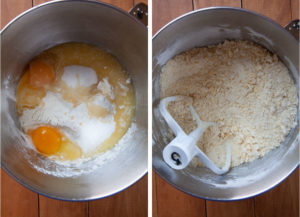
- Place the flour, remaining sugar, melted butter, salt and eggs in the bowl of a stand mixer fitted with a paddle attachment. Mix until they are blended and form a sandy consistency.
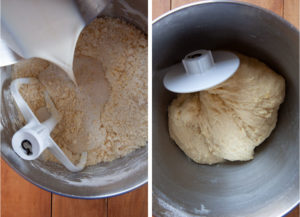
- Add the warm milk and mix until a dough forms and most of the dry ingredients are incorporated. Switch to the dough hook, and knead until a smooth elastic dough forms, about 3 to 4 minutes.
- If you don’t have a stand mixer or prefer to knead by hand, mix the ingredients together in a bowl with a wooden spoon, then dup the ingredients on a clean surface once a rough dough has formed. Knead by pushing the dough with the heel of your hand into the dough, then fold over and push again. Continue to knead until all the dry ingredients are incorporated and you have smooth and elastic dough, about 5 to 6 minutes.
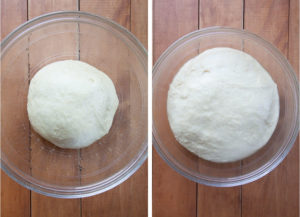
- Lightly spray a bowl with cooking oil. Pull the dough into a tight ball, then place the “rough” side of ball is facing down into the greased bowl and the top of the ball of dough is smooth. Cover with plastic wrap and set aside in a warm place for 60 minutes or until the dough has doubled in size.
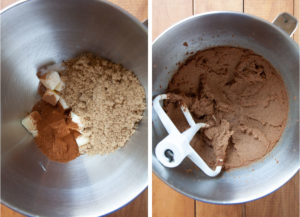
- While the dough is rising, make the filling by placing the butter, brown sugar, cinnamon, nutmeg and salt in the bowl of a stand mixer fitted with the paddle attachment. Mix the ingredients together until well blended, creamy in texture and clings to the side of the bowl.
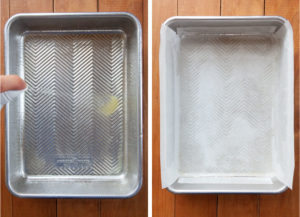
- Lightly spray the bottom and sides of a 9 x 13 x 2 inch tall pan with cooking oil, then line it with parchment paper, making sure some of the paper is hanging over the edges by about 1-inch.
- Once the dough has risen, roll the dough out into an 18 x 12 inch rectangle. Spread the filling over the dough, to the edges, leaving about a 1/2-inch border on one of the 18-inch sides.
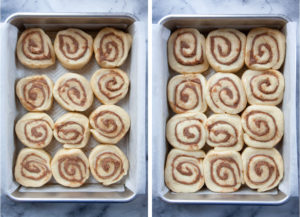
- Roll the dough up tightly, starting at one of the 18-inch sides, so you have a 18-inch long log. Cut the dough into 12 pieces, about 1 1/2 inches thick. Place them, swirl side up, inside the prepared baking pan.
- Cover with plastic wrap and let sit in a warm place to rise again, about 30 to 45 minutes. The rolls should be puffy and bulging slightly against each other. In the meanwhile, preheat the oven to 350°F. Once the rolls have risen, remove the plastic wrap and bake in the oven for 35 to 40 minutes, or until the top of the rolls are golden brown. If you have an instant read thermometer and you are persnickety about your baking (like me), the internal temperature of a center roll should be somewhere between 185 to 190°F.
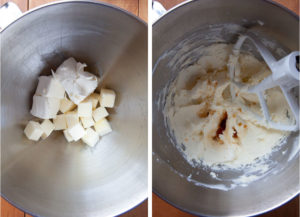
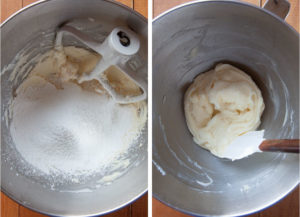
- While the rolls are baking, make the frosting by placing the butter and cream cheese in the bowl of a stand mixer fitted with a paddle attachment. Mix together until creamy and well blended. Add the vanilla extract and salt and mix to incorporate.
- Add the sifted powdered sugar into the bowl and mix until incorporated. You may want to scrape down the sides of the bowl halfway through to make sure all the sugar is absorbed.
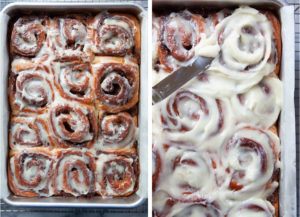
- Once rolls are done baking, immediately spread a thin layer of the frosting over the rolls. The frosting will immediately melt from the hot rolls. But this melted frosting will help keep the rolls from drying out. Let the rolls cool for about an hour, then spread the remaining frosting over the rolls. Serve immediately.
Veenas says
Nice Blog !! A Very Yummy Wonderful Recipe !!! WOW Nice Photos to See. I’ll Definitely Try it. Thank You for Sharing that Lovely Food.
Stephen Snell says
I’m all in on this. I’ve been yearning for cinnamon rolls for years, and with this simple recipe I have no excuse. It’ll be a family project for January. Thank you!
tetris says
I really appreciate this wonderful post that you have provided for us. I feel strongly that love and read more on this topic. I have spent a lot of my spare time reading your content. Thank you a lot.
Idol Worth says
Thank you! I hope to see more from you.
Sabrina says
always nice to make these from scratch, and that’s from direct experience just taking a bite of a store bought mini cinnamon roll that doesn’t really taste like anything other than something processed with cinnamon flavoring
mapquest directions says
Looking forward to you sharing more information, I have been looking for it for days.
Debi says
I make these for Christmas & give them away. Easy to make & delicious to eat😘 My family & friends love them❤️ I encourage anyone can make these❗️❤️
IGS says
Really nice recipe, with brilliant use of eggs and milk… a nice way to explain each step… good images… thanks for sharing with us… will definitely try it.
Lakshmi Stores says
This is wonderful dish I ever seen. Thanks for sharing.