This peach slab pie is packed with luscious peaches as well as a few secret ingredients to make it the best peach pie you’ve ever had.
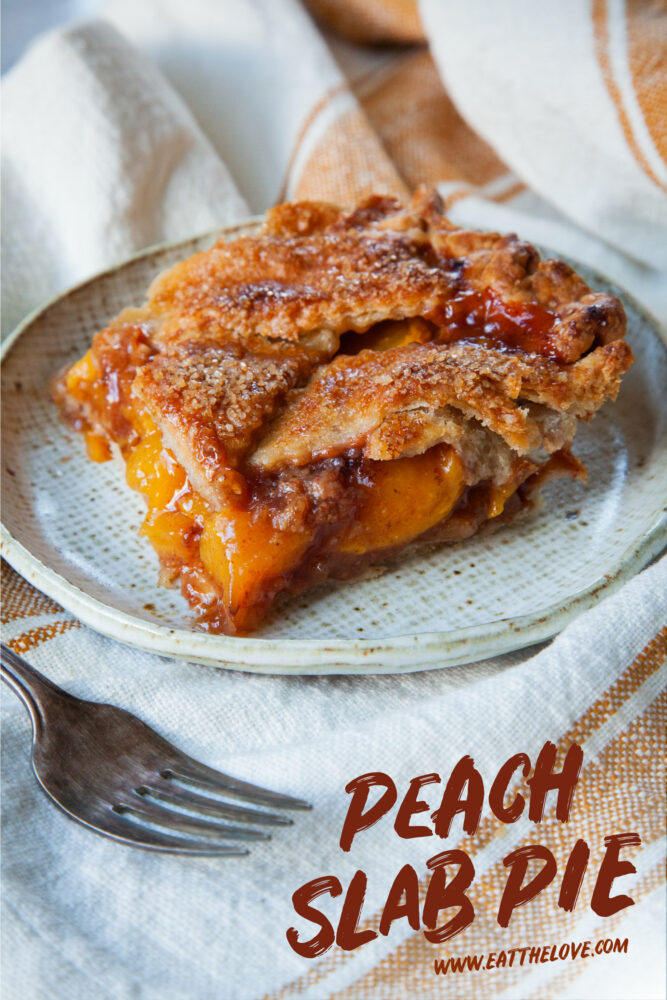
My husband is more of a cake person than a pie person, but he can’t resist a slab pie. It’s the high crust to filling ratio that he loves. It’s also why, when I make pies, lately I’ve been making them slab style, like my rhubarb and berry slab pie, my easy cherry slab pie, and my apple slab pie with prunes and brandy. With the summer quickly coming to end and stone fruit season fading fast, I grabbed a bunch of peaches at the store and set about making a peach slab pie for a dinner party I was going to.
What is a slab pie?

A slab pie is a pie made in a sheet pan, instead of a standard round pie pan. It is in a slab shape, thus the name, slab pie. It has a lower filling to crust ratio, making it ideal for those who love pie crust.
It’s also a great dessert for parties, picnics, gatherings, and potlucks/pitch-ins. The rectangular slab pie can be cut into easy-to-serve smaller portions, which is harder to do with a traditional round shaped pie.
This slab pie is made in a quarter sheet pan, which is a 1-inch deep 9 x 13-inch baking sheet. You can also make this in a more common 9 x 13-inch 2-inch pan (like the kind you bake brownies and sheet cakes) if you that is all you have. But I suggest you line the pan with parchment paper, with the edges of the paper overhanging the sides of the pan, which will allow you to grab the paper and lift the entire pie up from the pan. This will make it easier to serve, so you aren’t “digging” into the pan for each slice.
How do you make this peach slab pie?
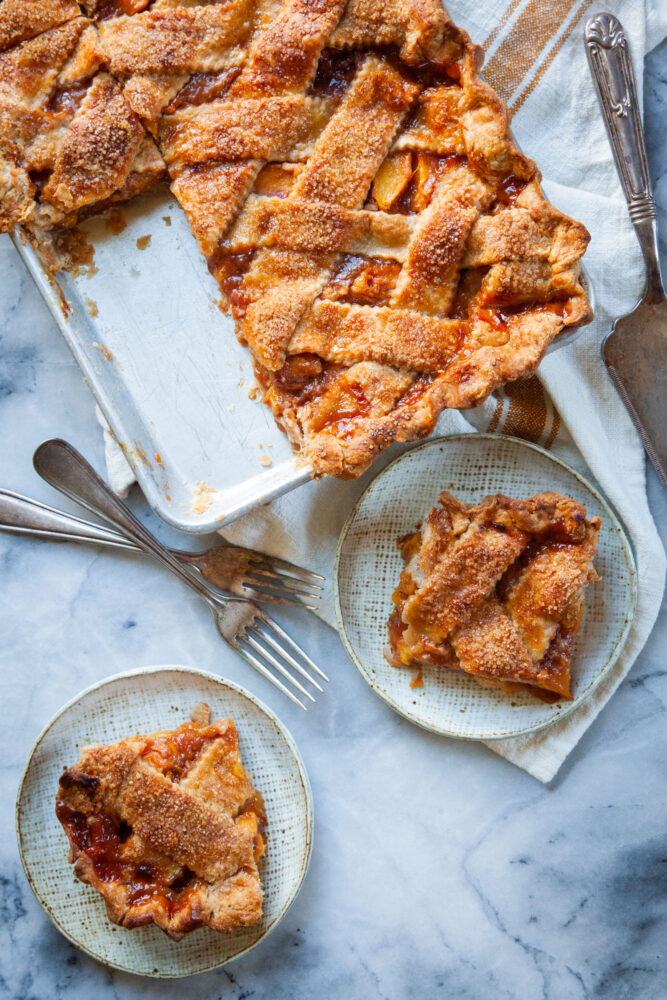
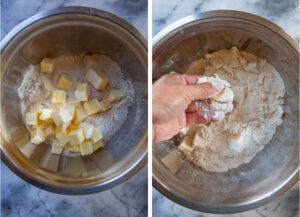
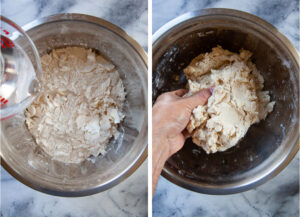
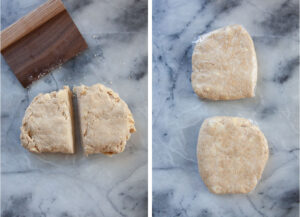
You start by making this pie like any other pie, by making the crust. Combine all-purpose and whole wheat flour in a bowl with salt. Add cut up cubes of cold butter and crush them with your fingers until they are flat. Drizzle water over the ingredients, tossing until absorbed and a dough forms. Divide and form two disks then wrap in plastic wrap and chill.
Once chilled, make the filling by combining peeled slices of peaches, brown sugar, spices, tapioca or cornstarch, a dash of bitters and a grated apple. Roll out one disk of the dough and fit into the quarter sheet pan. Add the filling and roll out the other dough. Add the second dough on top, either as a single sheet or in woven strips. Chill the entire unbaked pie in the fridge then bake until the filling is bubbling in the middle!
How do you peel the peaches?
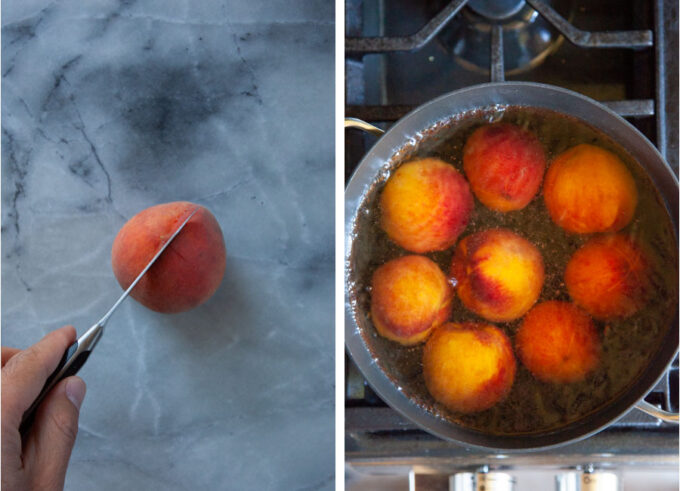
Peach desserts often require you to peel the peaches beforehand. Some folks use a serrated peeler to peel the peaches, which works especially well for underripe peaches, you do need to own a serrated peeler. I prefer to peel my peaches by first blanching them in boiling water then shocking them in ice cold water.
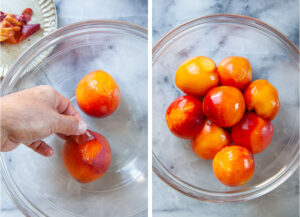
Bring a large pot of water to a boil. While the water is heating up, place a large bowl of ice water on a table and cut an X on the bottom of each peach with a sharp knife. Once the water is boiled, carefully add the peaches to the water, and let them cook for 1 to 2 minutes. The less ripe the peaches are, the more you need to let them cook in the boiling water. Super ripe peaches really only need 30 seconds.
Once the peaches have boiled, remove them from the pot and place them in the ice water bath to “shock” them. They pick them up, and simply peel off the skin of each peach using the X that you have made in the bottom of the fruit.
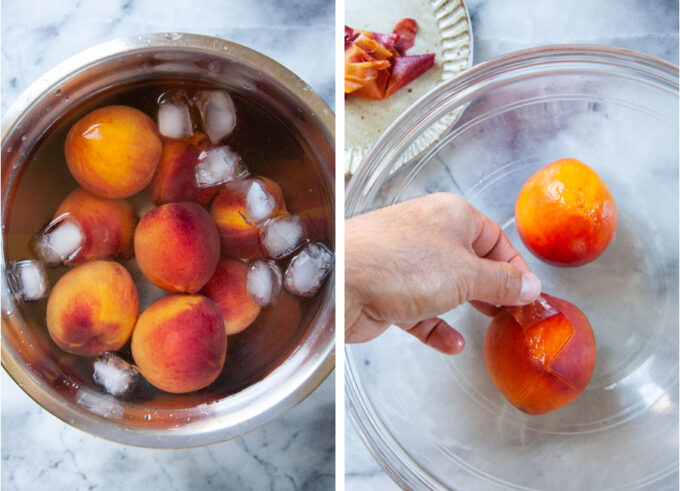
I have a whole blog post that goes more into details about how to peel peaches if you need more step-by-step instructions. But the whole process should only take about 5 minutes (not counting the time it takes to boil the water).
That said, if you don’t feel like peeling the peaches, you can always buy nectarines! Nectarines are botanically the same as peaches, but with smooth skin instead of fuzzy skin. Just let the nectarines ripen and slice them with the skin on to use in the filling in place of peaches.
What makes this peach pie different than other peach pies?
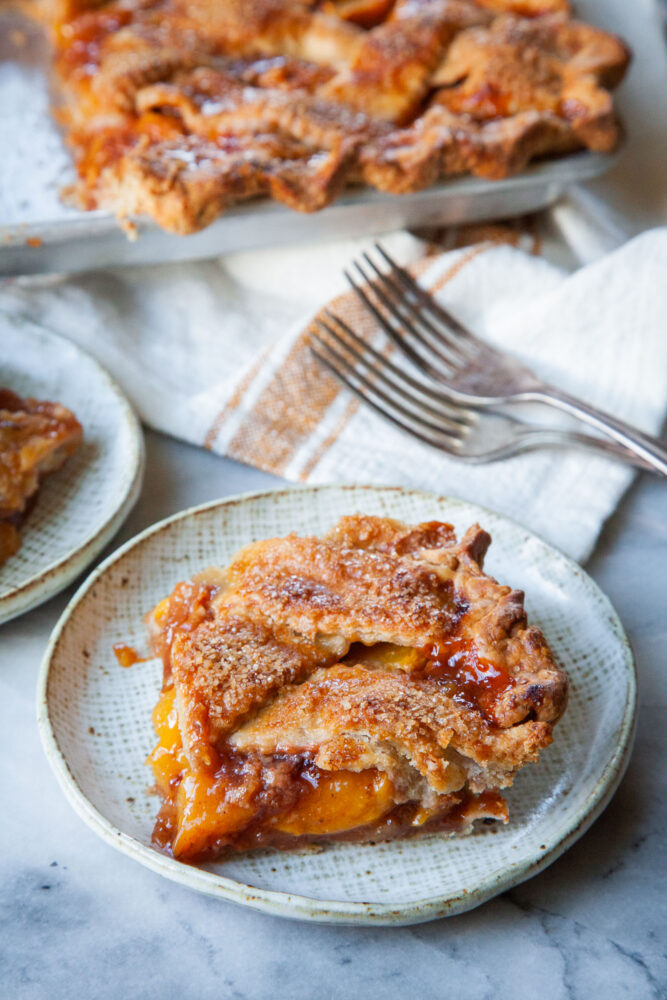
You’ll notice this pie recipe has a few extra ingredients that seem a bit odd or unusual, like paprika, bitters, a green apple, and raspberry vinegar. Each of them plays a role in the pie filling making it extra delightful. Here’s what they do:
- Paprika: a commonly found spice in most kitchen cabinets made of dried and ground red peppers. Usually used in savory dishes from Eastern Europe. I discovered adding paprika to my peach pie filling from the Four and Twenty Blackbirds Pie Book (<- affiliate link) who use it in their Paprika Peach Pie recipe. It adds a warm sweetness to the filling and also helps accentuates the golden orange honey tones of the peaches. I use sweet paprika but feel free to try out smoked or spicy if that’s what you have, or just omit the paprika all together. If you do use smoked or spicy, reduce the paprika to 1/2 teaspoon the first time you experiment, as both the smoked or spicy versions are much more assertive in flavor.
- Bitters: Cocktail bitters are spirits infused with herbs and spices. They are most often used in cocktails like the Manhattan or the Old Fashioned. But single dash adds complexity and another layer to the filling of pies and to savory dishes. I used Angostura bitters (both the traditional and the Orange) when making my peach pies. But feel free to experiment with other bitters you might have in your bar, or just omit them if you don’t have any or don’t want to add them.
- Green Apple: Though it sounds unorthodox, I am big proponent of adding a grated apple to my pie filling. A green apple like Granny Smith not only naturally adds a touch of fruity sweetness, as well as a little bit of tart acidity, but it also helps thicken the filling, as apples are full of a natural occurring protein called pectin, the same protein used to thicken jams, jellies, and preserves. Adding a grated apple will not only allow you to use less starch in the filling but still creates a sliceable pie. And no, you do not taste the apple! If you don’t have an apple or don’t wish to use it, just omit it and increase the starch to 6 tablespoons if you still want the pie filling to be firm. Use the same 1/4 cup of starch if you prefer a looser filling.
- Raspberry vinegar: I used raspberry vinegar because the subtle berry flavor of the vinegar compliments the peach stonefruit flavor. The acidity in the vinegar helps keep the peaches from going brown before it cooks, and also adds a bright juiciness to the filling. You can find raspberry vinegar in most well-stocked grocery stores. If you don’t have raspberry vinegar, you can swap out lemon juice or apple cider vinegar in its place.
Tips and Tricks:
- Cold ingredients for pie crust: The key to a flaky crust is using cold ingredients! Use cold butter and cold water. Some folks even chill their flour and bowl! But I don’t bother with going that far. I just make sure the butter and water are cold and work quickly so they don’t warm up.
- Chill the pie crust: I always chill my pie crust after making it, so the gluten protein in the flour can relax. Gluten is the protein that is formed when water is added to all-purpose flour. Chilling the dough relaxes the gluten, and also helps solidify the butter, which leads to a more tender and flaky crust.
- Chill the pie before baking: Yes, chilling the pie AGAIN after you assemble will help with flakiness. As you manipulate the dough, rolling it out and weaving the top, the crust will warm up. Chilling the dough again helps relax the dough, solidify the butter, and prevents the dough from shrinking. Those beautiful scalloped edges that you make will more likely stay in place if you chill the dough. Plus chilling the pie gives you time to pre-heat the oven.
- Use store-bought crust: If you don’t have time, find making pie crust intimidating, or just don’t feel like making pie crust, you can totally shortcut the recipe with store-bought pie crust! You might need 2 boxes of pre-made pie crust, and have to cobble it together for the top and bottom crusts to fit in a 9 x 13 inch pan. Just brush some egg wash on the dough and overlap them to form a larger crust. The egg wash acts as a “glue” helping to hold the dough together.
- Use frozen or canned fruit: Peaches have a limited season but that doesn’t mean you should only have peach pie in the summertime! Frozen peaches are a great alternative as are canned peaches. You might want to slice the peaches into thinner pieces for a slab pie because they tend to be on the chunker side. But otherwise, use the same amount of frozen peach pieces (no need to thaw them) or use the canned peaches (drained) in place of the fresh peaches. Increase the starch to 6 tablespoons (8 if you aren’t use an apple in the filling) as the frozen and canned peaches have more liquid. If using the frozen peaches, increase the bake time by 5 minutes in the end to accommodate the cold peaches.
- Add in berries: Feel free to play around a bit and add in 1 cup of berries like blueberries, blackberries, or raspberries or a mix of berries to make a peach berry slab pie.
- Use a different flour: I use a mix of whole wheat and all-purpose flour in this crust. But feel free to just use entirely all-purpose flour if that is what you have on hand. You can also swap out the whole wheat flour with rye flour which will lend a subtle nutty and earthy flavor to the crust.
Storage
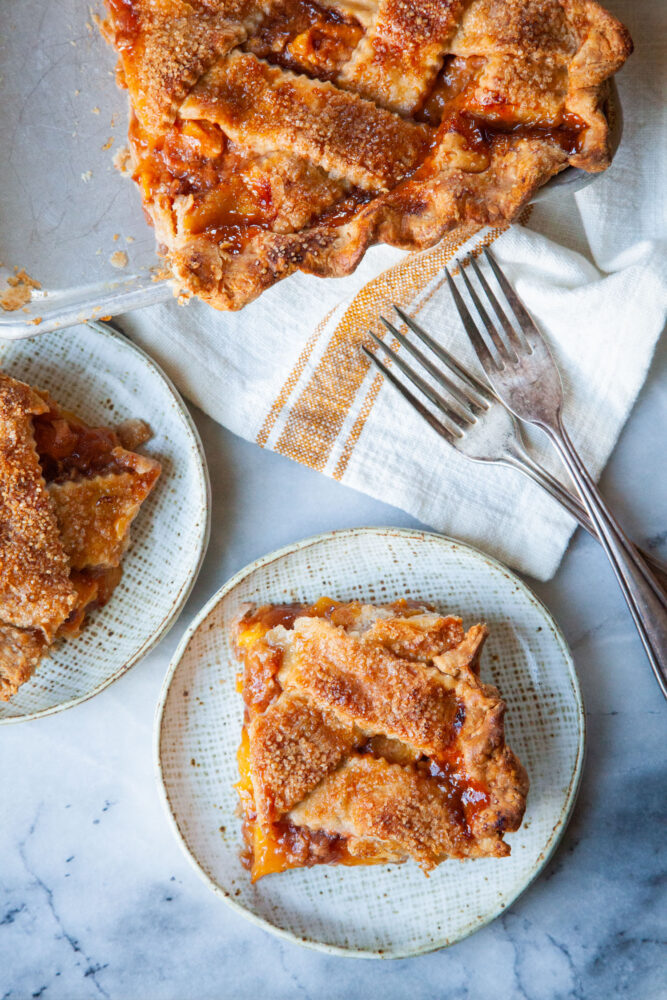
Like most pies, this peach slab pie is best eaten the day it is baked. But you can store leftovers either at room temperature for 1 to 2 days in an air tight container or under a cake dome, or in the fridge for up to 4 days.
You can also freeze the pie. Let it cool completely and then either freeze the entire pie as is in the freezer, first uncovered until frozen through, then wrapped in plastic wrap and placed in a large 2-gallon Ziploc bag. You can also freeze slices on a sheet pan uncovered, until frozen solid, then placed in a Ziploc bag, layered between pieces of parchment paper or wax paper, if you’d like. Thaw overnight in the fridge or on the counter for about an hour before serving.
If you like this peach pie, check out these other fruit dessert recipes
- Peach and Prosecco Cobbler
- Fig and Blackberry Tart
- Fried Apple Pies
- Strawberry Rhubarb Pie
- Classic Blueberry Pie
- Plum Galette
- Apple and Berry Cobbler
- Swedish Blueberry Cake
- Apple Fritters
- Grape and Blueberry Pie
- Apple Cider Donuts
Peach Slab Pie
Ingredients
Crust
- 2 cups all-purpose flour 280 grams
- 1 1/4 cup whole wheat flour 190 grams (or substitute all-purpose in place)
- 1 teaspoon kosher salt
- 3/4 cup to 1 cup ice cold water
- 1 1/4 cup unsalted cold butter 2 1/2 sticks or 285 grams
Filling
- 8 medium ripe peaches 2 1/2 to 3 pounds
- 3/4 cup packed light brown sugar 165 g
- 1/4 cup tapioca starch or cornstarch, 35 g
- 1 tablespoon raspberry vinegar can substitute lemon juice or apple cider vinegar
- 1 1/2 teaspoon sweet paprika
- 1/2 teaspoon ground cinnamon
- 1/4 teaspoon ground ginger
- 1/4 teaspoon ground nutmeg
- 1/2 teaspoon kosher salt
- 1 dash bitters like Angostura, optional but recommend
- 1 Granny Smith apple peeled, cored and quartered
To Finish
- 1 large egg yolk
- 1 tablespoon cold water
- 2 tablespoon turbinado sugar sparkling sugar or white granulated sugar
Instructions
Make the Crust
- Make the pie crust dough by placing the flour and salt in a large bowl. Cut the cold butter into 1/2-inch cubes and sprinkle them over the dry ingredients. Using your fingers, toss the cubes in the flour then smash them into flat pieces, roughly the size of a pea.

- Once all the butter is flattened and broken up, drizzle 2/3 cup of the ice water over the dough and toss with a fork until a dough starts to form. Using your hands massage the dry ingredients gently into the wet parts. If the dough looks too dry, add more water, a tablespoon at a time, until a solid dough forms.
- Divide the dough into two parts and then flatten each part into a disk about 5-inches wide and 1-inch thick. Wrap each dough with plastic wrap and then refrigerate for a minimum of an hour or overnight (or up to 2 days in the fridge).
Make the Filling
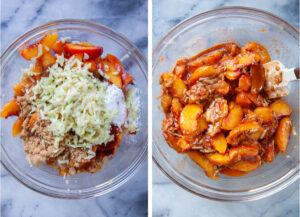
- Once the dough has chilled, start prepping the filling. First peel the peaches (see my section above for details on the best way to do that), then slice them to be 1/2 inch thick. Usually this is about 12 to 16 slices per average peach, a little thinner than a typical peach slice. Place them in a large glass, ceramic or plastic bowl.
- Add the brown sugar, tapioca starch (or cornstarch), raspberry vinegar, paprika, cinnamon, ginger, nutmeg, salt, and dash of bitters into the bowl.Take the apple and grate it over the filling. Then gently mix the filling together.
Assemble the Pie
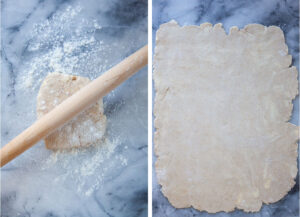
- Start assembling the pie. If you’re using a 9 x 13-inch baking pan (the kind that you make brownies in), lightly spray it with cooking oil, then line it with parchment paper. If you are using a 9 x 13-inch rimmed baking sheet (known as a quarter sheet pan), skip this step. Flour a clean surface and then roll out a disk of dough into an 11 x 15-inch rectangle.
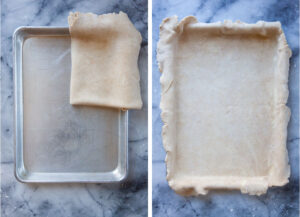
- Fold the dough into quarters. Move the dough carefully to the pan. Unfold and fit the dough into the baking sheet or pan, trying to NOT stretch the dough as much as possible. This will help prevent shrinkage.
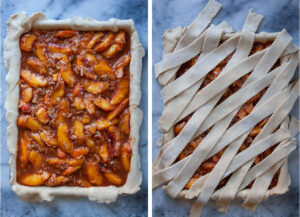
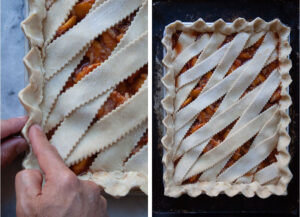
- Pour the peach filling into the pastry dough and then distribute the filling evenly throughout the pan.Repeat the rolling out of the dough with the remaining disk, making sure it 11 x 15 as well. Now you can place this dough directly over the pie (to make a double crusted pie) and then cut steam vents into the top with a sharp knife. Or you can cut the dough into strips, then “weave” a crust on top, first putting strips of dough in one direction, then alternating and lifting up the dough to weave it into a top crust.
- Seal the dough around the edges with your fingers, creating a scalloped edge. Then place back in the fridge to chill for 20 to 30 minutes. This will help the crimped edges keep their shape and maximize crust flakiness. While the pie is chilling, pre-heat the oven to 425°F.
Bake the pie
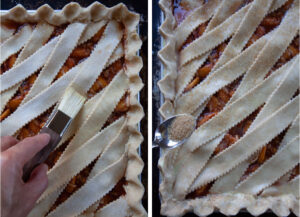
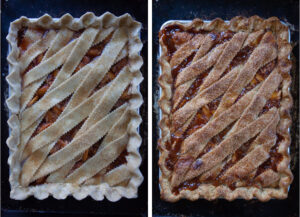
- Once the pie has chilled and the oven has reached temperature, place the cold pie on a rimmed baking sheet (to catch any overflow spillage as it bakes). Beat the egg yolk with water, and brush it over the top of the pie. Sprinkle with the turbinado (or white) sugar, then bake in the oven for 25 minutes. Then reduce the temperature of the oven to 375°F and continue baking for 25 to 30 minutes, or until the center of the pie is bubbling up through the top crust vents or holes.
- Let the pie cool for 1 hour on a wire rack for the filling to thicken before serving.
Lisa says
Is it sweet? I like eating peach.