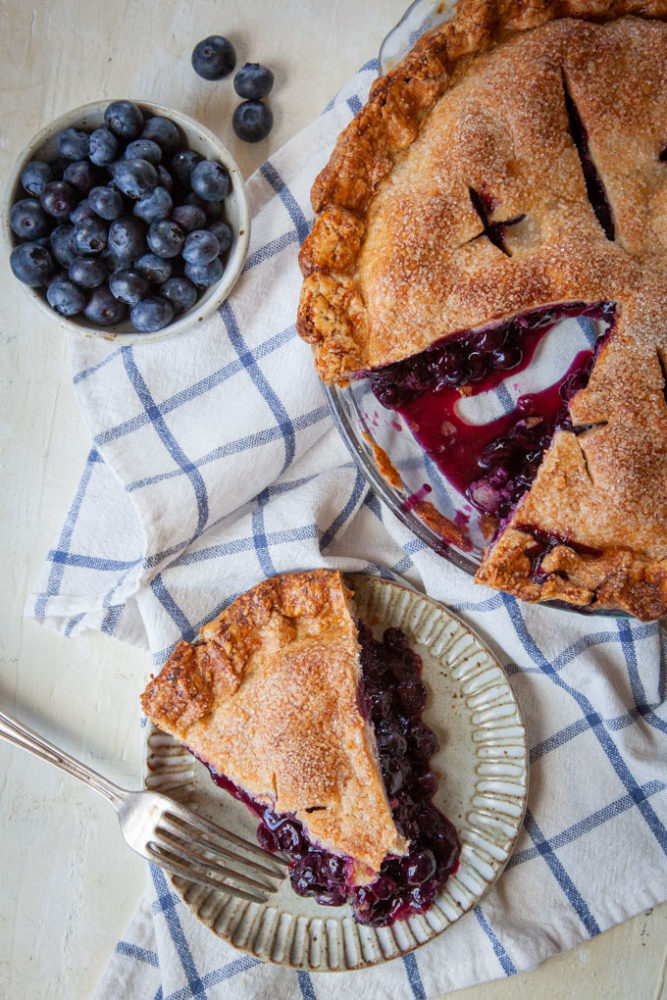
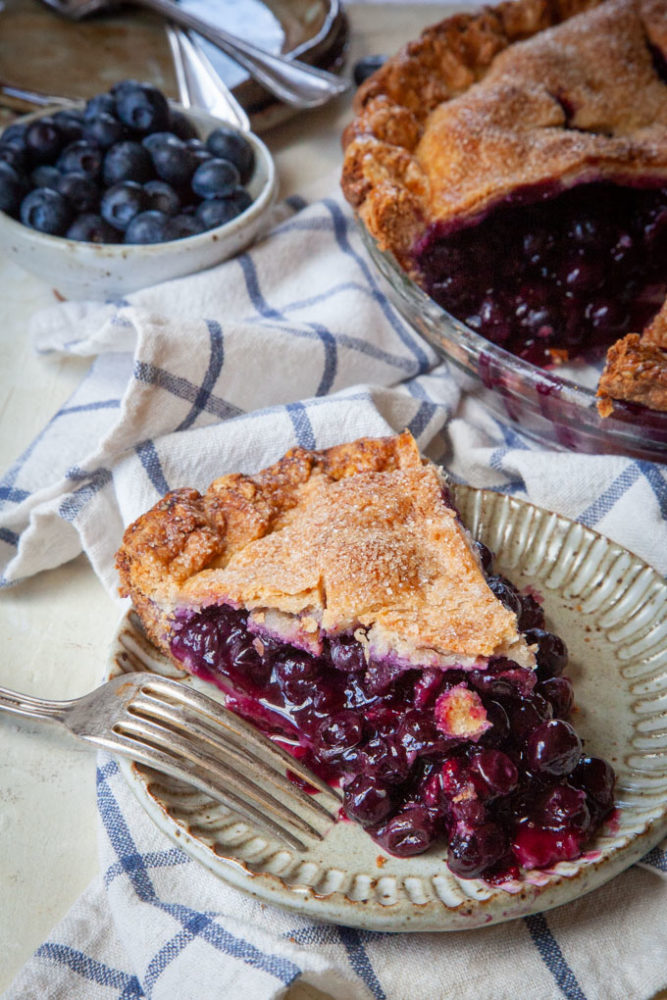
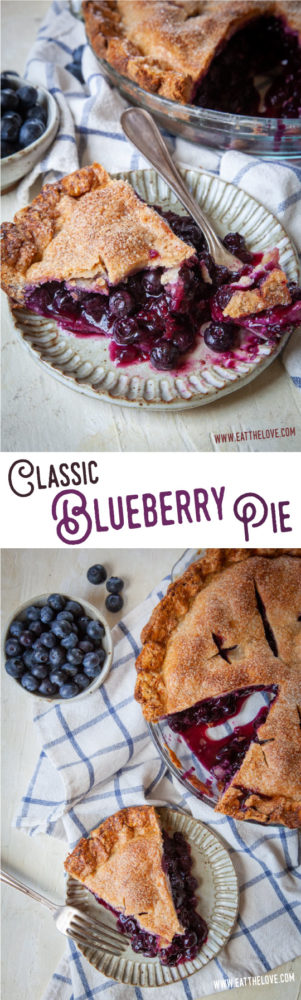
Vibrant and juicy, this is the best blueberry pie recipe made from scratch! It is everything you want in a blueberry pie.

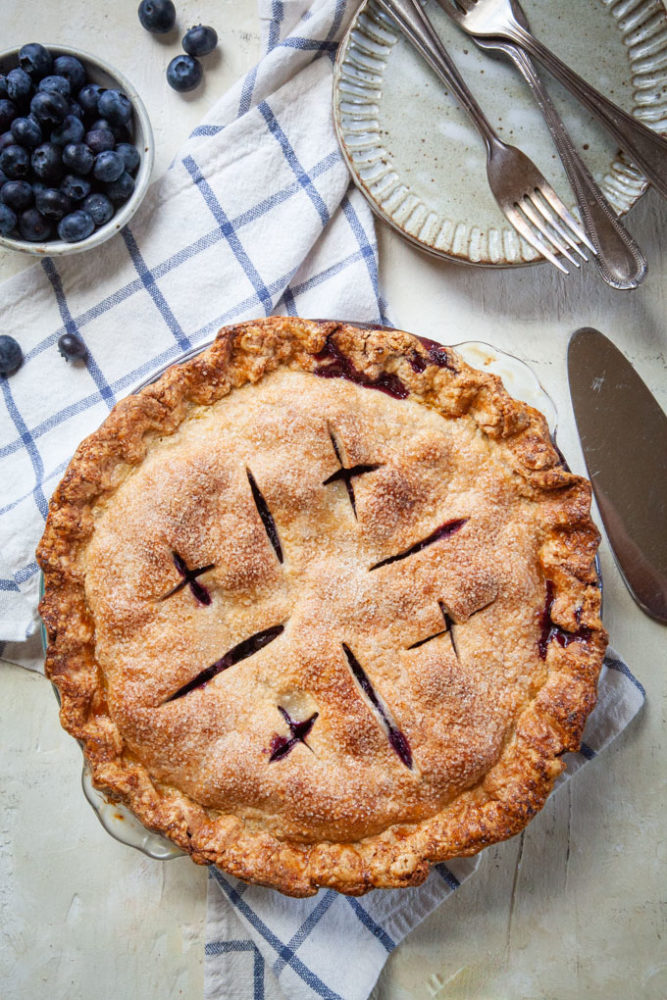
I get asked often what my favorite thing is to bake. And though I love cookies, cakes and cobblers, PIE is often the answer I give. I love to make pies, whether it’s a Mexican chocolate pecan pie, a handheld fried apple pie, or a rhubarb berry slab pie that is designed to feed a crowd. And though I like my fancy pants pies with woven crusts and decorative like my popular grape and blueberry pie, as well a buttery crumb topped pie like my summer fruit pie, there is something charmingly simple about a straightforward double crust pie like this blueberry pie. In fact, it’s one of my absolute favorite pies to make and eat! With minimal spices and a basic double crust, this easy, juicy and vibrant blueberry pie is everything you want in a fruit pie.
How to make blueberry pie
Making the best blueberry pie relies on making good pie crust and using quality berries. If you have access to wild blueberries, I recommend using those, as wild blueberries have a more intense robust flavor. But cultivated farmed blueberries are readily available for most folks and you’ll still get a pretty awesome pie with them.
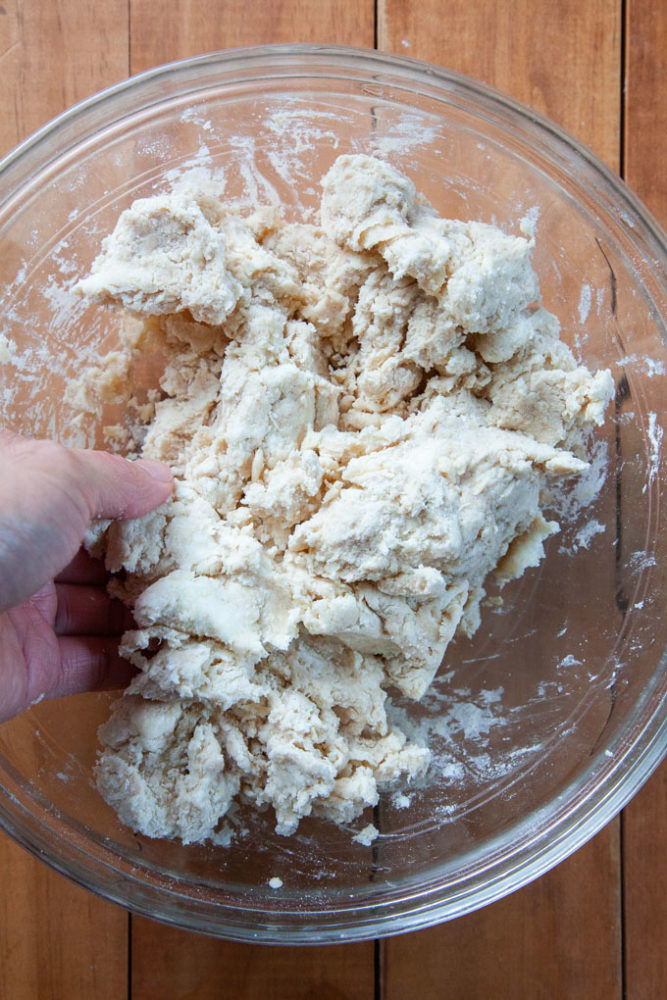
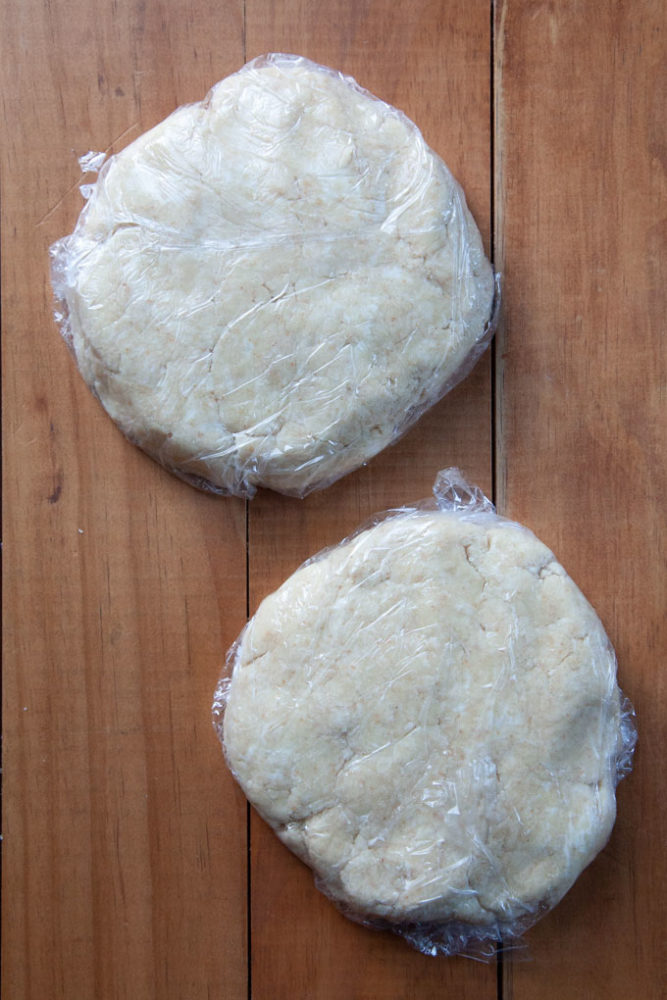
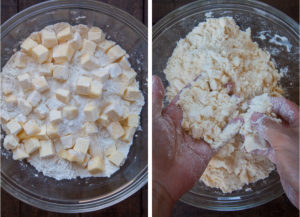
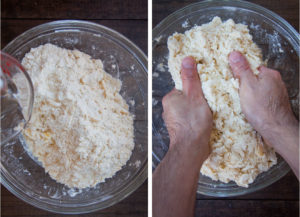
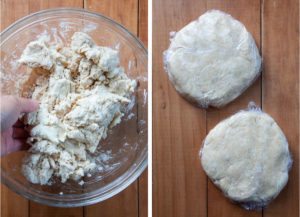
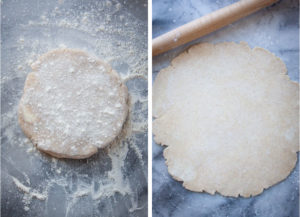
First make the crust by combining flour, salt, sugar and butter together. Smash the butter into small flat pieces, then drizzle water all over it. Toss until the dough forms. Divide the dough in half, flatten into a 1-inch disk, then cover with plastic wrap and chill for an hour or overnight.
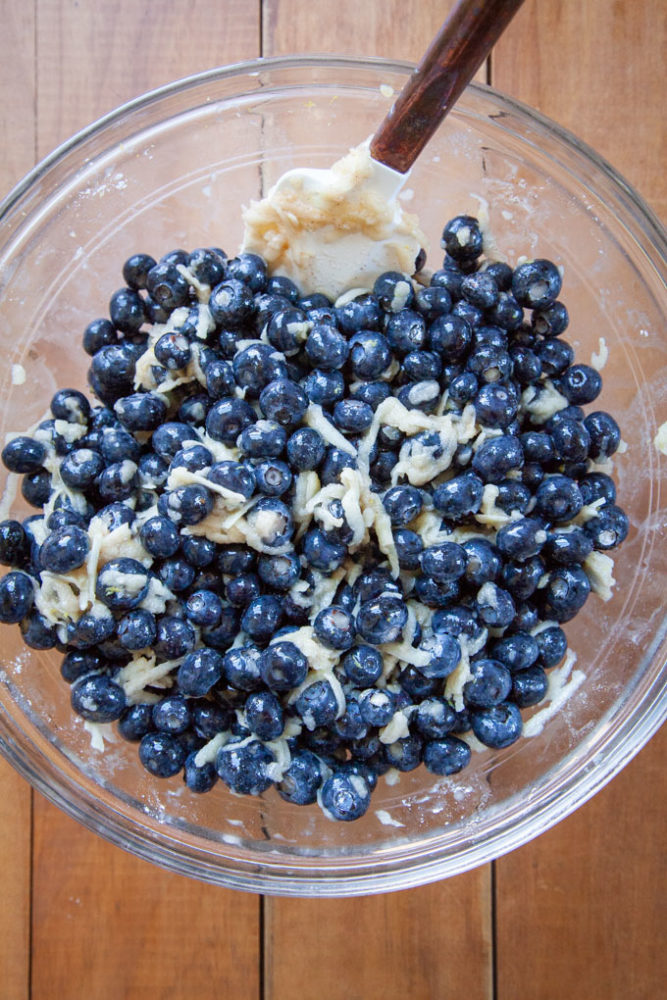
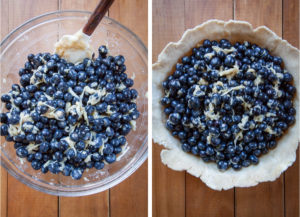
Once the dough has chilled, preheat the oven, and roll out one of the dough disks. Fit it in the pie pan and place back in the fridge. Make the filling by combining in a bowl, blueberries, lemon zest, lemon juice, tapioca starch (or cornstarch), sugar, cinnamon, allspice (optional), salt, and a grated apple.
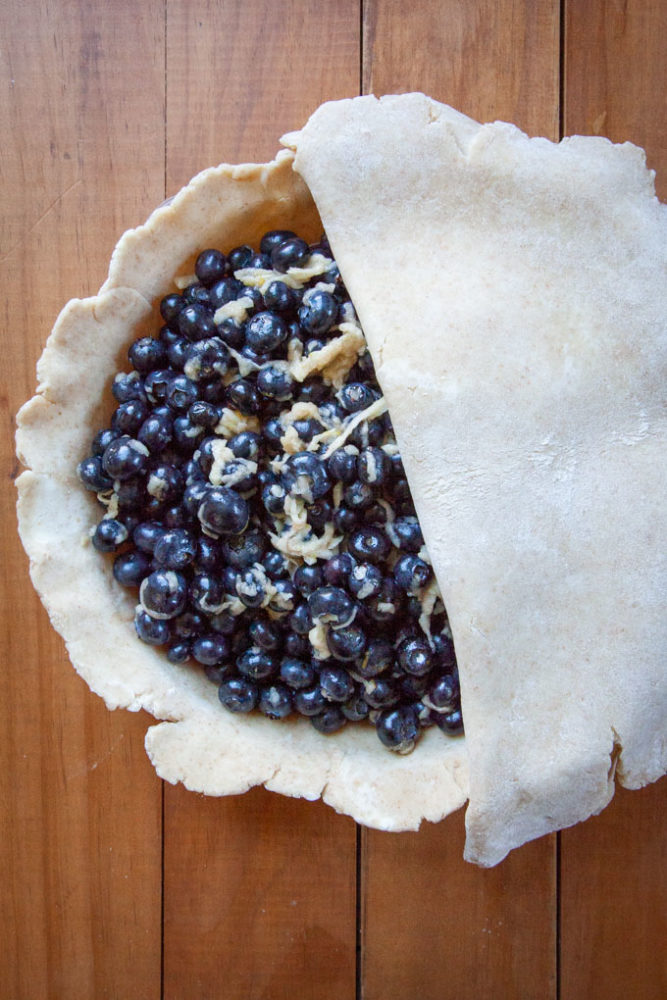
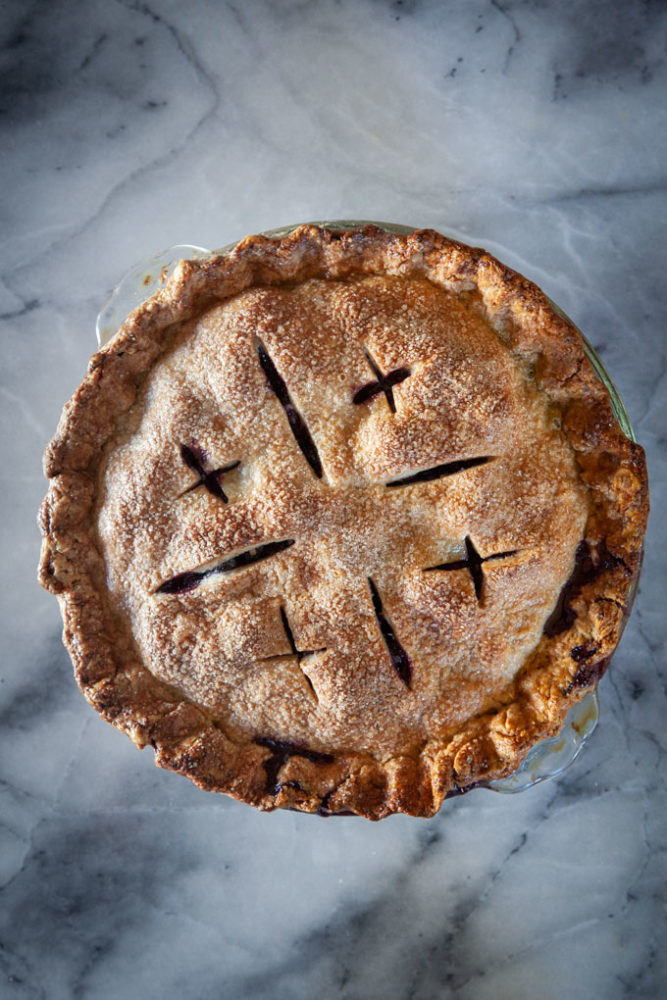
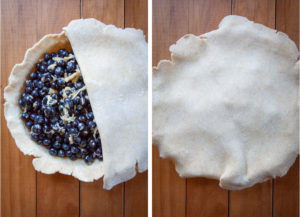
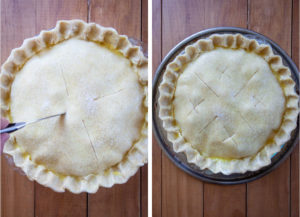
Pour into the pie shell, then roll out and top with the second disk. Flute the edges, brush with egg wash, and sprinkle with sugar.
Bake in the oven until the filling is bubbling hot. Let cool completely for the filling to set, then serve!
Why use an apple in the filling?
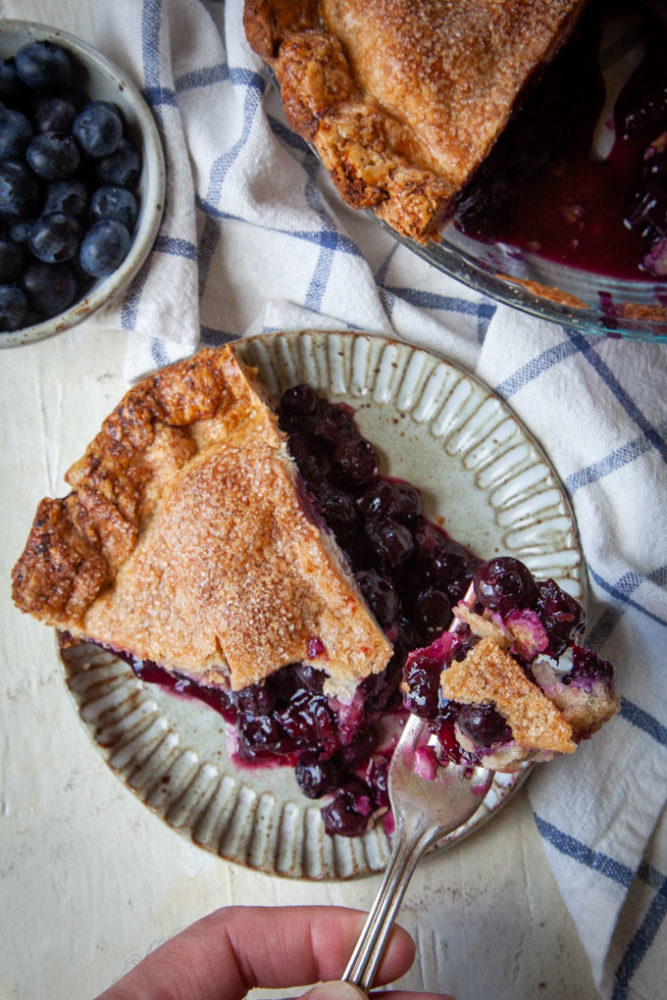
A lot of recipes have you using tapioca starch, cornstarch or flour as a thickener in the filling. I use both tapioca starch and a grated apple in my filling. The role of the apple does two things. It naturally sweetens the filling, meaning I can use less sugar, allowing the blueberry flavor to really shine through. But the apple also helps thicken the filling! Apples are naturally filled with pectin, which is the protein that helps set jams and preserves. This thickening protein also works in a pie filling!
Don’t worry about tasting the apple though. The apple blends into the background of the pie filling, allowing the vibrant blueberry flavor to take center stage.
Tips on the best pie crust
Pie crust is one of the most overlooked components of pie. Here’s a few tips on making the best pie crust so you get the best pie.

- Make it ahead of time. If you have the forethought, make the pie crust the day before and let it rest in the fridge overnight. This chilling will make the pie crust easier to handle as the water will have fully hydrated the flour, the gluten will have relaxed, and the butter will have solidified in the cold refrigerator creating a more flaky crust. If you didn’t make the crust a day ahead, allow the dough to rest for at least a minimum of 1 hour in the fridge
- Freeze the pie crust ahead of time. Pie crust freezes really well. So next time you make pie, make a double batch of the crust and the second batch. Wrap the disks of the dough in plastic wrap, then place it in a freezer Ziploc bag. Thaw the dough the night before in the fridge and just roll and bake!
- Chill the pie after filling and sealing it. Chilling the dough, for 30 minutes, again helps solidify the butter which increases pie flakiness. It also helps prevent shrinkage of the crust which means all those pretty crimping shapes around the edge of the pie stay pretty and crimped.
Next level blueberry filling tips
If you want to make an even BETTER blueberry pie filling and bring it to to the next level, here are a few tips to pack it with even more blueberry flavor into it.
- Use wild blueberries. If you have access to wild blueberries, try using the same amount of them in the filling than the cultivated ones. Wild blueberries have a more intense blueberry flavor and will give you an even better filling and pie flavor.
- Use frozen wild blueberries. Fresh wild blueberries are only available seasonally in certain locations where wild blueberries grow. But you can find frozen wild blueberries all year round across the country. Just mixing in 8 ounces of frozen wild blueberries (1 1/2 cups) to 1 1/2 pounds (4 1/2 cups) cultivated fresh blueberries into the filling will give your pie a more intense blueberry flavor. If you are using the frozen fruit, increase the tapioca or cornstarch to by 1 tablespoon as the frozen fruit will shed more liquid.
- Use freeze-dried blueberries. Freeze dried blueberries can be found at well-stocked grocery stores as well as specialty stores like Trader Joe’s. Just look in the produce section or near the dried fruit. Crush 1.2 ounces of freeze-dried fruit in a heavy-duty Ziploc bag with a rolling pin into a powder before adding it to the filling. The blueberry powder will intensify the flavor of the blueberry filling. Decrease the tapioca starch or cornstarch to 3 tablespoons if you do this, as the blueberry powder will absorb liquid and less starch is needed.
- Use dried blueberries in the filling. You can find dried blueberries in well-stocked grocery stores as well as specialty stores like Trader Joe’s and Costco. Just look in the produce section or where dried fruit is sold. Add 1/2 cup of dried blueberries to the filling. Decrease the tapioca starch or cornstarch to 3 tablespoons if you do this, as the dried blueberries will absorb liquid and less starch is needed.
Frequently asked questions
Store this pie at room temperature for up to 2 days covered. Or store it in the refrigerator for up to 5 days covered. Keep in mind that the longer you store the pie, the less flaky and more tough the pie crust will get. You can refresh the pie in a 300°F toaster oven or preheated oven for 5 to 10 minutes to help crisp up the crust.
Discard the pie if it smells off or notice any mold on it.
Yes. Blueberry pie can be frozen. If you would like to freeze a whole pie, just wrap it tightly with plastic wrap, then slip it into a large heavy-duty freezer Ziploc bag and freeze whole.
If you are freezing leftovers, I recommend cutting the pie slices into individual servings first, then freezing them in a container, with parchment paper separating the slices. This way you can thaw and defrost individual pieces to serve.
Frozen pie can keep in the freezer for up to 6 months.
Yes. You can use frozen blueberries for this filling! Don’t thaw the blueberries ahead of time. Just make the filling with the frozen blueberries. Increase the tapioca starch or cornstarch to 5 tablespoons a frozen fruit sheds more liquid or keep it at 4 tablespoons and just expect the filling to be a little more loose and juicy.
I always recommend homemade crust if possible as the flavor and texture is always going to be better than store bought. But I get that not everyone has time to make a pie crust and there’s no shame in shortcuts!
Store bought pie crust can totally be used in this recipe. If you are using a frozen pie crust, make sure the crust is completely thawed before rolling it out though. If you want a review of best store bought pie crusts check out Simply Recipes post on various purchased pie crusts.
If you like this blueberry pie recipe, check out these other blueberry recipes:

Blueberry Pie
Ingredients
Pie crust
- 2 1/2 cups all-purpose flour 350 g
- 2 teaspoons white sugar
- 1 teaspoon kosher salt
- 1 cup unsalted cold butter 225 g or 2 sticks
- 8 to 10 tablespoons ice cold water
Filling
- 6 cup blueberries 2 pounds or 910 g
- 1 teaspoon lemon zest
- 1 tablespoon lemon juice
- 1/4 cup tapioca starch or cornstarch
- 1/2 cup white sugar 100g
- 1/2 teaspoon cinnamon
- 1/4 teaspoon allspice optional
- 1/8 teaspoon kosher salt
- 1 apple peeled and grated
To finish
- 1 egg yolk
- 1 tablespoon water
- 1 tablespoon white sugar
Instructions
- Make a double pie crust by placing the flour, sugar and salt in a large bowl. Whisk together with a balloon whisk. Cut the butter into 1/2-inch cubes. Sprinkle over the dry ingredients. Using your fingers, smash the butter cubes into small flat pieces, about the size of peas. If the butter starts to stick to your hands, dip them back into the dry ingredients and coat with the flour.

- Once the butter has been broken down, drizzle the water over the flour and butter, tossing the dry ingredients with a fork. Once all the water is added, continue to toss, eventually working the wet and dry ingredients together with your hands. If the dough is too dry, add an additional 1 tablespoon of water, up to 2 tablespoons, until a dough forms.
- Once the dough has formed, divided the dough in half. Take half the dough and form a ball, then flatten it into a 1-inch disk. Wrap tightly with plastic wrap, then repeat with the second half of the dough. Refrigerate for 1 hour or overnight.
- Once the dough has chilled, roll out one pie crust disk into a 12-inch disk.
- Carefully move the dough into a deep-dish pie pan, making sure not to stretch the dough as you transfer it. Just gently fit it into the dish. Trim any excess dough around the pan.
- Place the blueberries, lemon zest, juice, tapioca starch, sugar, cinnamon, allspice (if using), salt, and grated apple in a large bowl. Mix to combine. Pour the filling into the pie crust.
- Roll out the second disk of dough into a 12-inch disk. Cover the pie with the top crust.
- Trim any excess pie crust, then seal the edge of the pie crust together by pinching the two crusts together. Decoratively crimp the pie edges. Place in the refrigerator and chill for 30 minutes. Preheat the oven to 425°F.
- Once the pie has chilled, place it on a rimmed baking sheet. Beat the egg yolk and water together in a bowl then brush it all over the top of the pie. Sprinkle the sugar all over the top of the pie.
- Cut some vents on top of the dough to let the steam release. Bake in the oven for 20 minutes. Reduce the heat to 350°F and bake an additional 50 to 60 minutes, or until the pie filling is bubbling up through the top pie crust. Check the pie 40 minutes after turning down the heat to see if the pie crust is browning too fast. If so, cover it with aluminum foil to prevent burning.Let the pie cool completely before serving for the filling to set.


Leah says
Hi,
I’m planning to make this pie next week, and I noticed that the post and recipe don’t specify what type of apple to grate for the filling. Does it matter?
Thank you!
Irvin says
Apologies for the late response but it doesn’t matter! I have used everything from Granny Smith (which is more tart) to Gala to Honeycrisp. The only apple I really avoid is Red Delicious as they tend to be really mushy. But even those will work as the apple is meant to fall apart in the filling.
Meticia James Huffington says
how to cut the ingredients for a 2 cups of blueberries pie