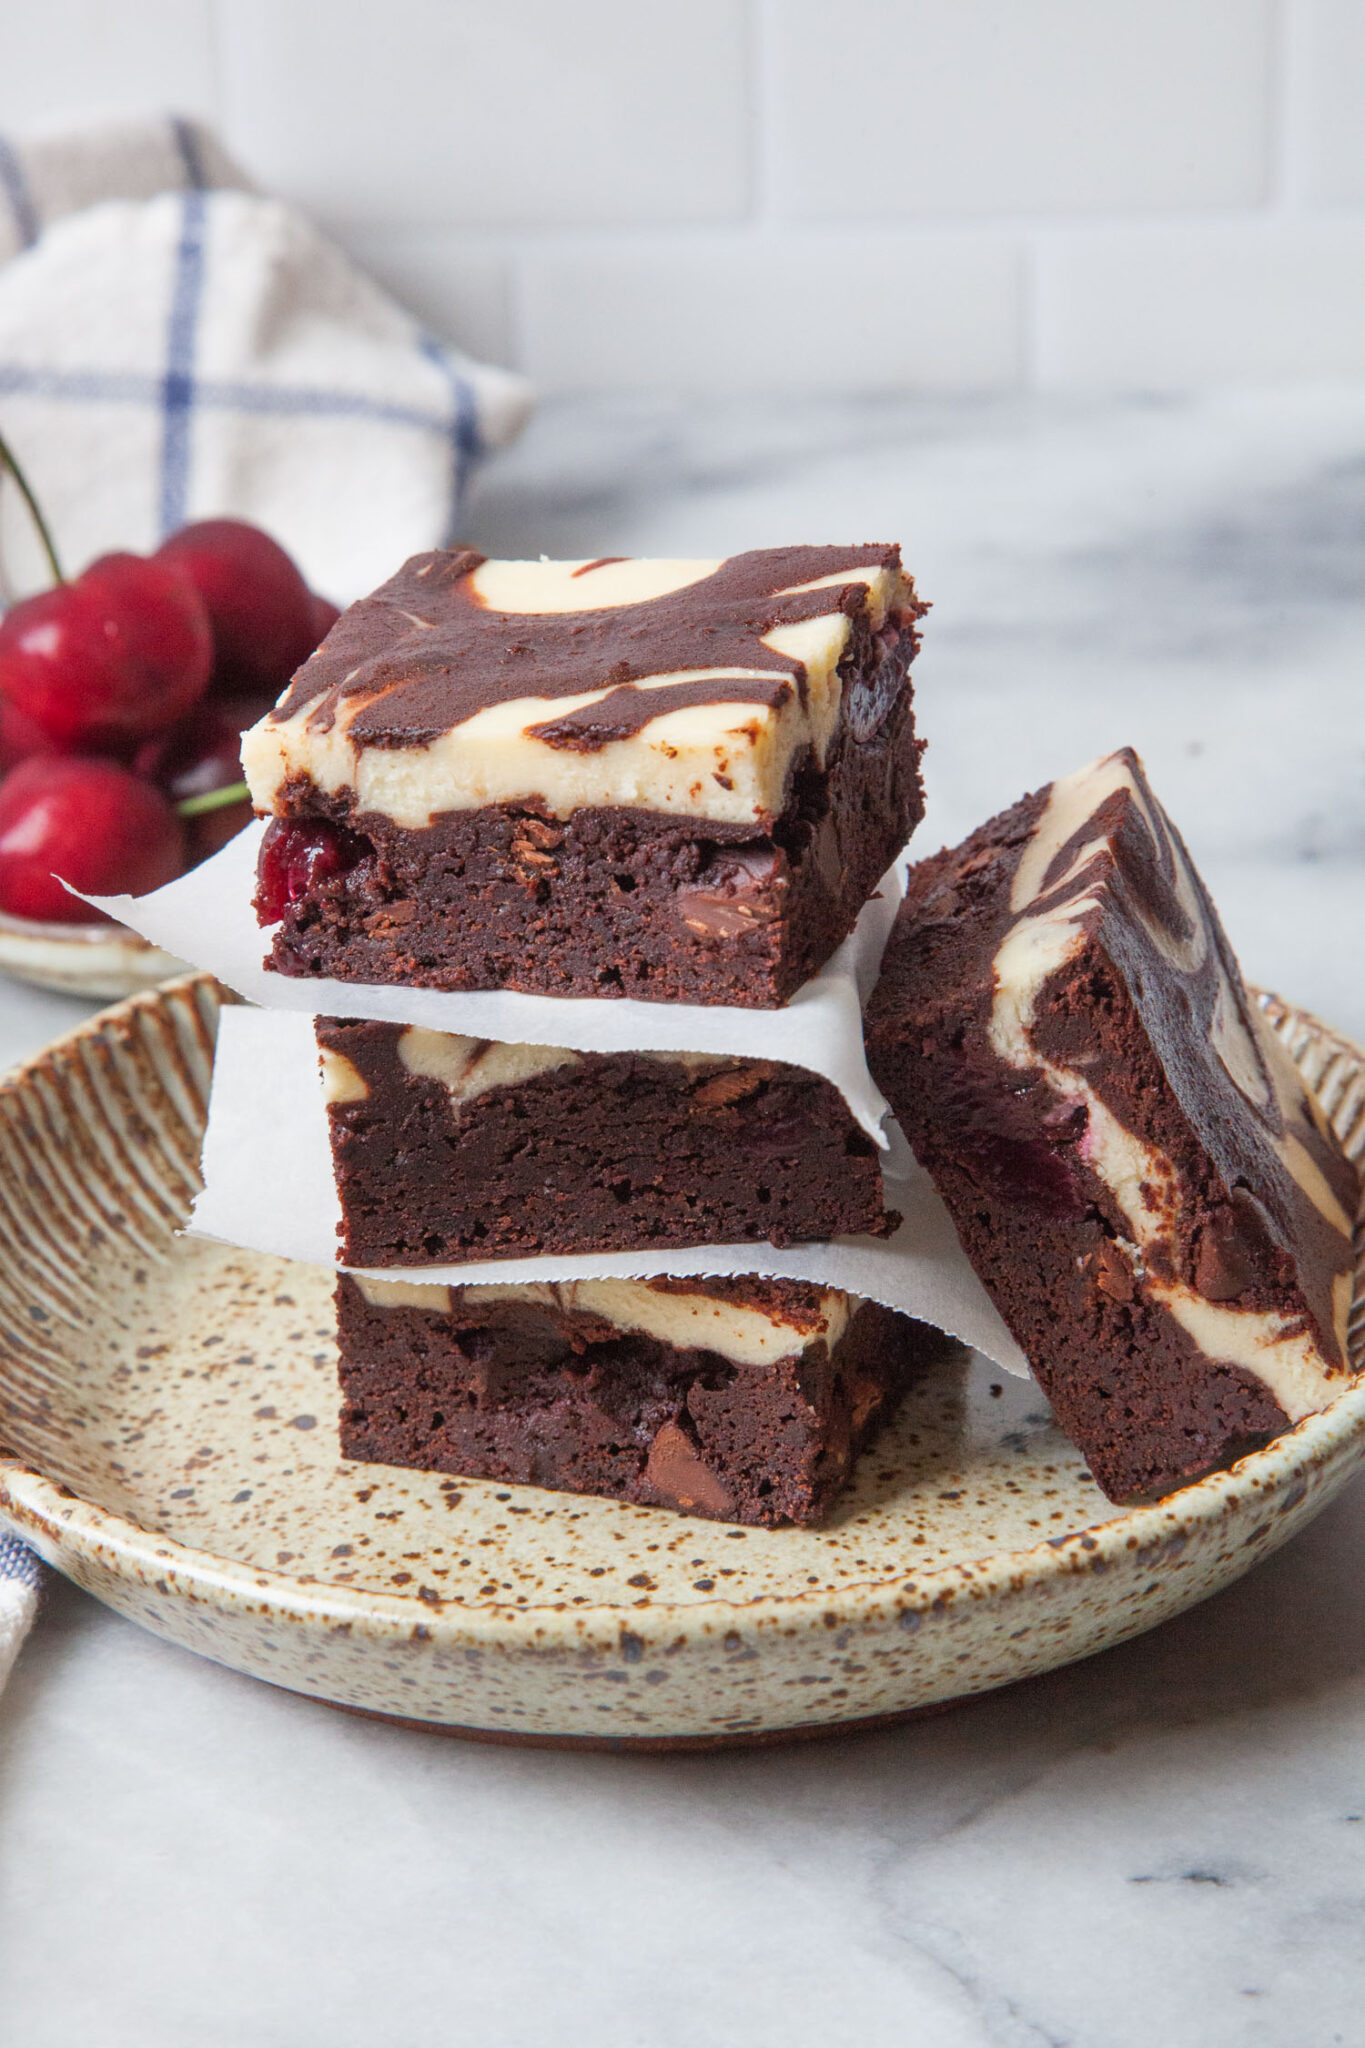
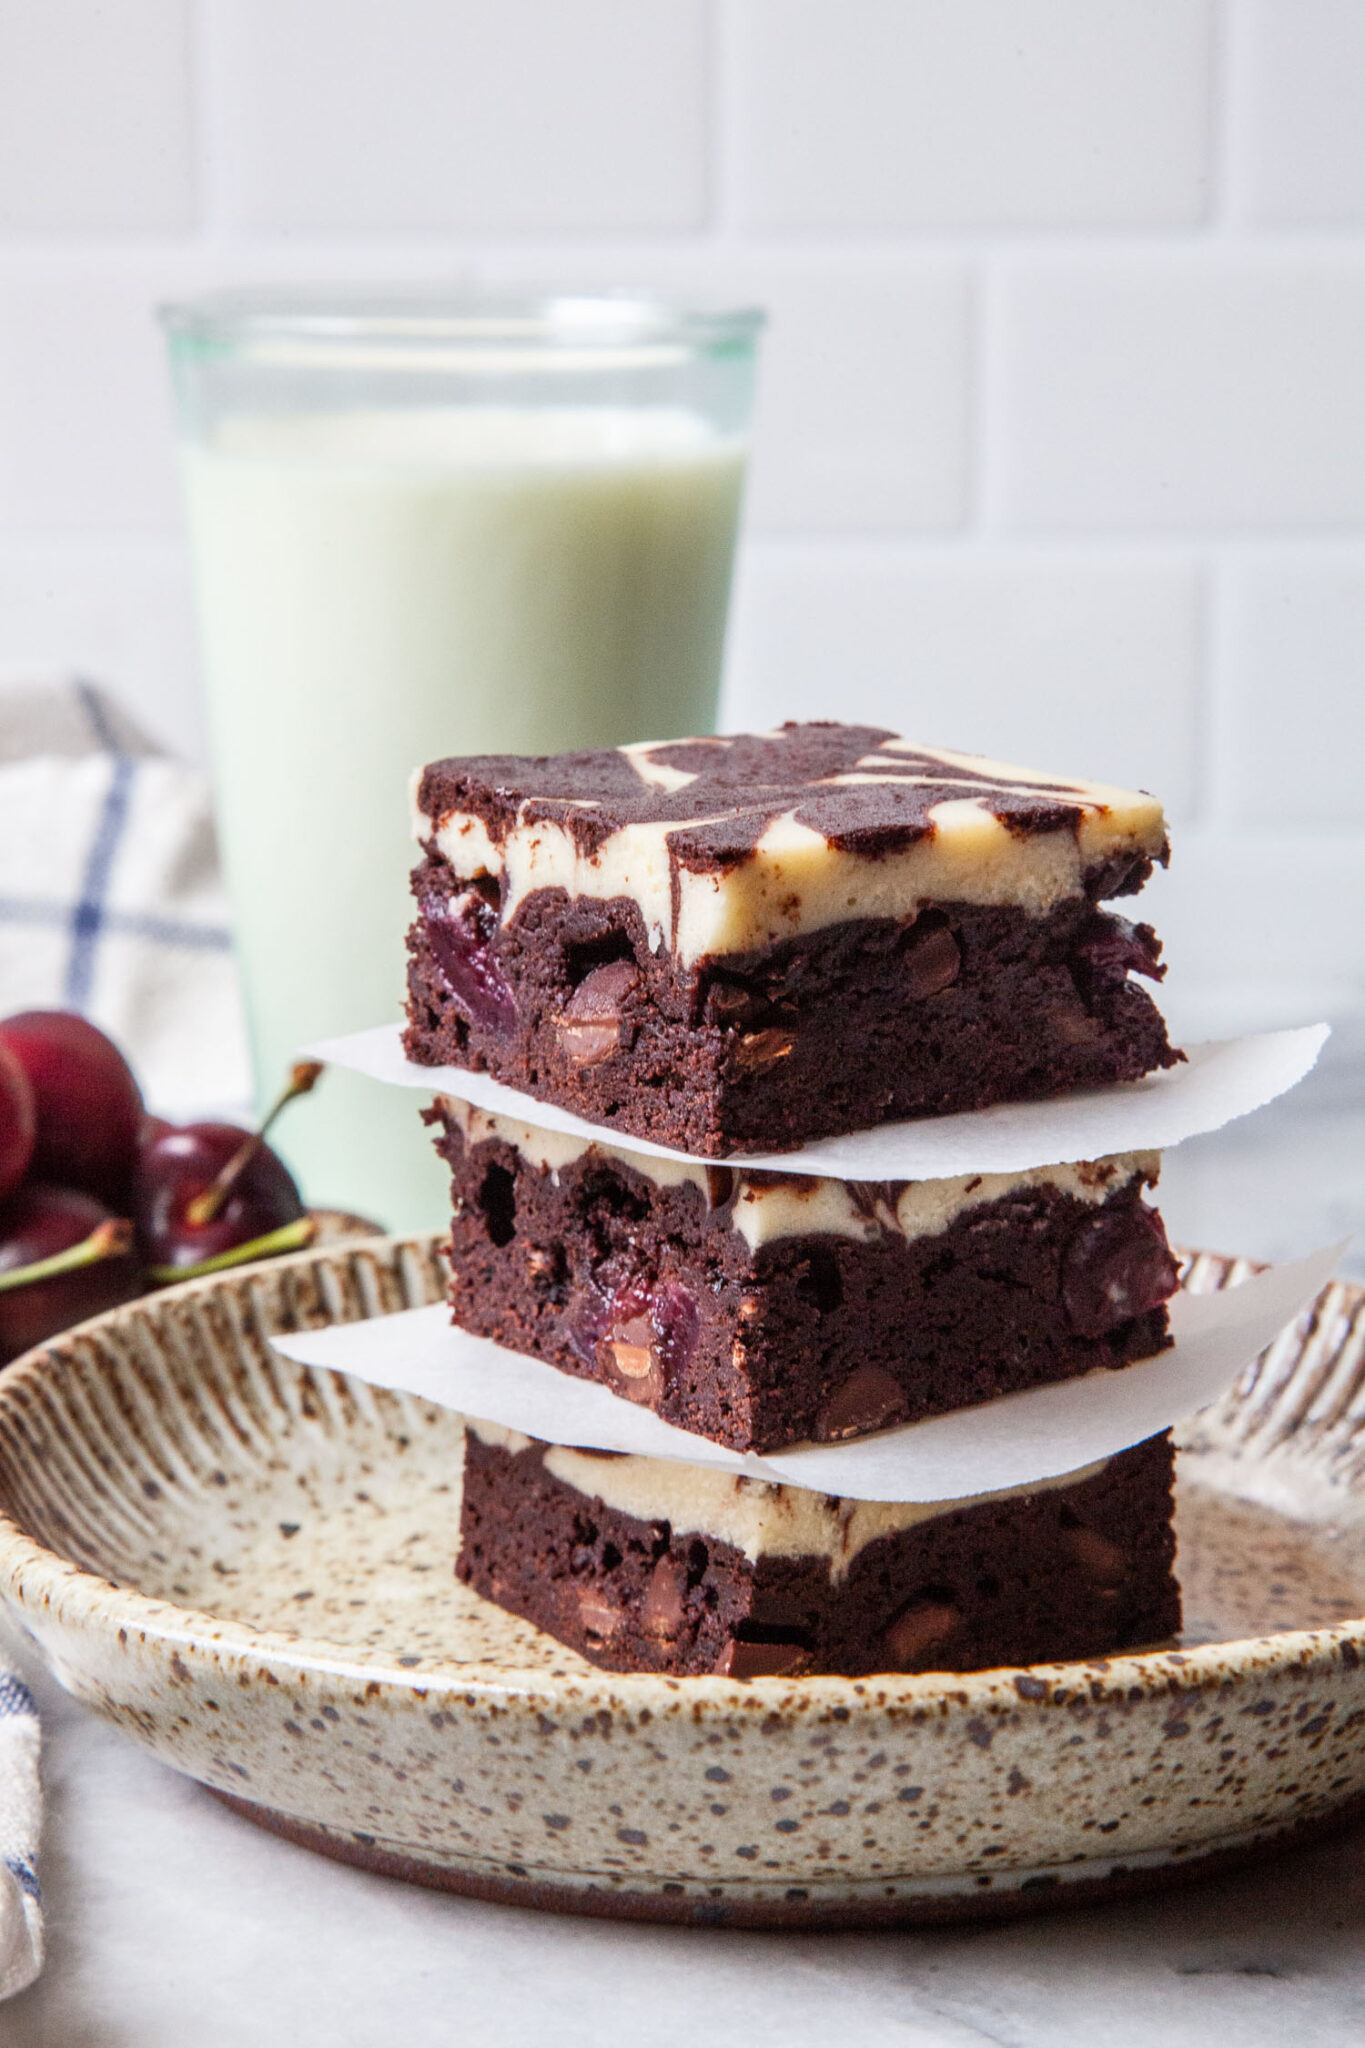
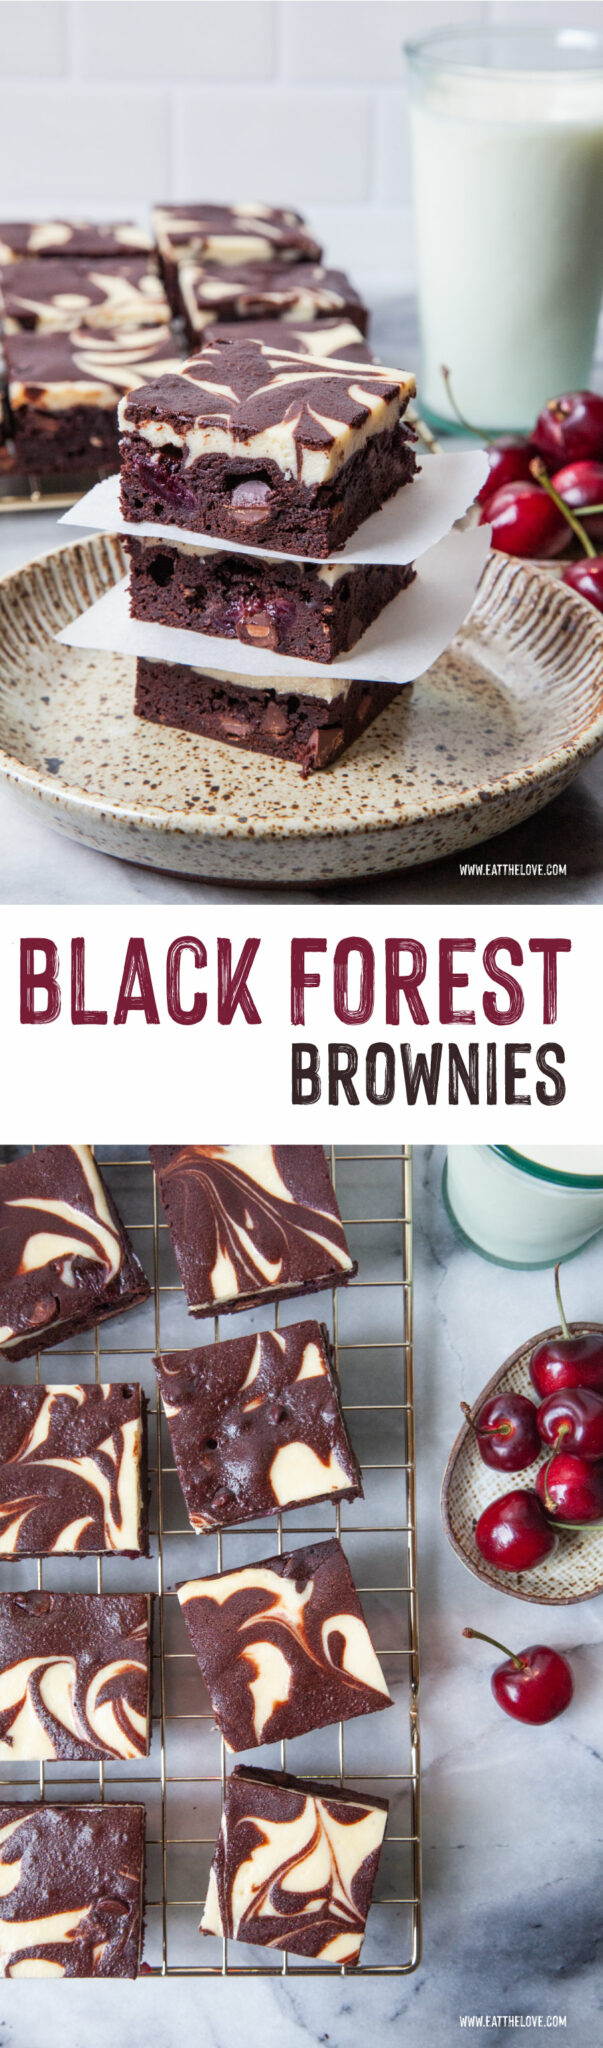
These Black Forest Brownies are inspired by the classic layer cake with fresh cherries, chocolate chips and swirls of vanilla cream cheese.
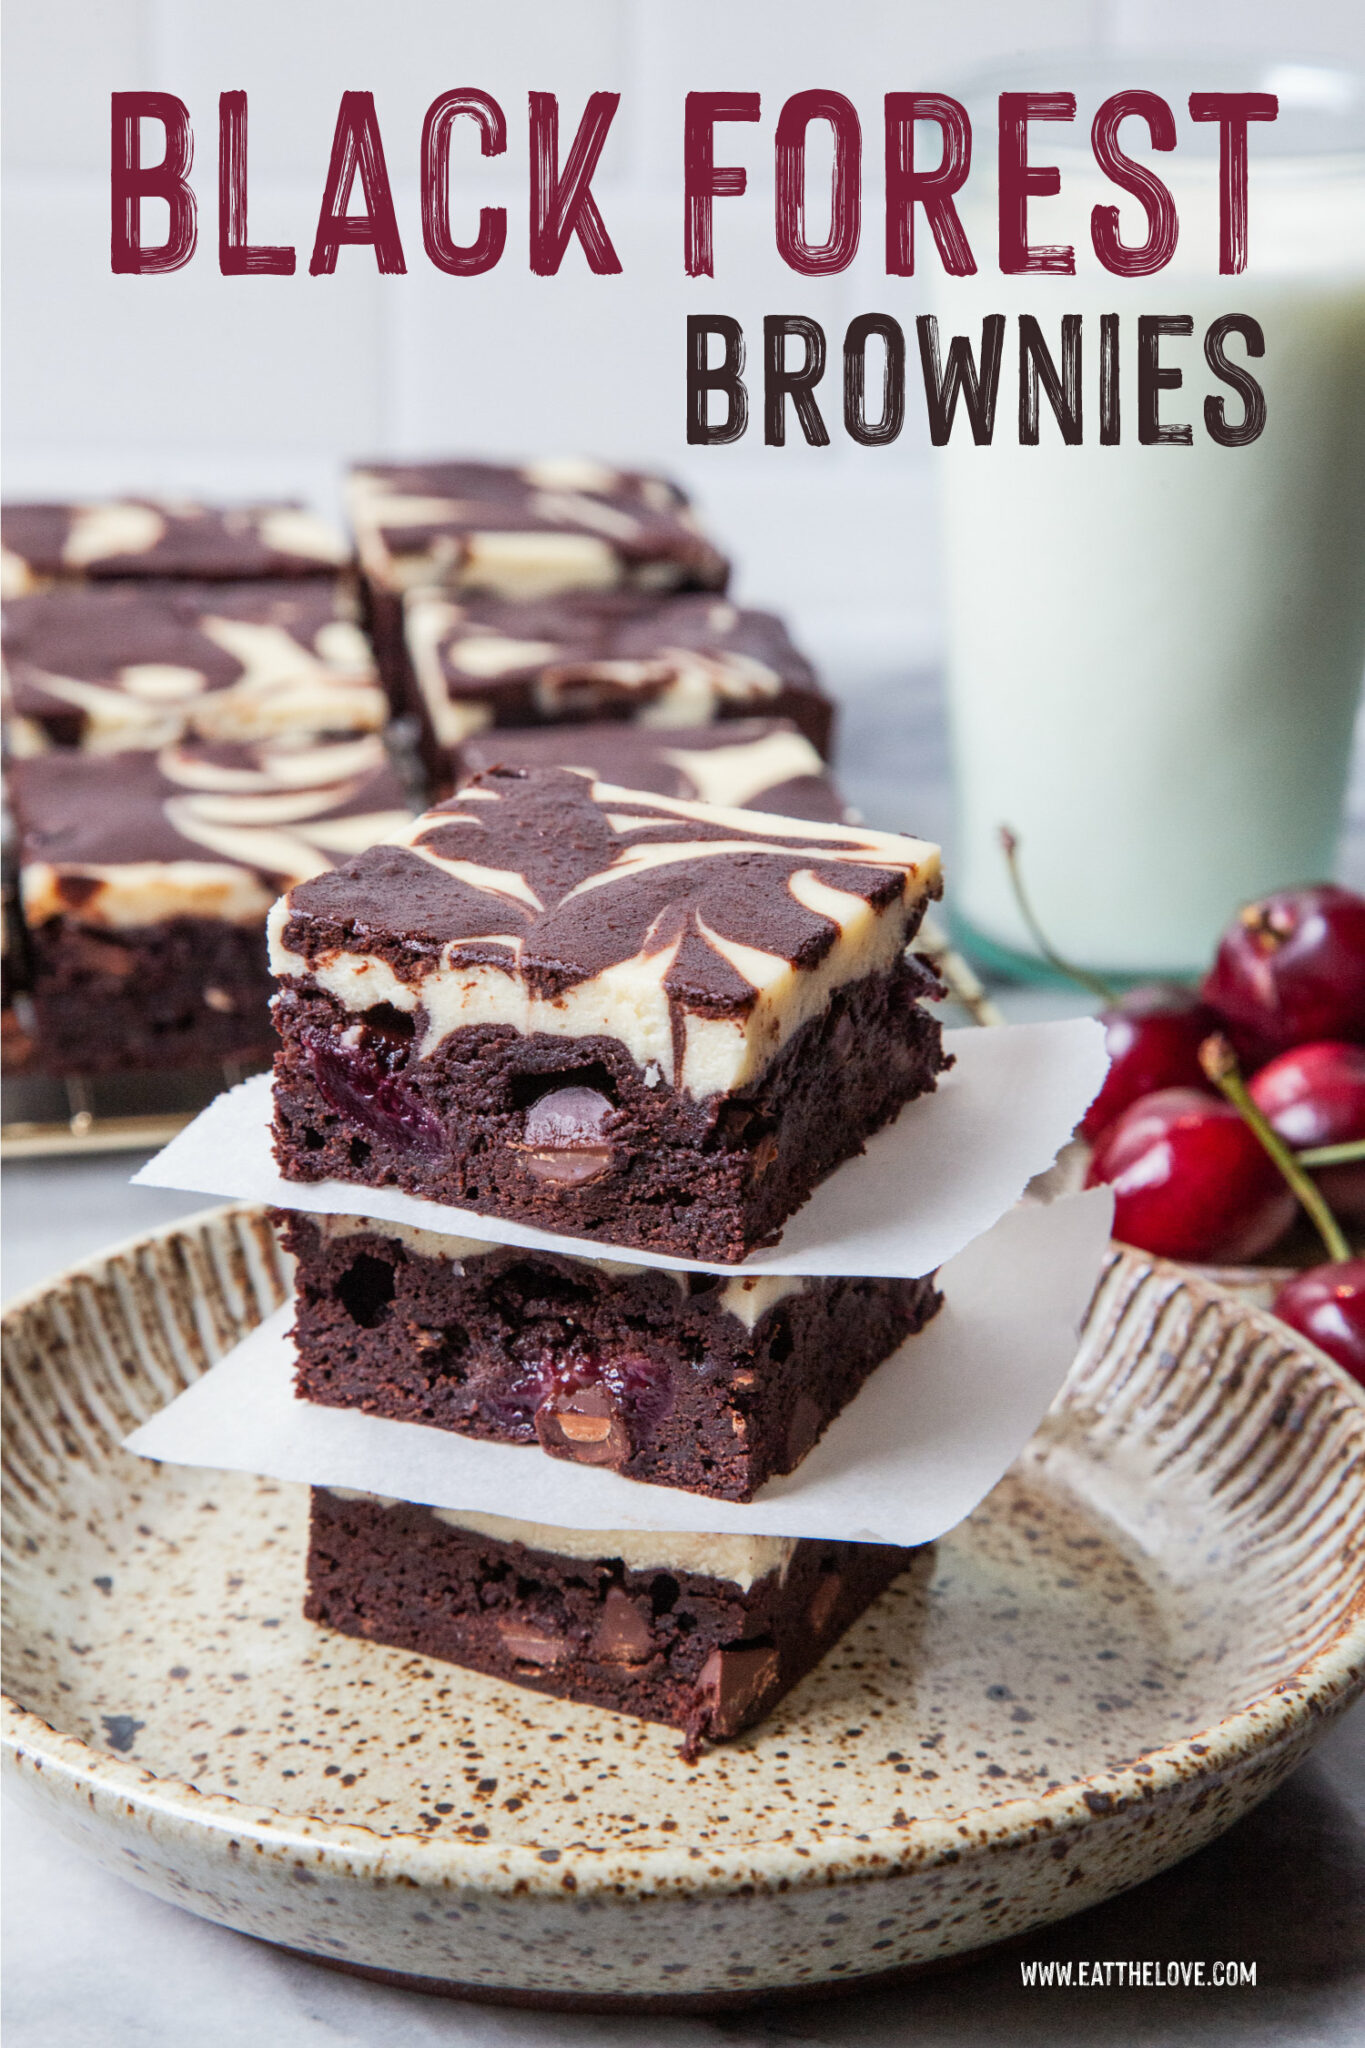
Cherries are in season and that means I’m 100% obligated to buy a bag of them when I see them at the store. I eat them out of hand, but when I buy too many (which is basically every time I go to the grocery store) I end up baking with them. This is clearly evident by my easy cherry slab pie recipe; cherry almond muffins; cherry rhubarb crisp with pistachio crumb topping; apricot cherry slab pie; cherry buckle with cocoa cinnamon topping; and apricot, cherry and plum pie. But when I want something slightly more decadent, I opt for this luscious black forest brownie, inspired by the classic black forest layer cake. Swirled with vanilla-infused cream cheese, dark and rich with chocolate, and studded with bright sweet cherries, it’s the perfect treat for those who love the flavors of the classic layer cake but don’t want to go through the effort of making it.
How do you make this brownies
These brownies are similar to my psychedelic rainbow brownies and my Neapolitan brownies, with macerated cherries added in.
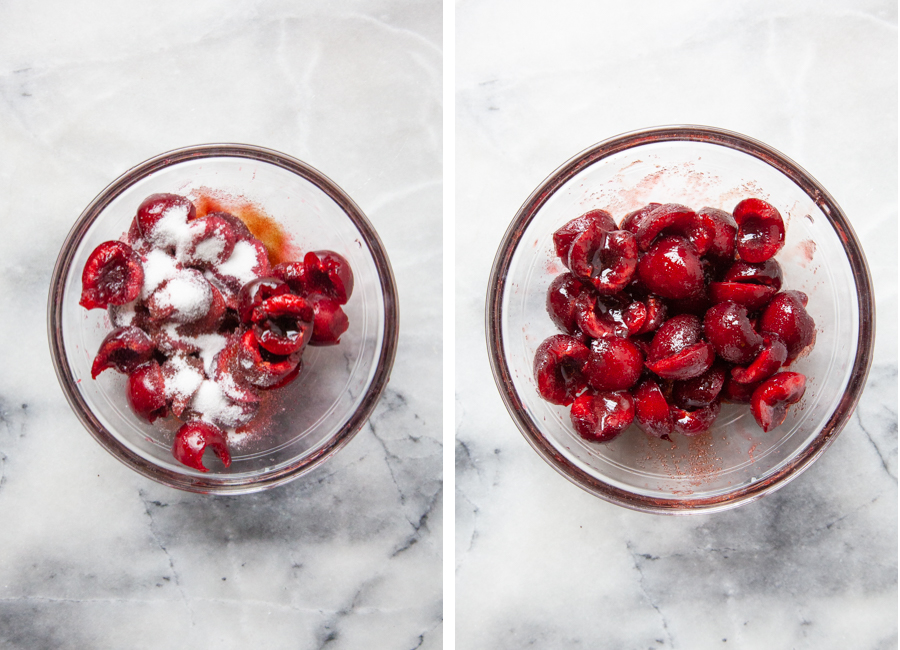
First pitted and cut the cherries in half. Then toss them with a little balsamic vinegar and sugar and set aside.
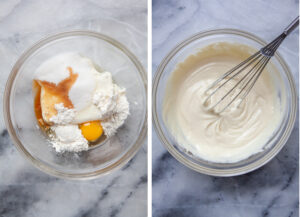
Then make the cream cheese filling by combining softened cream cheese (make sure it’s at room temperature!), along with an egg, white sugar, a little bit of flour, vanilla extract, and a dash of salt.
Make the brownie batter by melting butter with white sugar, brown sugar and Dutch-processed cocoa. Stir to dissolve the solids then mix in the vanilla extract, salt, instant espresso (which helps boosts the chocolate flavor) and baking powder. Beat in eggs, one at a time, then fold in flour. Remove about 1/4 cup and set aside for later.
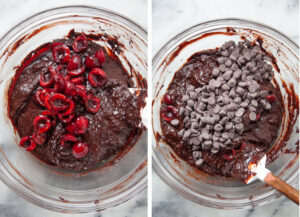
Then fold in chocolate chips and the macerated cherries, including any accumulated juice at the bottom of the cherry bowl. Scrape and spread the brownie batter into a prepared pan.

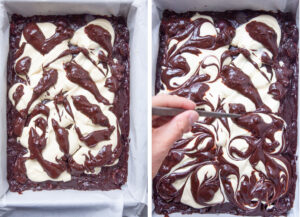
Then spoon the cream cheese filling over the brownie batter. Finally take the reserve brownie batter and add in a little milk to thin it. Drizzle this over the cream cheese filling and then marble and swirl with a chopstick or butter knife.

Bake and let cool completely before slicing and serving.
What type of cherries to use
The classic black forest cake or gateau uses sour cherries in their filling. But sour cherries are difficult to source and have a short seasonal window. So this recipe is developed to use more commonly found sweet cherries, which are easier to source. You can use fresh sweet cherries or frozen cherries if cherries aren’t available. Just mix in the frozen cherries without defrosting them.

You can also use canned or jarred cherries (though I don’t typically recommend either) if that’s all you can find. Just make sure to thoroughly drain the cherries, removing them from any syrup or sauce. You can also use 1 cup of cherry pie filling if you want, but keep in mind cherry pie filling is sweeter, so your brownies will probably be sweet as a result.
If you can get ahold of sour cherries, they can absolutely be used in this recipe. Just omit the balsamic vinegar in the recipe when you macerate them. Also send some my way! I love sour cherries.
How to quickly bring cream cheese and egg to room temperature
It’s imperative that you use room temperature or softened cream cheese for this recipe. If you use cold cream cheese, the filling will be lumpy and never become smooth, no matter how much you beat it.
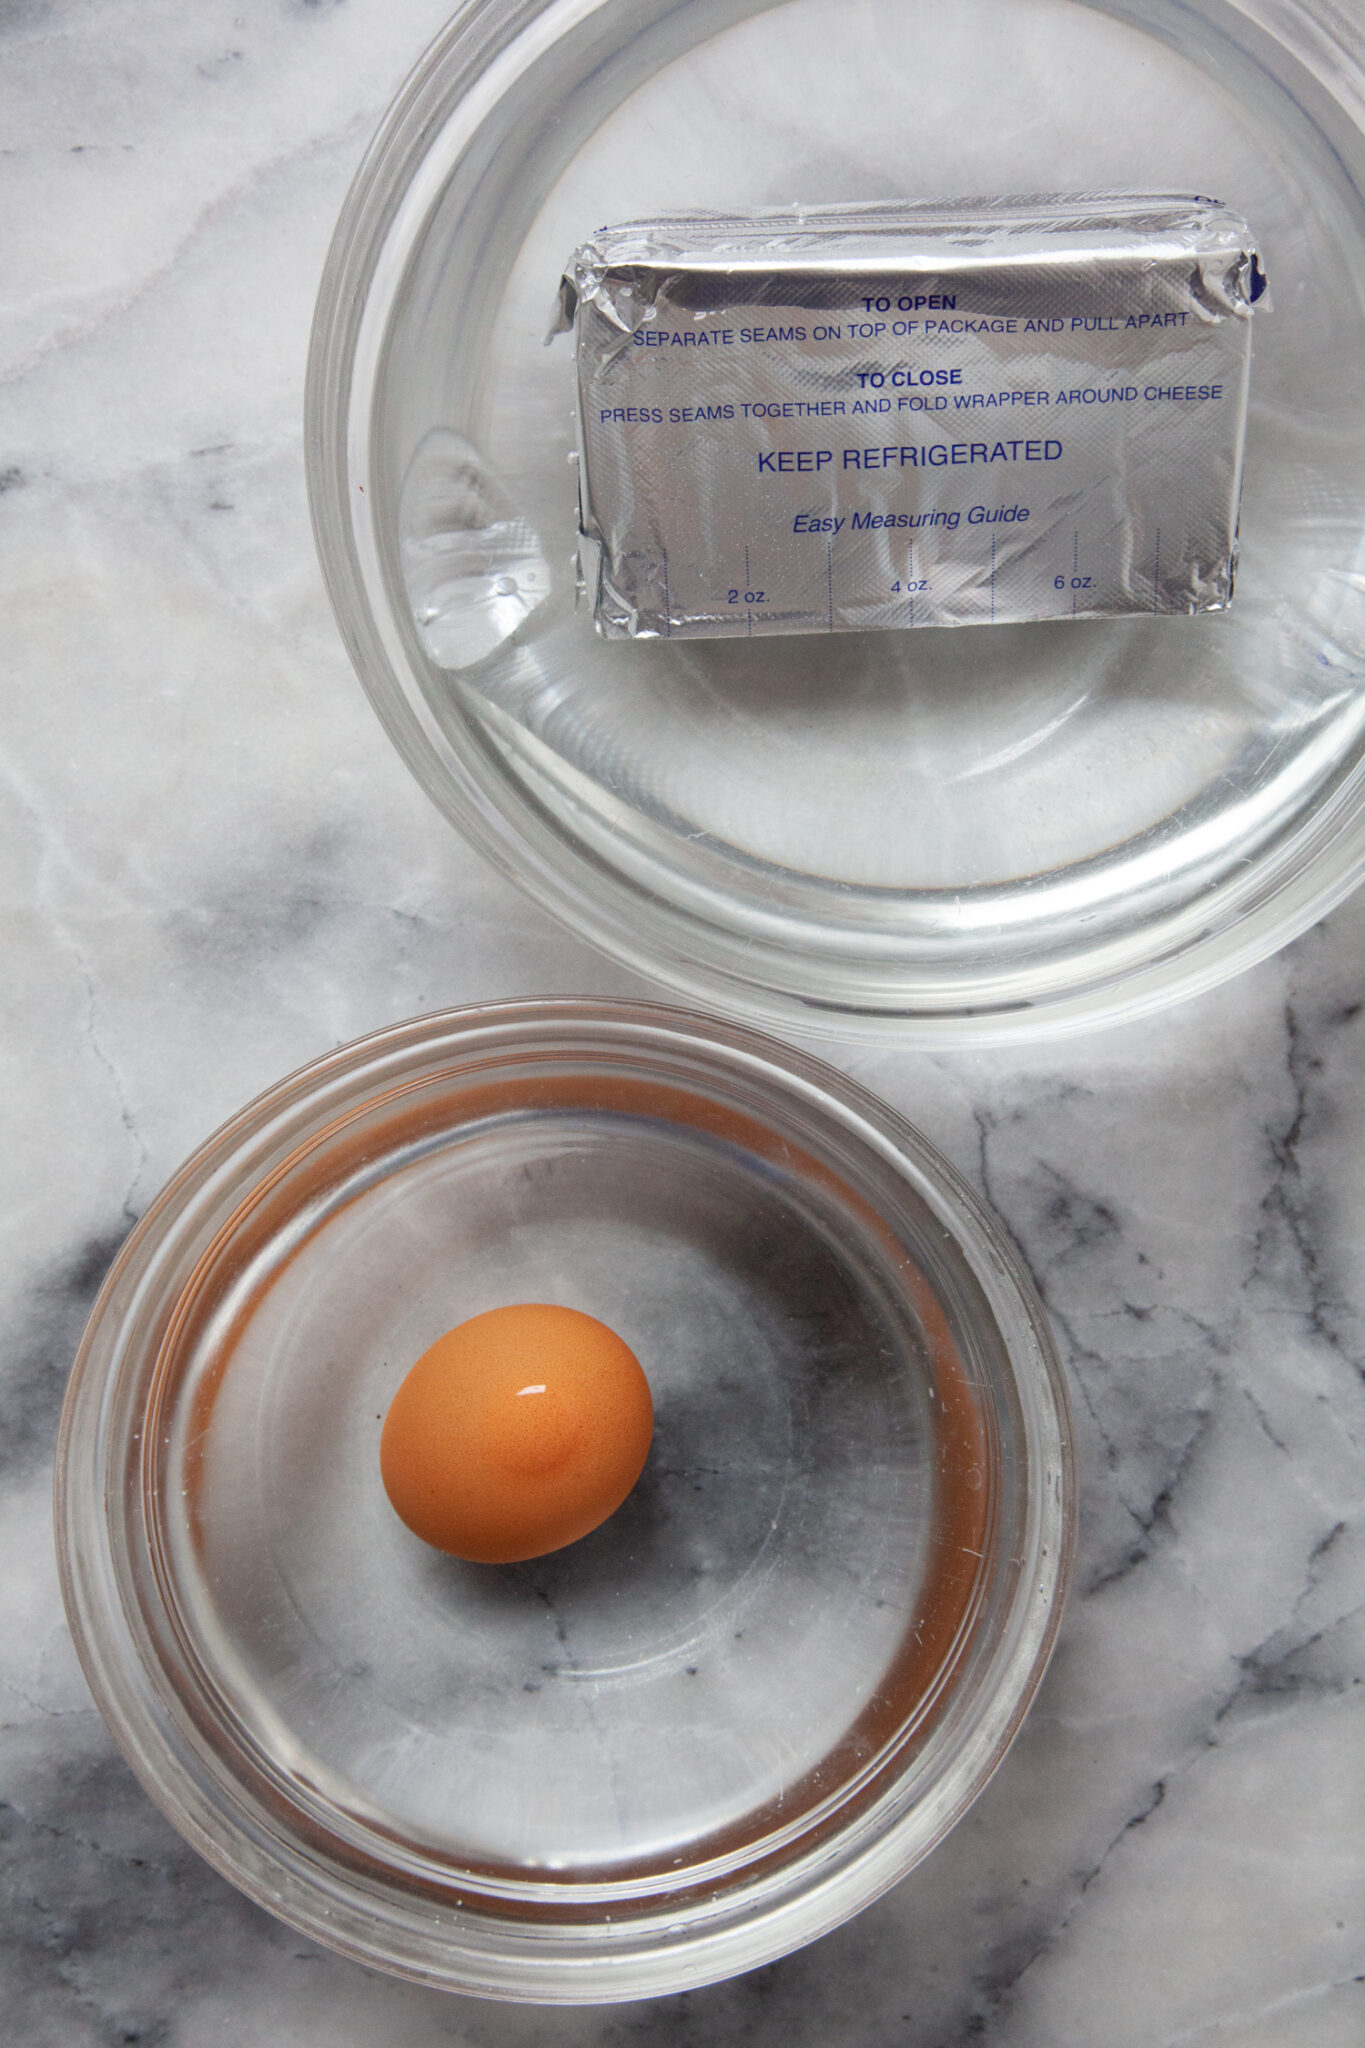
The easiest way to bring cream cheese or an egg is to leave it on the counter for 2 hours, or until it comes to ambient room temperature. But if you’re like me, you never plan ahead of time. So just do what I do and pull the cream cheese and egg out of the fridge first thing when you decide you are going to make the brownies. Unpackage it from the paper box, but leave it still in the foil wrapper.
Then fill a large bowl or two medium-sized bowls with hot water from your tap. Place the cream cheese and egg in the bowl(s) and let it sit for 10 minutes (about the time for you to gather all your ingredients and finish pitting and chopping the cherries). By the time it’s ready for you to make the cream cheese filling, they should be warm enough for making a smooth filling.
I typically don’t recommend microwaving cream cheese, as the microwave heats up unevenly, especially with a dense ingredient like cream cheese. But if you’re really in a rush, you can also cut the cream cheese into 1-inch square chunks and place it in a microwave safe bowl. Cook in 20 second bursts, stirring and flipping over the chunks until they have all softened completely.
What sort of cocoa powder to use
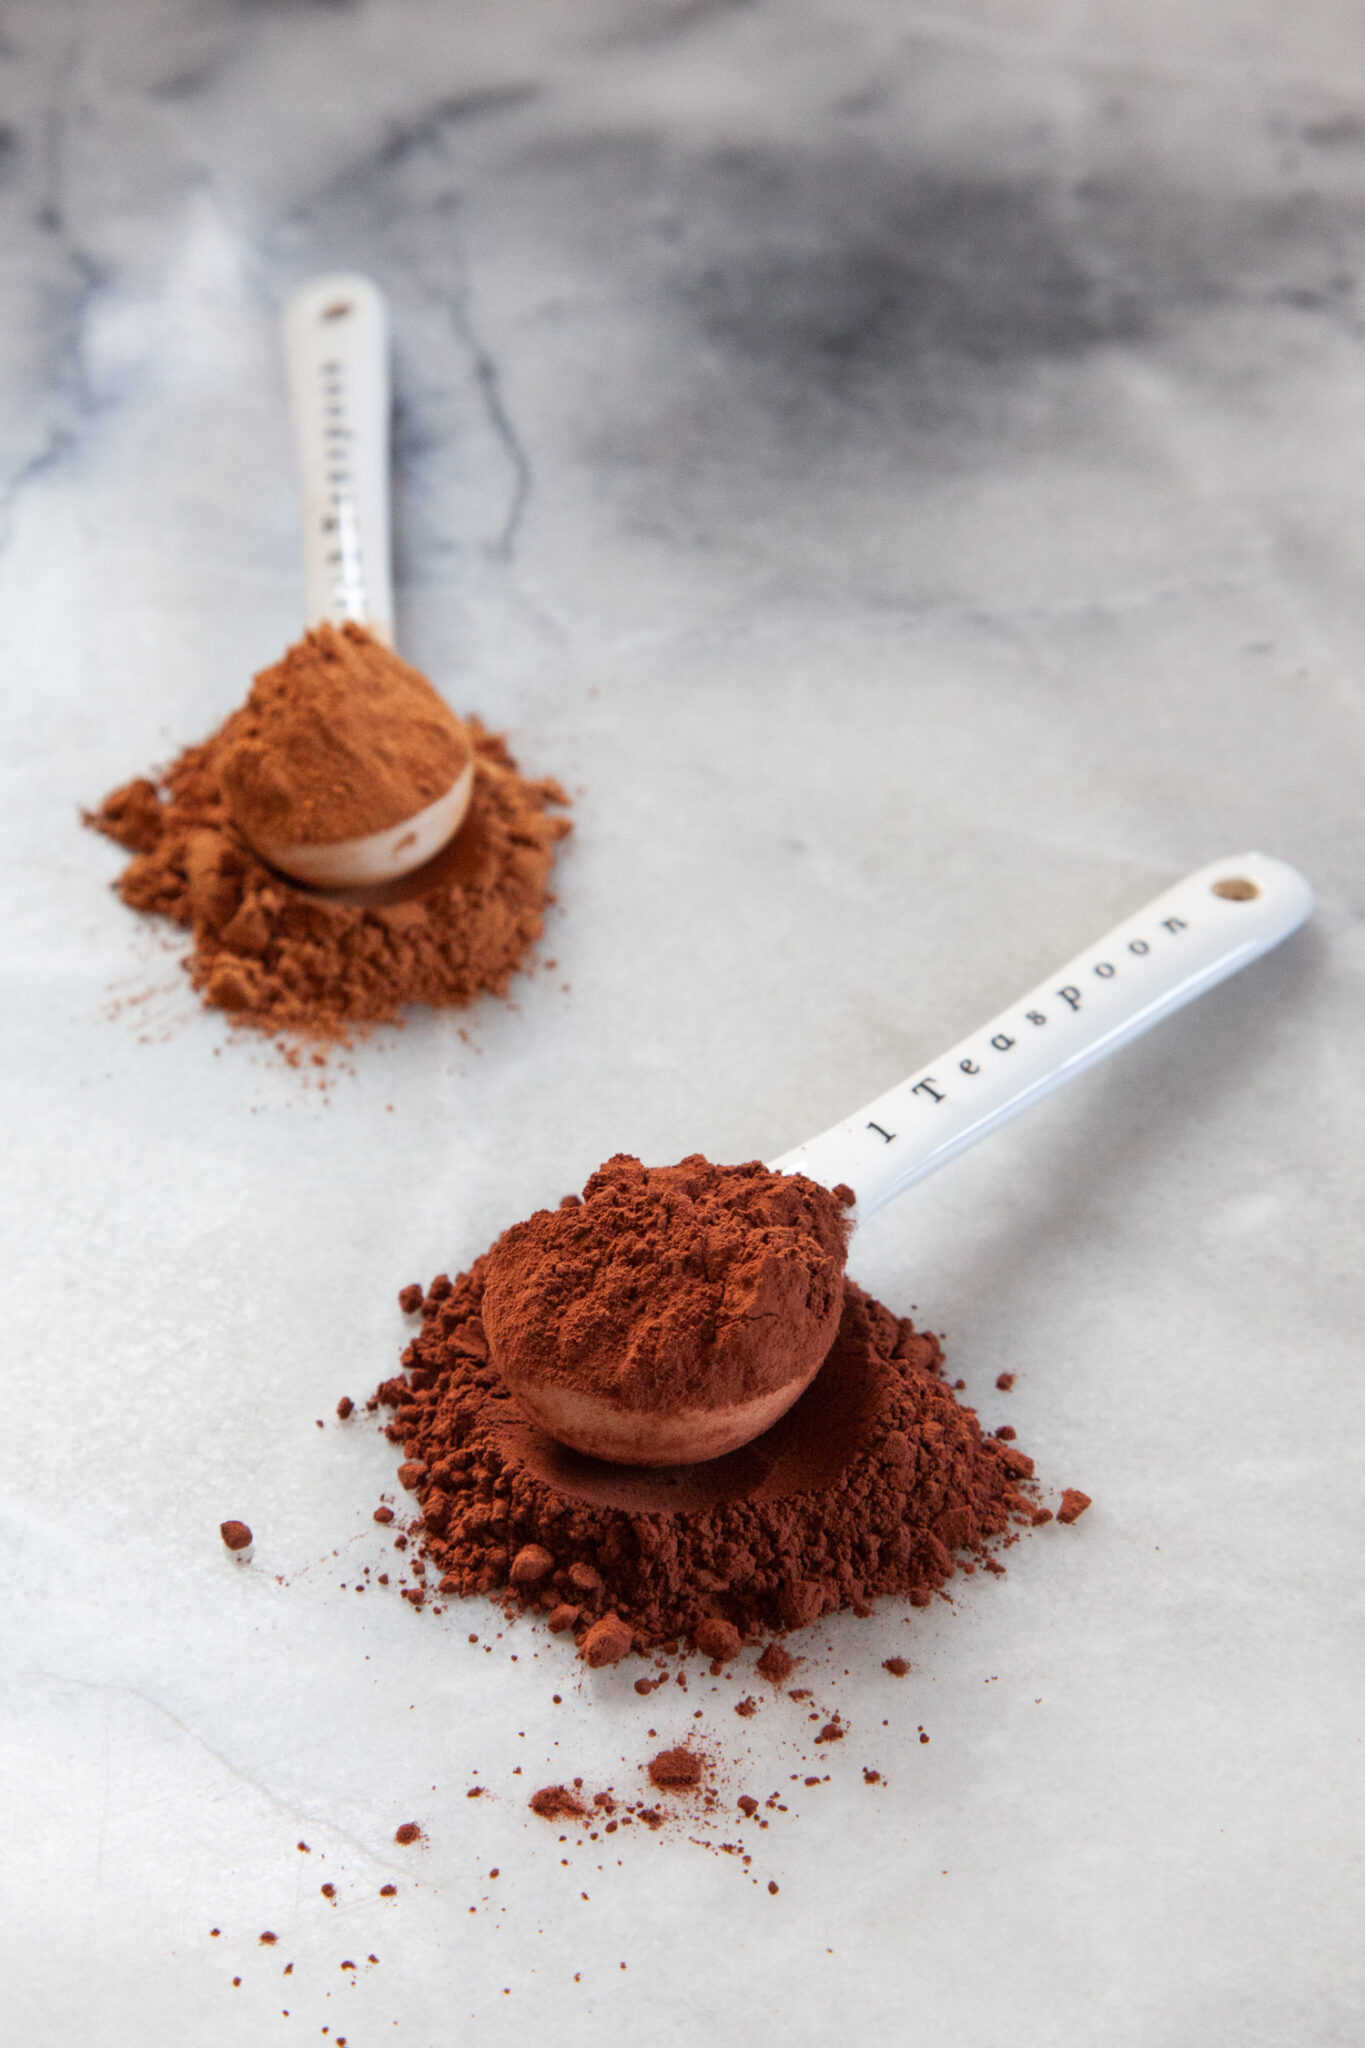
These brownies are developed with Dutch-processed cocoa, which is an alkalized chocolate that has a darker color and a rich but mellow chocolate flavor. Oreo cookies use alkalized cocoa in their cookies, which leads to their signature flavor and color.
I like the stark color contrast between the darker Dutch-processed cocoa and the cream cheese filling but you can swap out regular natural cocoa if that’s all you have or you prefer it. To do this, substitute the same amount of natural cocoa in the recipe and also omit the baking powder. Instead use 1/4 teaspoon of baking soda in instead. Natural cocoa powder has a sharper acidity and will interact with the baking soda to make the brownies rise.
Keep in mind that using natural cocoa powder will change the flavor of the brownies, as well as well as how they look. But they’ll still taste great!
How do you store these brownies
Unlike typical brownies that can be kept at room temperature, these brownies have a swirl of cream cheese. So I recommend refrigerating the brownies when storing them. Store them in an airtight container or a resealable Ziploc bag in the fridge for up to 5 days. You can serve them come (which will give them a fudgy texture and flavor) or bring them to room temperature by placing them on the counter for an hour or so before serving.
You can also freeze these brownies, storing them in the same manner, in an airtight container or in a Ziploc bag. Place a piece of wax paper or parchment paper between layers to prevent the brownies from sticking to each other. Frozen brownies will last up to 2 months in the freezer. Thaw them to room temperature by placing them on a counter or a table for about 2 hours before serving.
If you like these Black Forest Brownies, check out these other brownie and bars recipes:
- Easy fudgy brownies
- Cakey brownies
- Soy sauce and miso caramel brownies
- Rye brownies with caramel and sea salt
- Pumpkin cheesecake brownies
- Strawberry Swirled Caramelized White Chocolate Brownies
- Everything But the Sink Brookies
- Brookies Caramel Bars with Pistachios

Black Forest Brownies
Ingredients
Cherry mix-in
- 1 cup pitted and halved cherries 150 g before pitting, 135 g after pitting
- 1 teaspoon balsamic vinegar or raspberry vinegar
- 1 tablespoon white sugar
Cheesecake filling
- 8 ounces softened cream cheese 225 g or 1 brick
- 1 large egg at room temperature
- 1/3 cup white sugar 67 g
- 2 tablespoons all-purpose flour
- 1 teaspoon vanilla extract
- 1/4 teaspoon kosher salt
Brownie batter
- 1 cup unsalted butter 225 g or 2 sticks
- 1 1/2 cups white sugar 300 g
- 1/2 cup packed dark brown sugar 110 g
- 1 cup Dutch-processed cocoa 110 g
- 1 tablespoon vanilla extract
- 1 teaspoon kosher salt
- 1 teaspoon instant espresso or instant coffee
- 1/2 teaspoon baking powder
- 4 large eggs
- 1 1/4 cups all-purpose flour
- 1 cup chocolate chips 165 g
- 1 tablespoon milk
Instructions
- Preheat the oven to 350°F. Lightly spray a 9 x 13 x 2-inch pan with cooking oil then line it with parchment paper, making sure about an inch of paper is overhanging the edges.Make the cherry mix-in by pitting the cherries then cutting them in half. In a non-reactive bowl (glass, plastic or stainless steel) mix the fruit with balsamic vinegar and sugar, then set aside.

- Make the cheesecake filling placing the room temperature cream cheese, egg, sugar, flour, vanilla and salt in a medium-sized bowl.It’s important that the cream cheese has softened and is at room temperature, otherwise the filling won’t be smooth. I have a section above that tells you how to quickly bring it to room temperature if you forgot. Whisk ingredients together with a balloon whisk until all the ingredients are blended together and smooth.
- Make the brownie batter by placing the butter, white sugar, brown sugar, and cocoa in a large microwave safe bowl. Cook in 30 second intervals, until the butter is melted. Once the butter is liquid, stir it thoroughly with a balloon whisk to make sure the sugar and cocoa is dissolved.
- Stir in the vanilla, kosher salt, espresso powder, and baking. Then beat in the eggs, one at a time, making sure each one is incorporated before adding the next one. The batter should be shiny and glossy.
- Add the flour and gently fold it in, making sure not to overmix. Scoop out about 1/4 cup of the batter and set aside in a small bowl for later.
- Add the chocolate chips and mix it in. Repeat with the cherries, including any liquid that has accumulated in the bottom, making sure both the chocolate and the cherries are evenly distributed through the batter.
- Scrape the batter into the prepared baking pan, spreading it out. Spoon the cream cheese filling over the batter.
- Mix in 1 tablespoon of milk to the reserve brownie batter to thin it out. Drizzle and spoon the batter over the cream cheese filling.
- Using a butter knife or chopstick, swirl and marble the brownie and cream cheese batter together. Don’t overmix, just swirl enough to create a pretty pattern.Bake in the oven for 27 to 32 minutes, or until a toothpick inserted into the center of the brownie comes out clean (check a few spots, as you may hit a cherry which will give a false reading).Let cool completely in the pan on a wire rack. Then grab the sides of the parchment paper that is overhanging the pan and lift the entire brownie up and out of the pan. Move to a cutting board and cut to serve.


Nutrition
Pin it for Later!
Bou's Revenge says
Frozen brownies will last up to 2 months in the freezer. Thaw them to room temperature by placing them on a counter or a table for about 2 hours before serving.
Bou's Revenge says
Using a butter knife or chopstick, swirl and marble the brownie and cream cheese batter together. Don’t overmix, just swirl enough to create a pretty pattern.
barnes says
Detailed baking steps and ingredient tips, like choosing the winning move in solitaired require careful preparation.