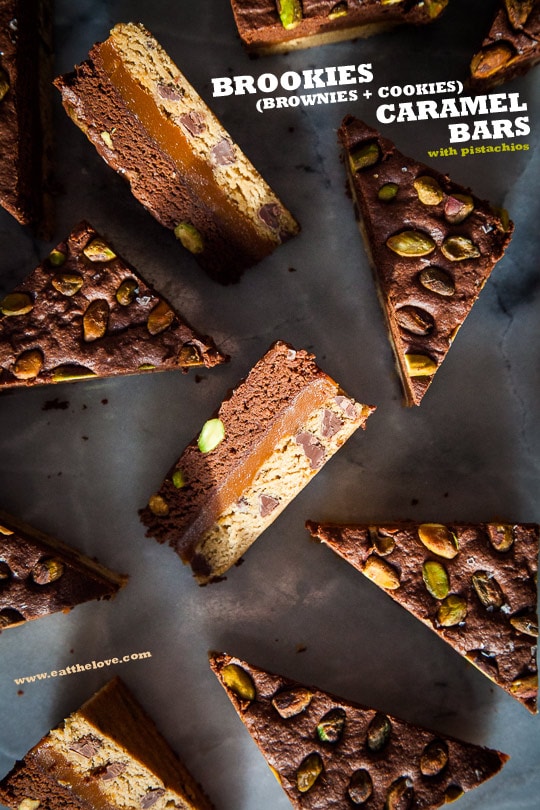
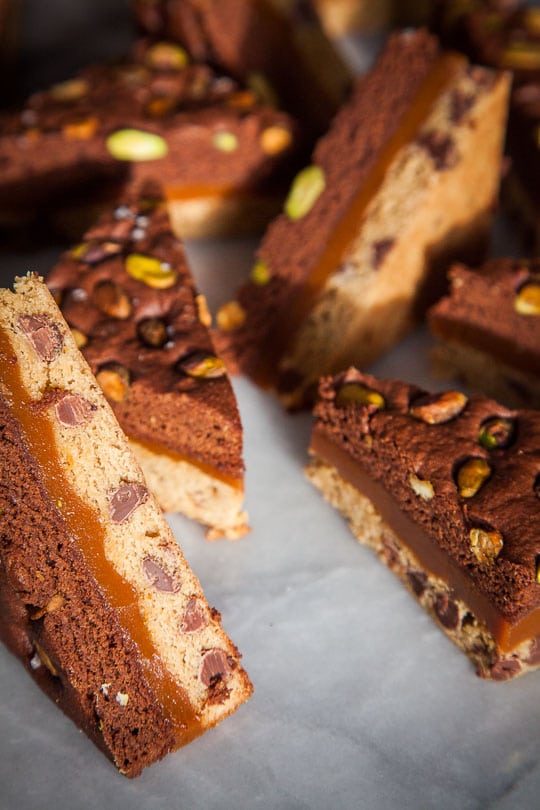
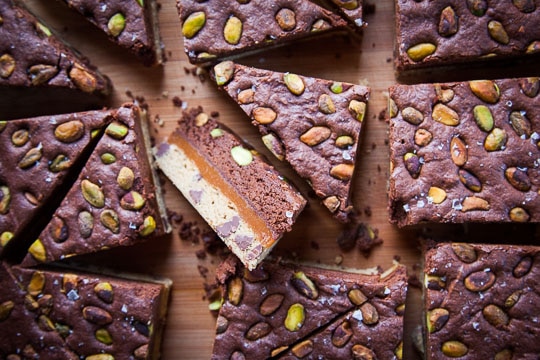
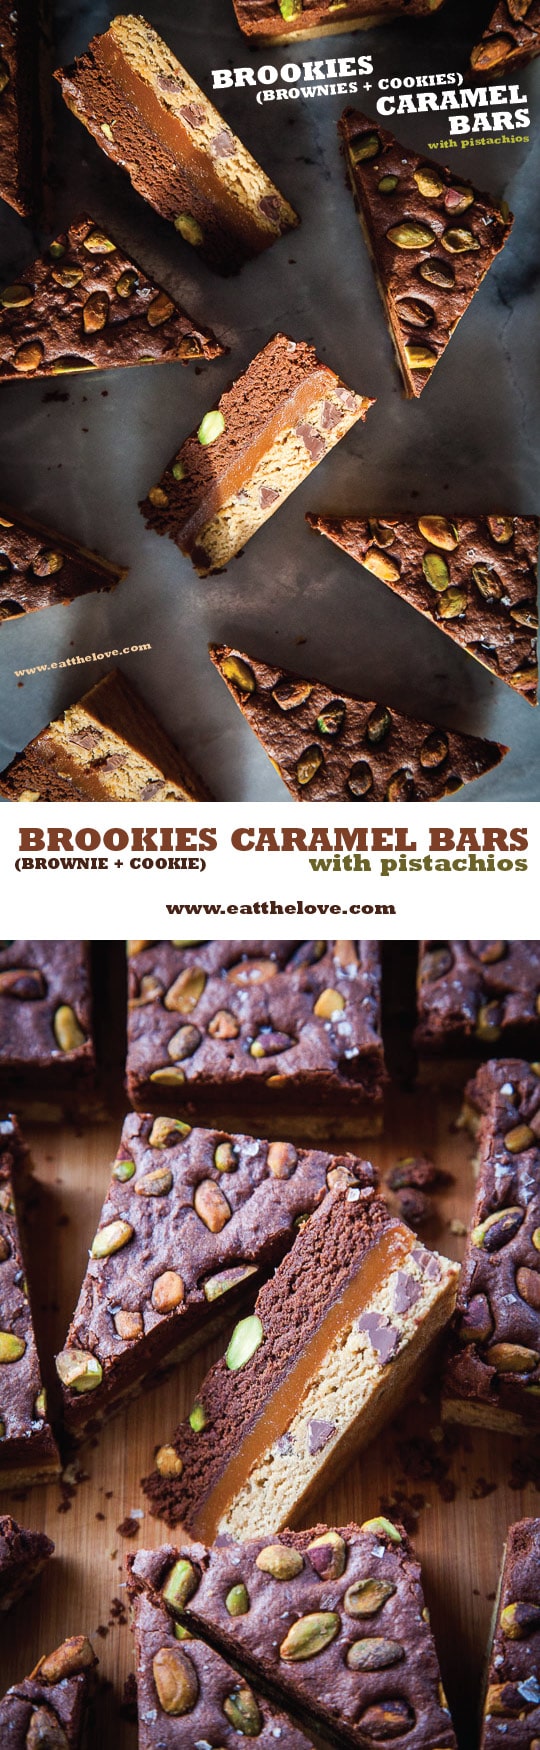
This upscale version of the brookies bar recipe sandwiches pistachio brownies and chocolate chip cookie bars with a layer of chewy caramel! (Jump directly to the recipe.)
There’s something slightly disingenuous about writing about food. You probably don’t notice it as a reader. But if you think about it, it’s tough to constantly be creating food for events and holidays weeks or months in advance. Last year, in August and September I found myself roasting turkeys, making mashed potatoes and trying to come up with holiday dishes while late summer was still in full glory here in San Francisco. I’m not complaining, I know I live a pretty good life. But as much as my life revolves around food, it is always slightly skewed. And writing a blog is definitely not the worse culprit. Working for clients usually means creating recipes a couple months ahead while most magazines work 6 to 9 months ahead. The nice thing about a blog is that it is nearly instantaneous gratification. I can make a recipe and publish it the very next day if I want.

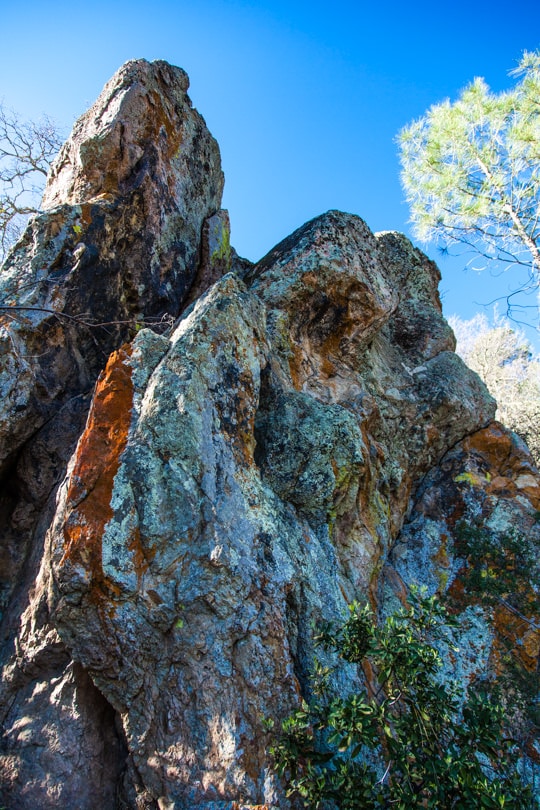
Still it’s hard to sometimes develop recipes exceedingly far in advance, especially as this blog walks the line between telling stories about my life and just sharing recipes for the fun of it. The perfect example is Valentine’s Day, a holiday that I have very little interest in. In the past I’ve made Valentine’s Day blog posts ahead of time but this year, I decided to keep it personal. Because my partner had the Friday AND Monday off for President’s Day, which also fell on Valentine’s Day, we went away for the weekend. The trip, to Pinnacles National Park, was just what we needed.

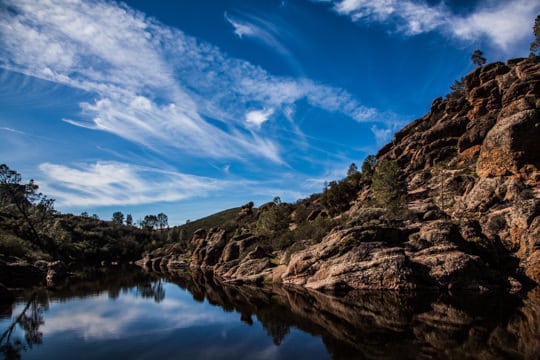

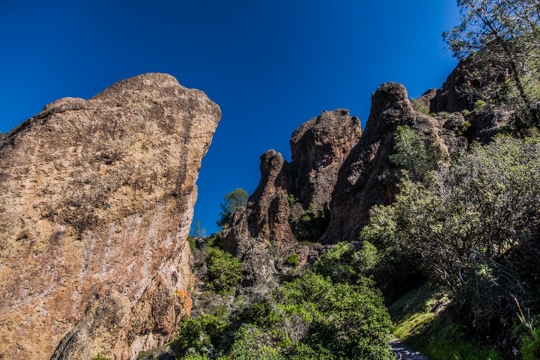
If you haven’t heard of Pinnacle National Park I wouldn’t be surprised. It’s only recently became a National Park (President Obama converted it from a National Monument to a National Park in 2013). It’s a mere 2 1/2 hours drive south of San Francisco. And though it isn’t nearly as spectacular as the marquee National Parks like Yosemite, Yellowstone or the Grand Canyon it still has a quiet serene beauty that you can only get from a park that isn’t overrun with visitors.
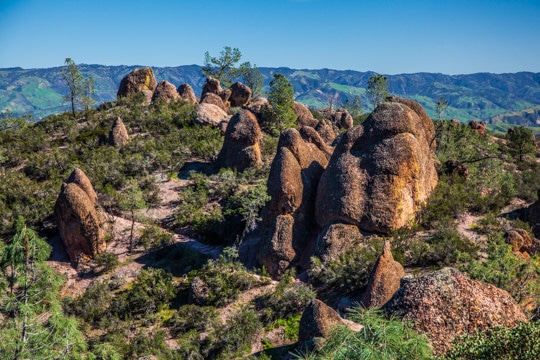

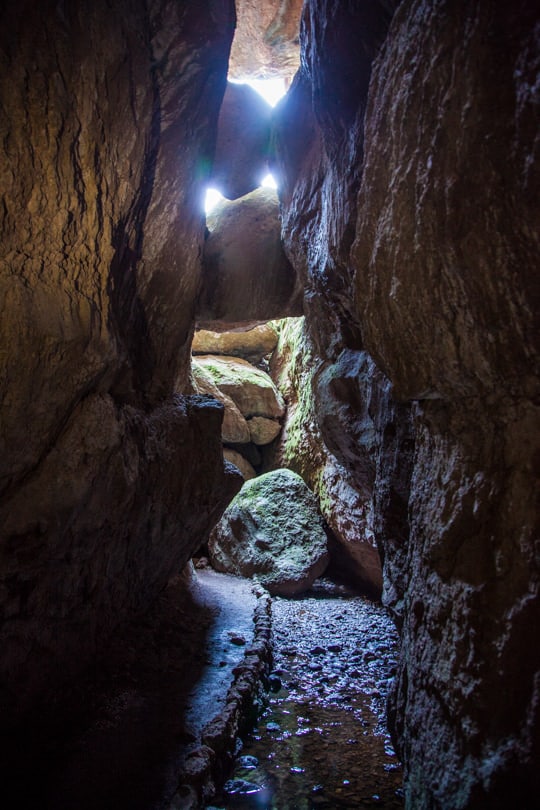
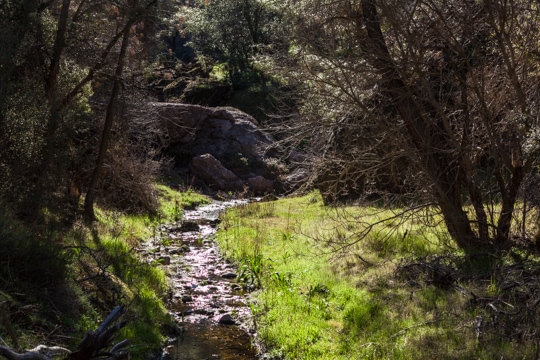
My partner AJ and I camped for two days, exploring the park by hiking the many trails. We got to see the Pinnacles rock formations up close and watch rock climbers scale the various walls gracefully as they defied gravity. We went through rock caves using our headlights and iPhone flashlights, and saw mini waterfalls that were impossible to photograph because the streaming light through the rock cracks didn’t provide enough ambient light to capture it with our tiny phone cameras. We went on a night hike up to a reservoir and saw the crescent moon and more stars than I have seen in forever reflect off of the still water, silhouetted against the towering majestic rocks. And we did it all without any cell phone signal. Being utterly disconnected from the world was calming and magical in it’s own way and the ability to spend time together uninterrupted without any screen to look was the best present to each other.

I think we all spend too much time staring at the computer screen. Which I guess is a funny thing to say as I blog away, staring at a computer screen, hoping other folks visit my blog (which, of course entails staring at their computer screen as well). But as much as I love the interconnectedness that blogs and websites and social media seems to foster it also seems to pull us apart from those who we spend time with in real time. How many times have we hung out with our loved ones, only to spend a chunk of it staring at our phones? With no cell signal down at Pinnacles, there was no reason to stare at our phones on our trip, other than to occasionally take a picture of the landscape. And though this isn’t a new or novel observation, it still ran true to me as we walked around, hand-in-hand, pointing out pinnacle rock formations, condors flying overhead or aspects of the cave we had to climb down into that we nearly missed. There was no ignoring each other when we asked each other “Hey, that high pitch noise you hear? That’s the bats that live in the caves coming out and using their sonar to fly around!” And there was no trying to share the experience on social media during the experience itself as we gazed out over the serene reservoir water trying to spot the frogs making their loud ribbits noises (we never did see them but we certainly heard them). We could truly be in the moment just for the sake of being in the moment.

Before we headed out on our long weekend trip, I decided I needed to bake something specifically geared towards AJ’s tastes. We’ve been together for 16 years and though we still buy present for each other for major holidays like Christmas and our birthdays, we rarely feel the need to buy present for the minor ones. Even so, it was Valentine’s Day and I thought a special treat was in order. And though I had just made a brookies bar, I decided to revisit that idea of a brownie + cookie bar (both of which AJ loves) and create something a little more elegant. AJ’s favorite snack is to shell and eat pistachios and he’s absolutely crazy about thick and chewy caramel. So this brookies caramel bar with pistachios was exactly up his alley. We cut up and brought along half the batch for our trip and they were pretty much gone by the end of the weekend. And though I hesitate to use the word perfect, the idea of hiking outside, away from the civilization, with the man I love, surrounded by nature with one of these Brookies Caramel Bars in hand, is pretty much perfection in my eyes.
Brookies (Brownies + Cookies) Salted Caramel Bars with Pistachios
By Irvin Lin
The traditional brookies bar is a mash up of the cookie bar and the brownie batter poured on top so they bake together, the batter intermingling and becoming one solid bar. I’ve deconstructed the brookies idea by actually baking two different batches of batter, then making a thick and chewy caramel to layer and “glue” the cookie bar and brownie together. Don’t be daunted by the idea of making different batters. I actually make one single batter first, divide it in half, then add more flour to one batter and cocoa powder to the other batter. It only adds a little bit extra time and the effort is worth it in the end!
Ingredients
Brookies batter
12 tablespoons (1 1/2 sticks or 170 g) unsalted butter, melted
1 tablespoon vanilla extract
2 cups (440 g) dark brown sugar
3 large eggs
2 1/2 cups (350 g) all-purpose flour, divided
2 teaspoon baking powder
1/2 teaspoon kosher salt
3/4 cup (150 g) chocolate chips
1/2 cup (55 g) natural cocoa powder (not Dutch-processed)
1/2 cup (75 g) shelled pistachios
Maldon flaky salt to sprinkle on top
Caramel
2 cups (400 g) granulated sugar
2 cups heavy cream
1/2 cup (1 stick) unsalted butter, cut into 1-inch chunks
1 tablespoon vanilla extract
Maldon flaky salt to sprinkle on top
Directions
1. Preheat the oven to 325ºF. Spray two 9 x 13-inch baking pans with cooking oil then line them with parchment paper, leaving 1-inch of paper over the sides of the pans.
2. Place the melted butter, vanilla and brown sugar in the bowl of stand mixer fitted with a paddle attachment. Beat on medium speed until well blended. Add the eggs, one at a time, beating each and waiting until the first one incorporates before adding the next egg. Add 2 cups (280 g) of the flour, baking powder and salt to the bowl and beat until the dry ingredients are absorbed.
3. Scoop out half the batter into a clean bowl. If you are using a scale, it will be roughly 520 grams for half the batter. To the half of the batter still in the mixing bowl, beat in the remaining 1/2 cup (70 g) flour until it is just absorbed. Add the chocolate chips to this batter and mix on low speed until the chips are evenly distributed throughout the batter. Scrape the batter into one of the lined baking pans and press the batter flatly into the pan. It will be a little sticky and seem like not enough batter for the pan but don’t worry. It will eventually spread all the way out. You can wet your hands with water or coat them with a little cooking oil to help press the dough out completely to the edges evenly if you want.
4. Place the second half the batter back in the bowl (no need to clean the bowl or paddle attachment) and add the cocoa powder. Beat the batter until it is absorbed. Scrape the batter into the other baking pan and spread all the way to the edges of the pan. Again it will be little sticky and seem like not enough batter but it will spread eventually if you get it thin enough. Once it’s spread all the way to the edges, sprinkle the pistachios over the top of the brownie batter and press lightly so they adhere and set into batter. Sprinkle a couple heavy pinches of Maldon flaky salt over the top of the brownie batter as well.
5. Place both pans in the oven and bake for 15 minutes, or until a toothpick inserted in the middle of the pan comes out clean and the edges of the chocolate chip cookie bar start to turn golden brown (the brownie is too dark in color to tell if the edges have darkened or not). Remove from oven and let cool in the pan for 30 minutes on a wire rack.
6. Once the cookie and brownie layers are cooled, make the caramel by placing the sugar in large heavy bottomed pan (preferably one with a silver bottom) and heat on high. Once the sugar starts to melt on the bottom, stir it with a wooden spoon or heatproof spatula to make sure all the sugar melts evenly. The sugar might start to clump up a bit but keep stirring to get as much of it to melt evenly as possible. Once the sugar has completely melted and starts to brown, reduce the heat to medium low and continue stirring. Stir until all the sugar has caramelized and has turned a deep rich brown, the color of an old penny. Turn the heat off and drizzle a little bit of cream into the pan. It will steam a lot so be careful! Stir to incorporate the cream, and then drizzle a bit more of cream into the caramel. Continue to do this until all the cream has been added. Add the butter and stir until it has melted, then stir in the vanilla.
7. Turn the heat back on to medium high and place a candy thermometer in the pan. Stir, trying to dissolve any chunks of caramel that may have formed when you added the cream. Continue to cook the caramel as it boils until it starts to thicken and reaches 240º to 245º F. Immediately pour the caramel over the chocolate chip cookie bar that is still in the pan. Sprinkle a couple heavy pinches of Maldon flaky salt over the top of the caramel.
8. Remove the brownie from the pan by grabbing the edges of the parchment paper and pulling straight up. Carefully remove the parchment paper from under the brownie without breaking the brownie layer. I did this by tilting up one side and pulling the paper under the brownie and then placing the brownie back down on a cutting board with the paper folded under the brownie partially and just pulling the paper in the opposite direction until the paper is completely pulled off. Once you have the brownie layer all by itself, careful place the brownie (pistachios side up) on top of the still hot caramel.
9. Let the Brookies Caramel Bars cool completely at room temperature (at least two or three hours) and then cut into 24 pieces. Store in the fridge in an airtight container for up to 3 days but bring to room temperature before serving.
Makes 24 Bars.
If you like these Brookies Caramel Bars, check out my Caramel Bars with Salted Cashews recipe and my Salted Drinking Caramel recipe.
And check out these other caramel recipes from around the web:
Sprinkle Bakes’ Double Frost Salted Caramel Mocha Cake
David Lebovitz’ Salted Butter Caramel
Averie Cook’s Salted Caramel and Chocolate Pecan Pie Bars
Tidy Mom’s Salted Caramel Iced Coffee
Lottie + Doof’s Salted Caramel Pound Cake
Arthur in the Garden! says
This Brookies thing is so dangerous with beach season a month away for us here in The South!
🙂
But I will have to make at least one!
Kari says
Looks like it was a great trip! Gorgeous photos!
Kari
http://www.sweetteasweetie.com
Erin R. says
Oh, Irvin. What a gorgeous post. I’m happy you got to have a perfect trip with AJ over the long weekend, just loving each other and messing around together. My husb and I had a day like that on Sunday and I’m still glowing two days later. Aren’t those days the best? And I’m REALLY happy to hear you guys (he?) ate half a pan of these luscious bars with the chewy caramel all chewy in the middle. Mmm.
Terry says
How very wise you are Irvin to recognize the beauty of nature and the joy of sharing it with the one you love. Technology is great, but nothing can compare to the stars in the sky, frogs croaking, holding that hand, and eating a treat customized with love. I hope others pay attention and make similar plans for themselves.
The photos are stunning, too!
Jill Silverman Hough says
Such a touching post, in so many ways. Thanks for sharing your special weekend with us, and thanks for reminding that NOT sharing a special time with with anyone except those actually present is totally okay. 🙂
June @ How to Philosophize with Cake says
First of all, gorgeous pictures! Pinnacle looks like it was an amazing trip. And secondly, wow those bars look good. Dangerously good, almost… 🙂
omlet says
Yum!!!! Made it tonight.
Dinah says
I had a little trouble with the caramel, so I thought I’d leave a comment to help others out. The detailed directions are great, only, once the sugar melts, add the cream as soon as the sugar turns golden and the chunks are gone. Don’t wait for it to darken any more; just add the cream asap.
I burnt my first batch of sugar, so I think maybe my stove runs hotter than the one used here.
Delicious.
Jeska says
Absolute deliciousness! Thanks for sharing this yummy recipe.