• Skip to primary navigation
  • Skip to main content
  • Skip to primary sidebar
  • My Cookbook: Marbled, Swirled, and Layered
  • Recipes
  • Travel & Events
  • About this Blog
  • Bio
  • FAQ
  • Work with Me

Eat The Love

Recipes, Photographs and Stories about Desserts, Baked Goods and Food in general, with a healthy dose of humor and happiness for the food obsessed

You are here: Home / cake / Black Bottomed Cupcakes

Published: January 25, 2024 6 Comments

Black Bottomed Cupcakes

These old-fashioned black bottomed cupcakes are a rich and fudgy treat with a cream cheese filling. They are surprisingly easy to make!
Jump to Recipe

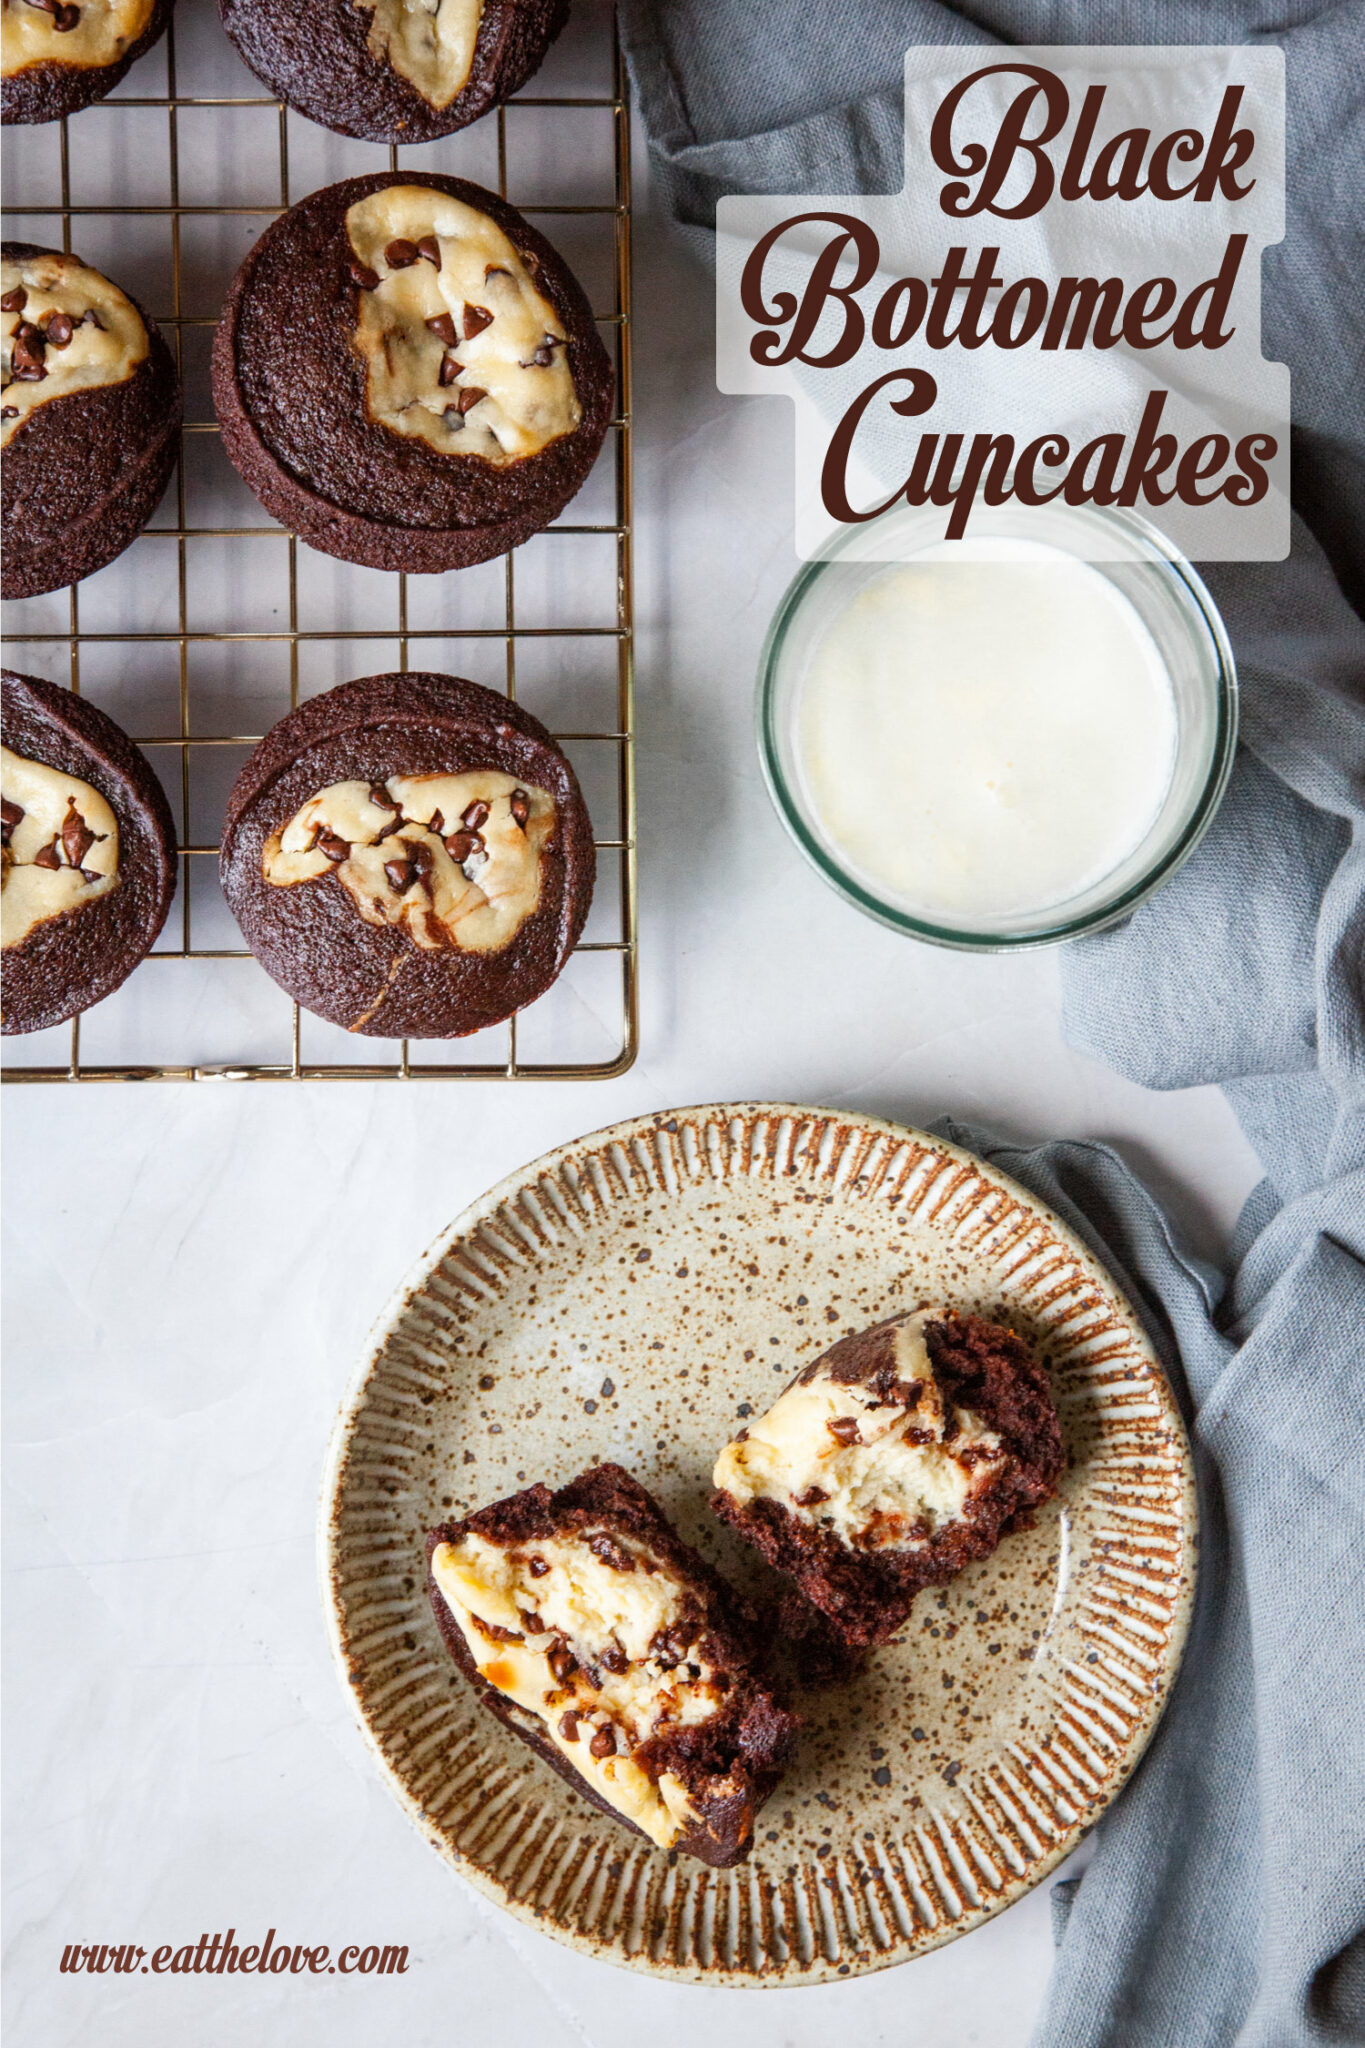
A black bottomed cupcake on a plate, split open. A glass of milk, a cloth napkin, and a wire rack of more black bottomed cupcakes are next to the plate.

Years ago, I came across black bottomed cupcakes in David Lebovitz’ The Great Book of Chocolate (<-affiliate link), a small book that is surprisingly packed with tons of awesome recipes (it introduced me to Congo Bars) and loads of information about chocolate. I made black bottomed cupcakes back then and loved them, but I only recently rediscovered them again, tinkering with the original recipe to make the recipe my own. 

Black bottomed cupcakes are an old-fashioned vintage cupcake, one that yields a super-rich and fudgy cupcake base with a “built-in” frosting made of cream cheese. If you’re a fan of deep and fudgy chocolate baked goods, like my easy fudge brownies, my miso caramel soy sauce brownies, rainbow cheesecake brownies, chocolate crackle cookies, or Texas-sheet cake, you have to try these cupcakes!
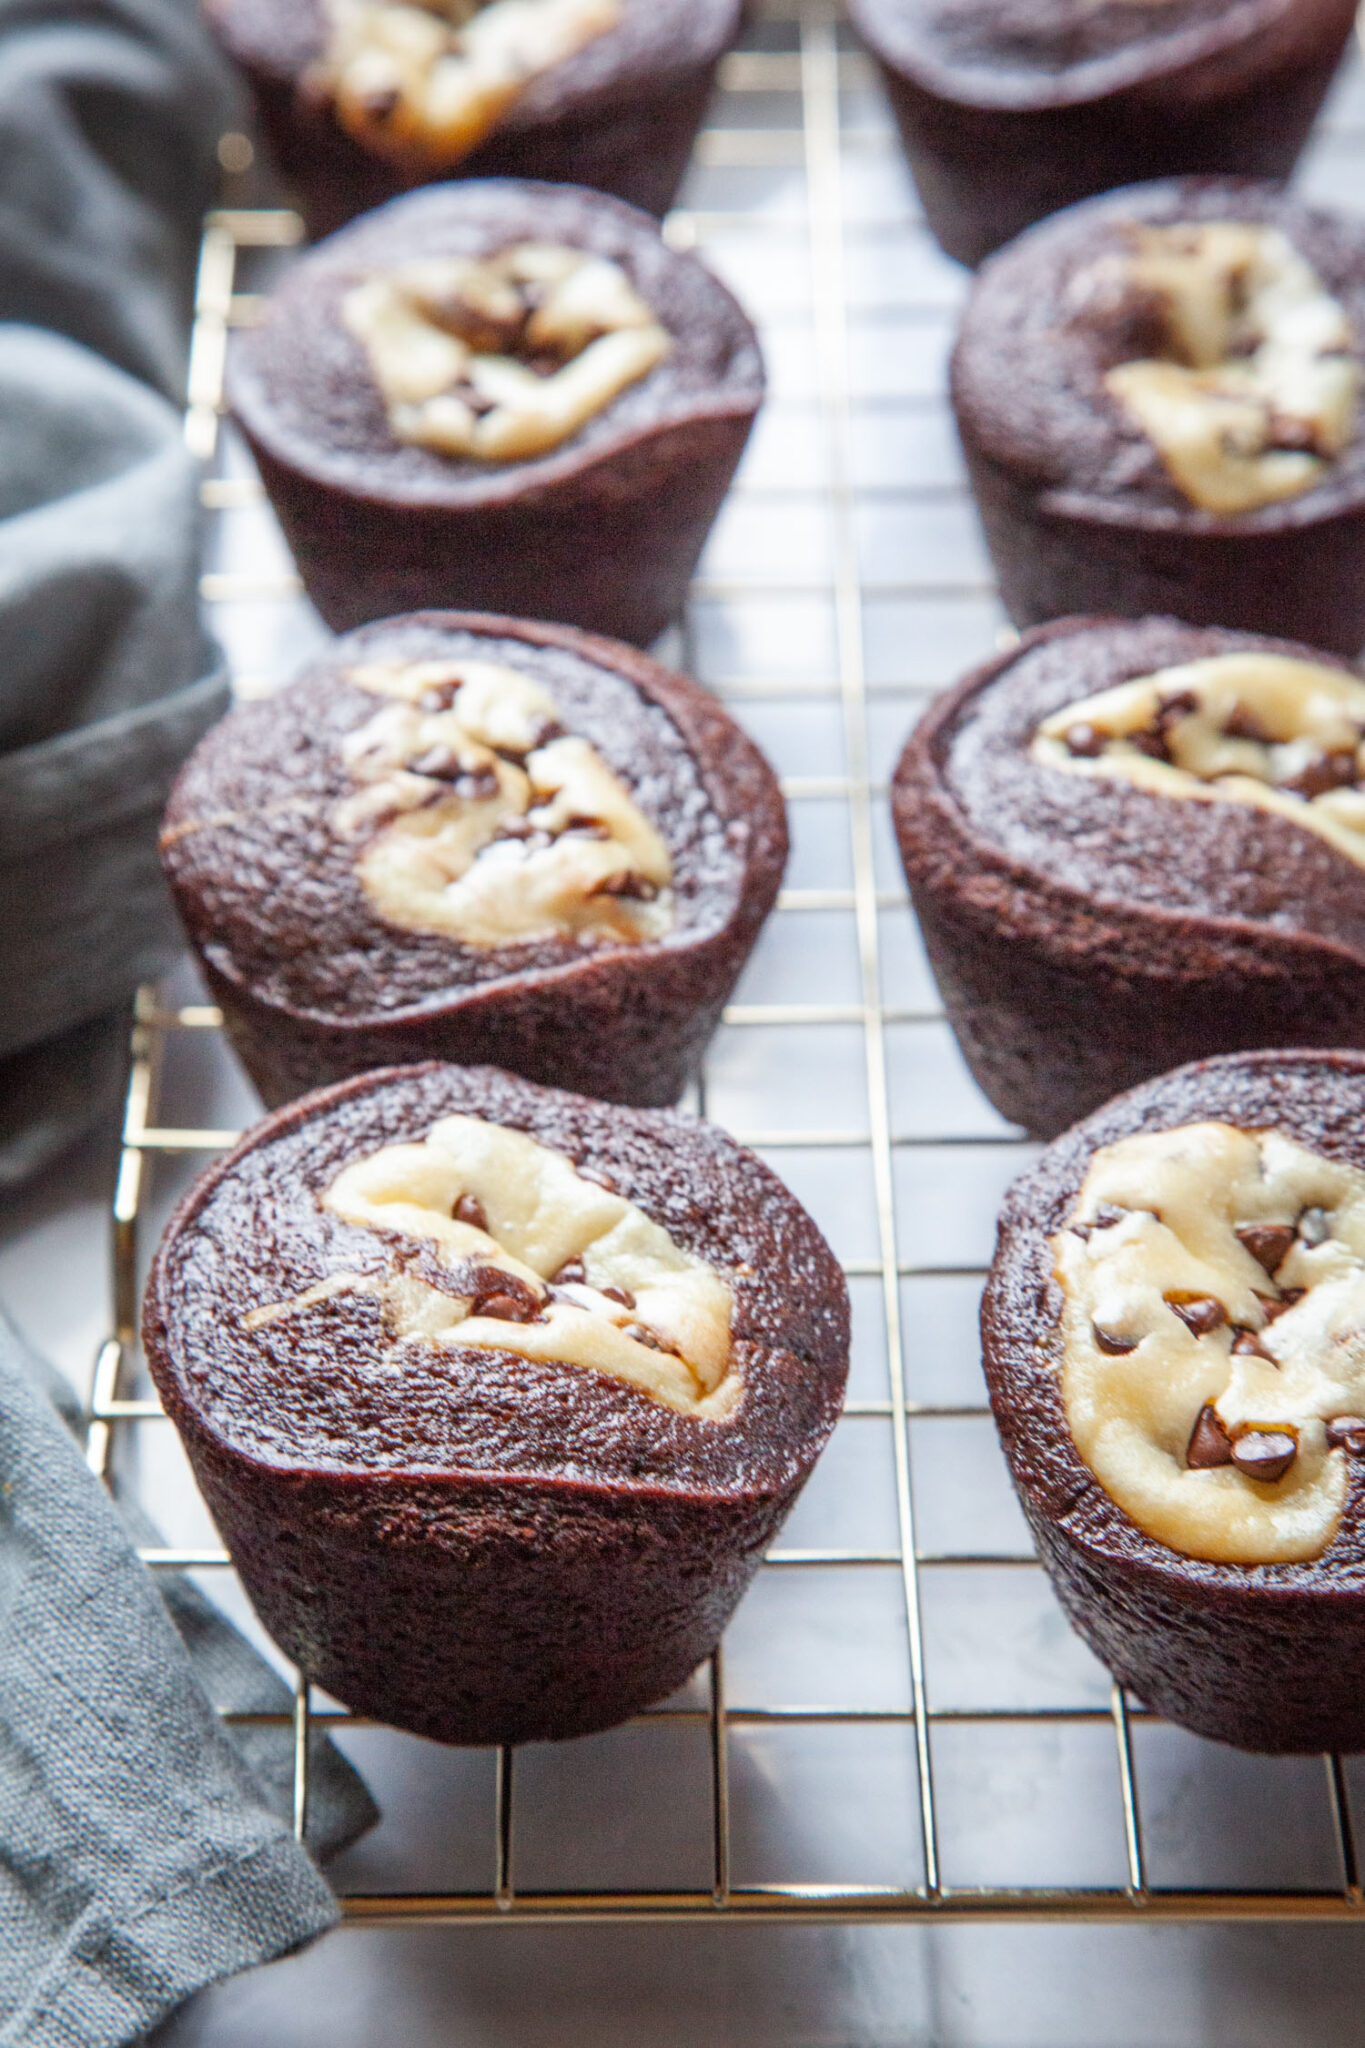
Black bottomed cupcakes on a wire cooling rack.

How to make black bottomed cupcakes

Though the look fancy-pants, these cupcakes are super easy to make. And because they have a built-in sweetened cream cheese filling, they don’t require frosting! 

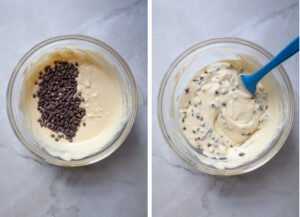
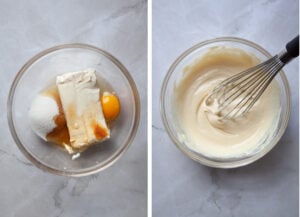
First make the cream cheese filling by combining room temperature cream cheese, sugar, and an egg. Fold in mini chocolate chips, then set aside.
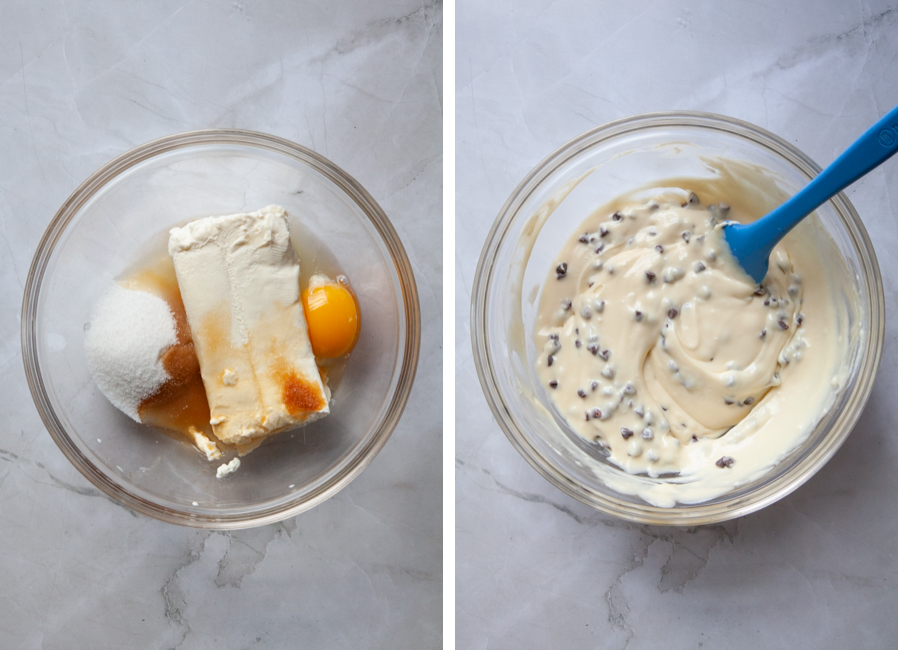
Left image is cream cheese, sugar, egg, vanilla in a bowl. Right image is ingredients, along with mini chocolate chips, mixed together until batter is smooth and chocolate chips are evenly distributed.

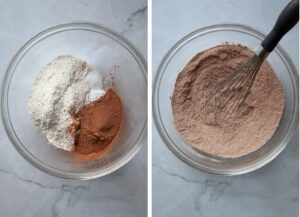
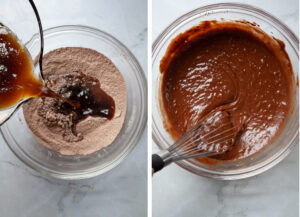
Make the cupcake batter by combining flour, natural cocoa (not Dutch-processed), baking soda, and salt in a bowl. Combine fresh brewed coffee, brown sugar, vegetable oil, Balsamic vinegar, and vanilla extract in a bowl. Then pour the liquid into the dry ingredients. Whisk the ingredients together until they are combined and a smooth batter forms. 
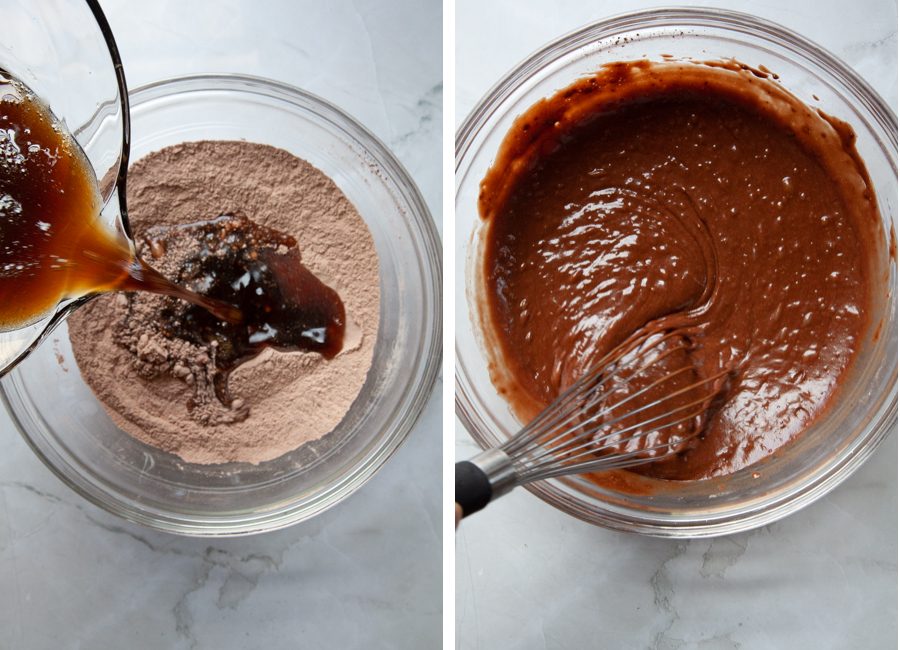
Left image is dry ingredients for the chocolate cupcake batter in a bowl, with the liquid ingredients being poured into the bowl. Right image is the batter mixed together until smooth.

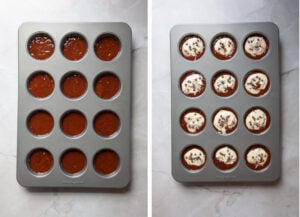
Divided the batter into a standard muffin pan, either well oiled, or fitted with cupcake lines. Then spoon a generous amount of cream cheese filling into the batter. Sprinkle a few more chocolate chips on top and bake.
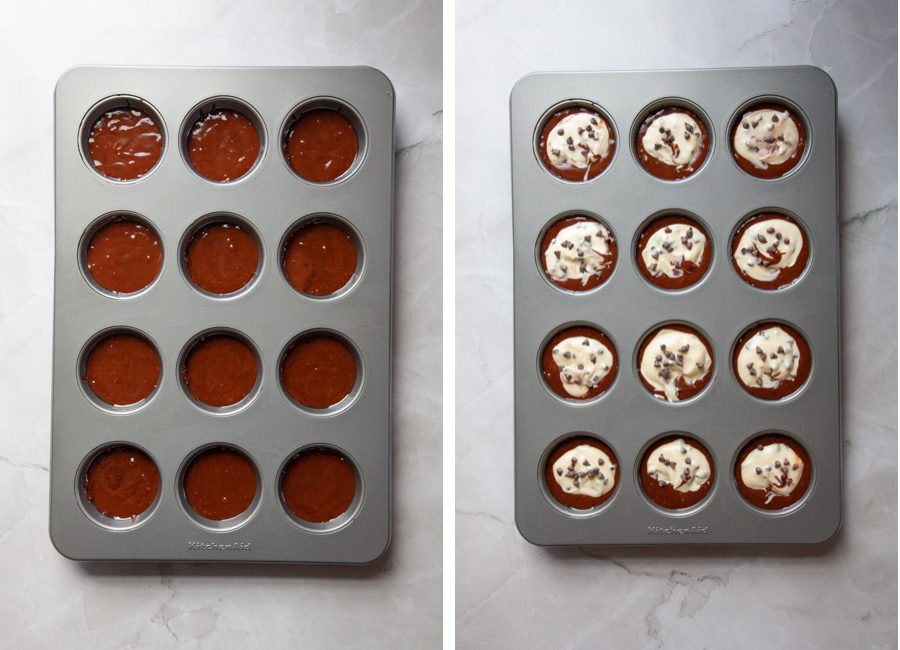
Left image is a muffin pan filled with chocolate batter. Right image is the cream cheese filling added to each chocolate batter filled muffin cup.

Warming up the cream cheese

To ensure that you cream cheese filling is smooth, you need to use room temperature cream cheese. The easiest way to do this is to just take your cream cheese out of the fridge and place it on the counter for an hour or two. 

But if you’re like me, you don’t always have the forethought to do that! And though you can remove the cream cheese from the foil wrapper and microwave the cream cheese to warm it up, I have found that microwaving it can lead to uneven heating of the cream cheese, with pockets of super hot and refrigerator cold cream cheese. 

My favorite way to warm up the cream cheese is to leave it in the foil and place it in hot water from the kitchen tap. Let the cream cheese sit for about 10 minutes in the hot water, which is about the time it takes to gather up all your ingredients, prep the muffin pan, and preheat the oven. The hot water will warm the cream cheese up to the right temperature.
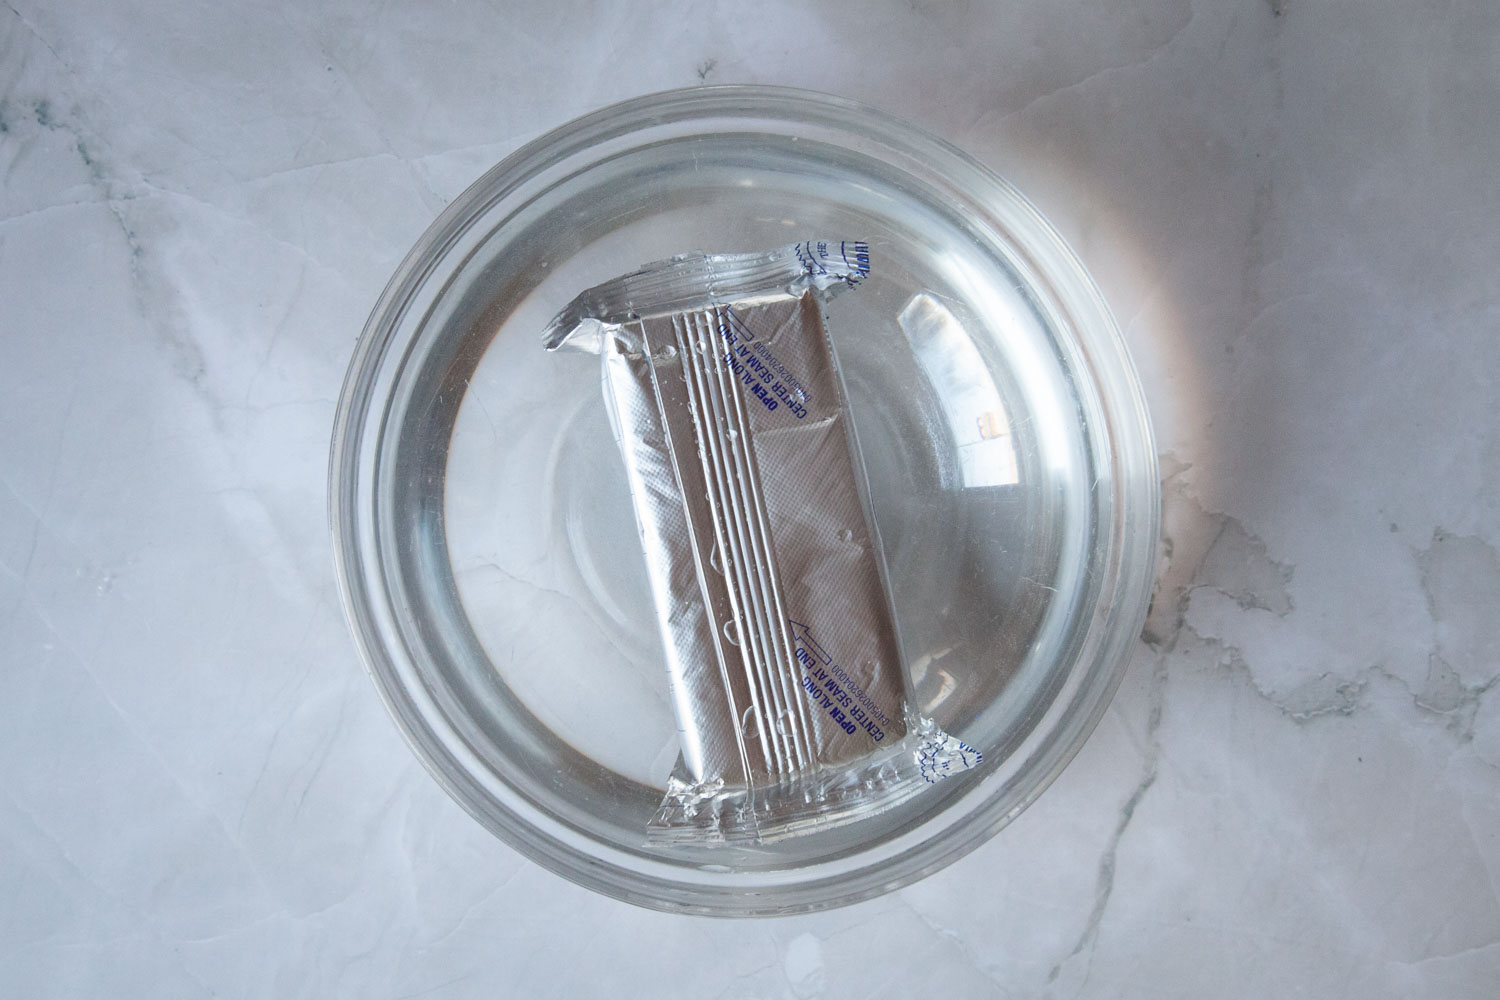
A brick of cream cheese still in its foil wrapper, submerged in hot water in a glass bowl.

Using the right cocoa powder

This recipe uses natural cocoa powder, which is more acidic than Dutch-processed cocoa. Natural cocoa powder is necessary because the leavening in the cupcake is baking soda, which requires an acid in it. To boost the acidity, I also add Balsamic vinegar. If you only have Dutch-processed cocoa, you can substitute the same amount of that cocoa, but reduce the baking soda to 1/4 teaspoon and add in 2 teaspoons of baking powder as well. 
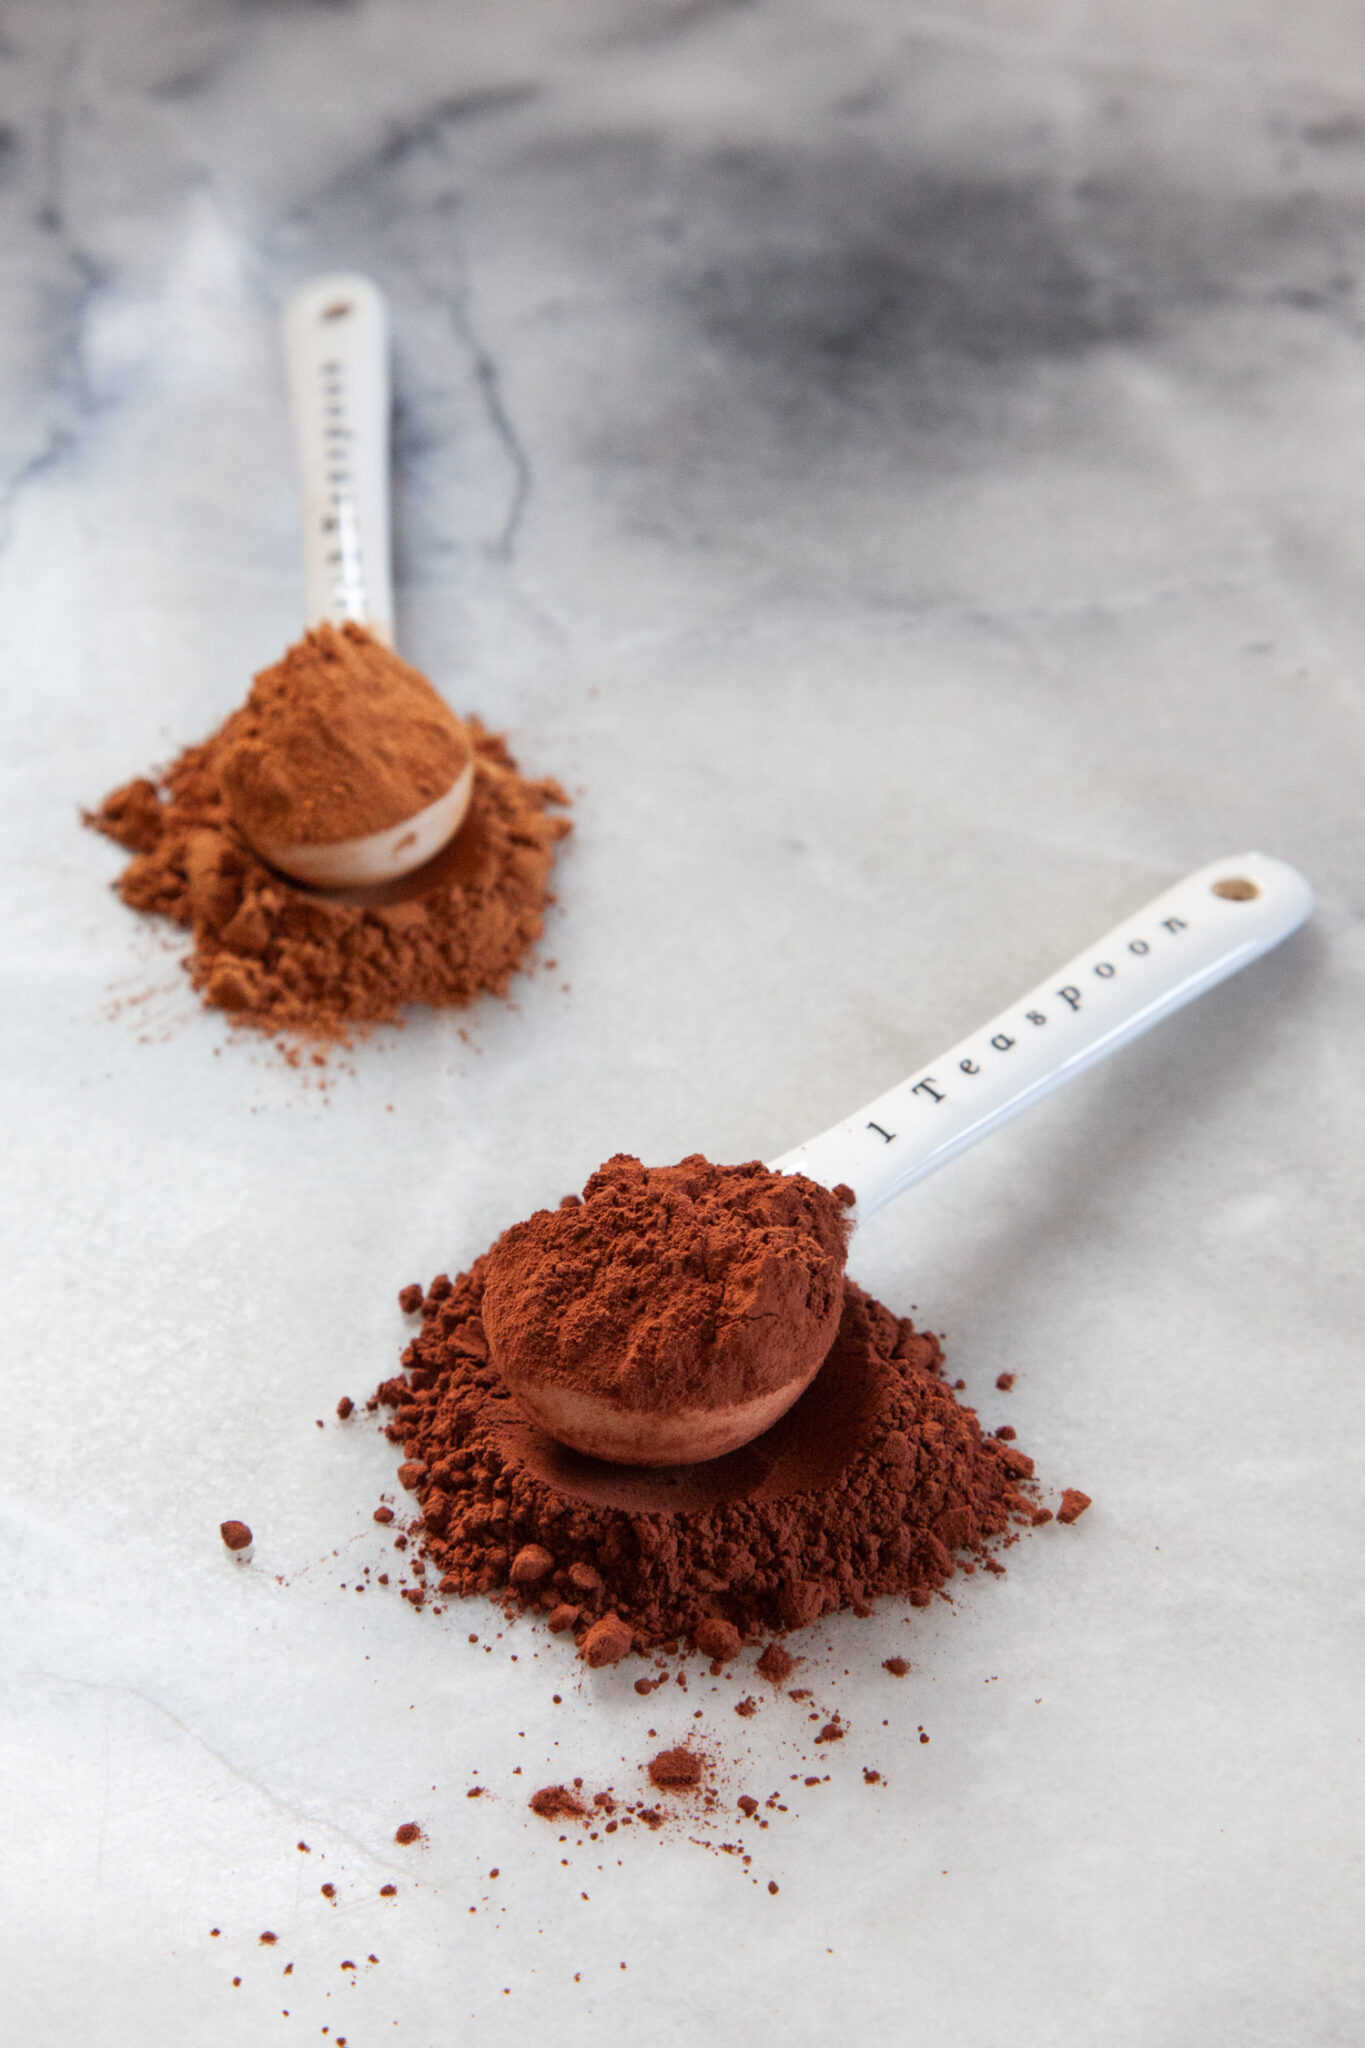
Two spoonfuls of different cocoa powder on a marble surface, with darker Dutch-processed cocoa in front, and natural cocoa powder in back.

Changes from the original recipe

I’ve adapted and changed this recipe from the original, which is in Lebovitz’ book, and which was most likely adapted from the 1961 Pillsbury 13 Grand National Bake-Off cookbook, by Mrs. Leonard E. Geisert (who was the Senior First Prize Winner). Lebovitz ups the cocoa powder to 5 tablespoons and uses light brown sugar in his recipe versus the Geisert recipe that uses 4 tablespoons of cocoa powder and white sugar.

I’ve kept Lebovitz’ 5 tablespoons of cocoa powder but also shifted the brown sugar to dark brown, to up the molasses flavor. I also increased the vanilla to 2 teaspoons and used coffee to boost the chocolate flavor over water, which both Lebovitz’ and Geisert’s recipe originally use. 

Finally, the Geisert only lists “vinegar” in the recipe, while Lebovitz specifies white or cider vinegar. I swapped out Balsamic vinegar, which has a rich syrupy flavor that plays well with chocolate. I’ve found that white or cider vinegar work fine initially but any cupcakes that are leftover, the vinegar flavor becomes more pronounced. Balsamic vinegar doesn’t have this issue and it lends a richer flavor. If you only have white or apple cider vinegar, feel free to use that, just eat the cupcakes the same day you bake them, or know that leftover cupcakes might taste a tinge more acidic when you eat them.
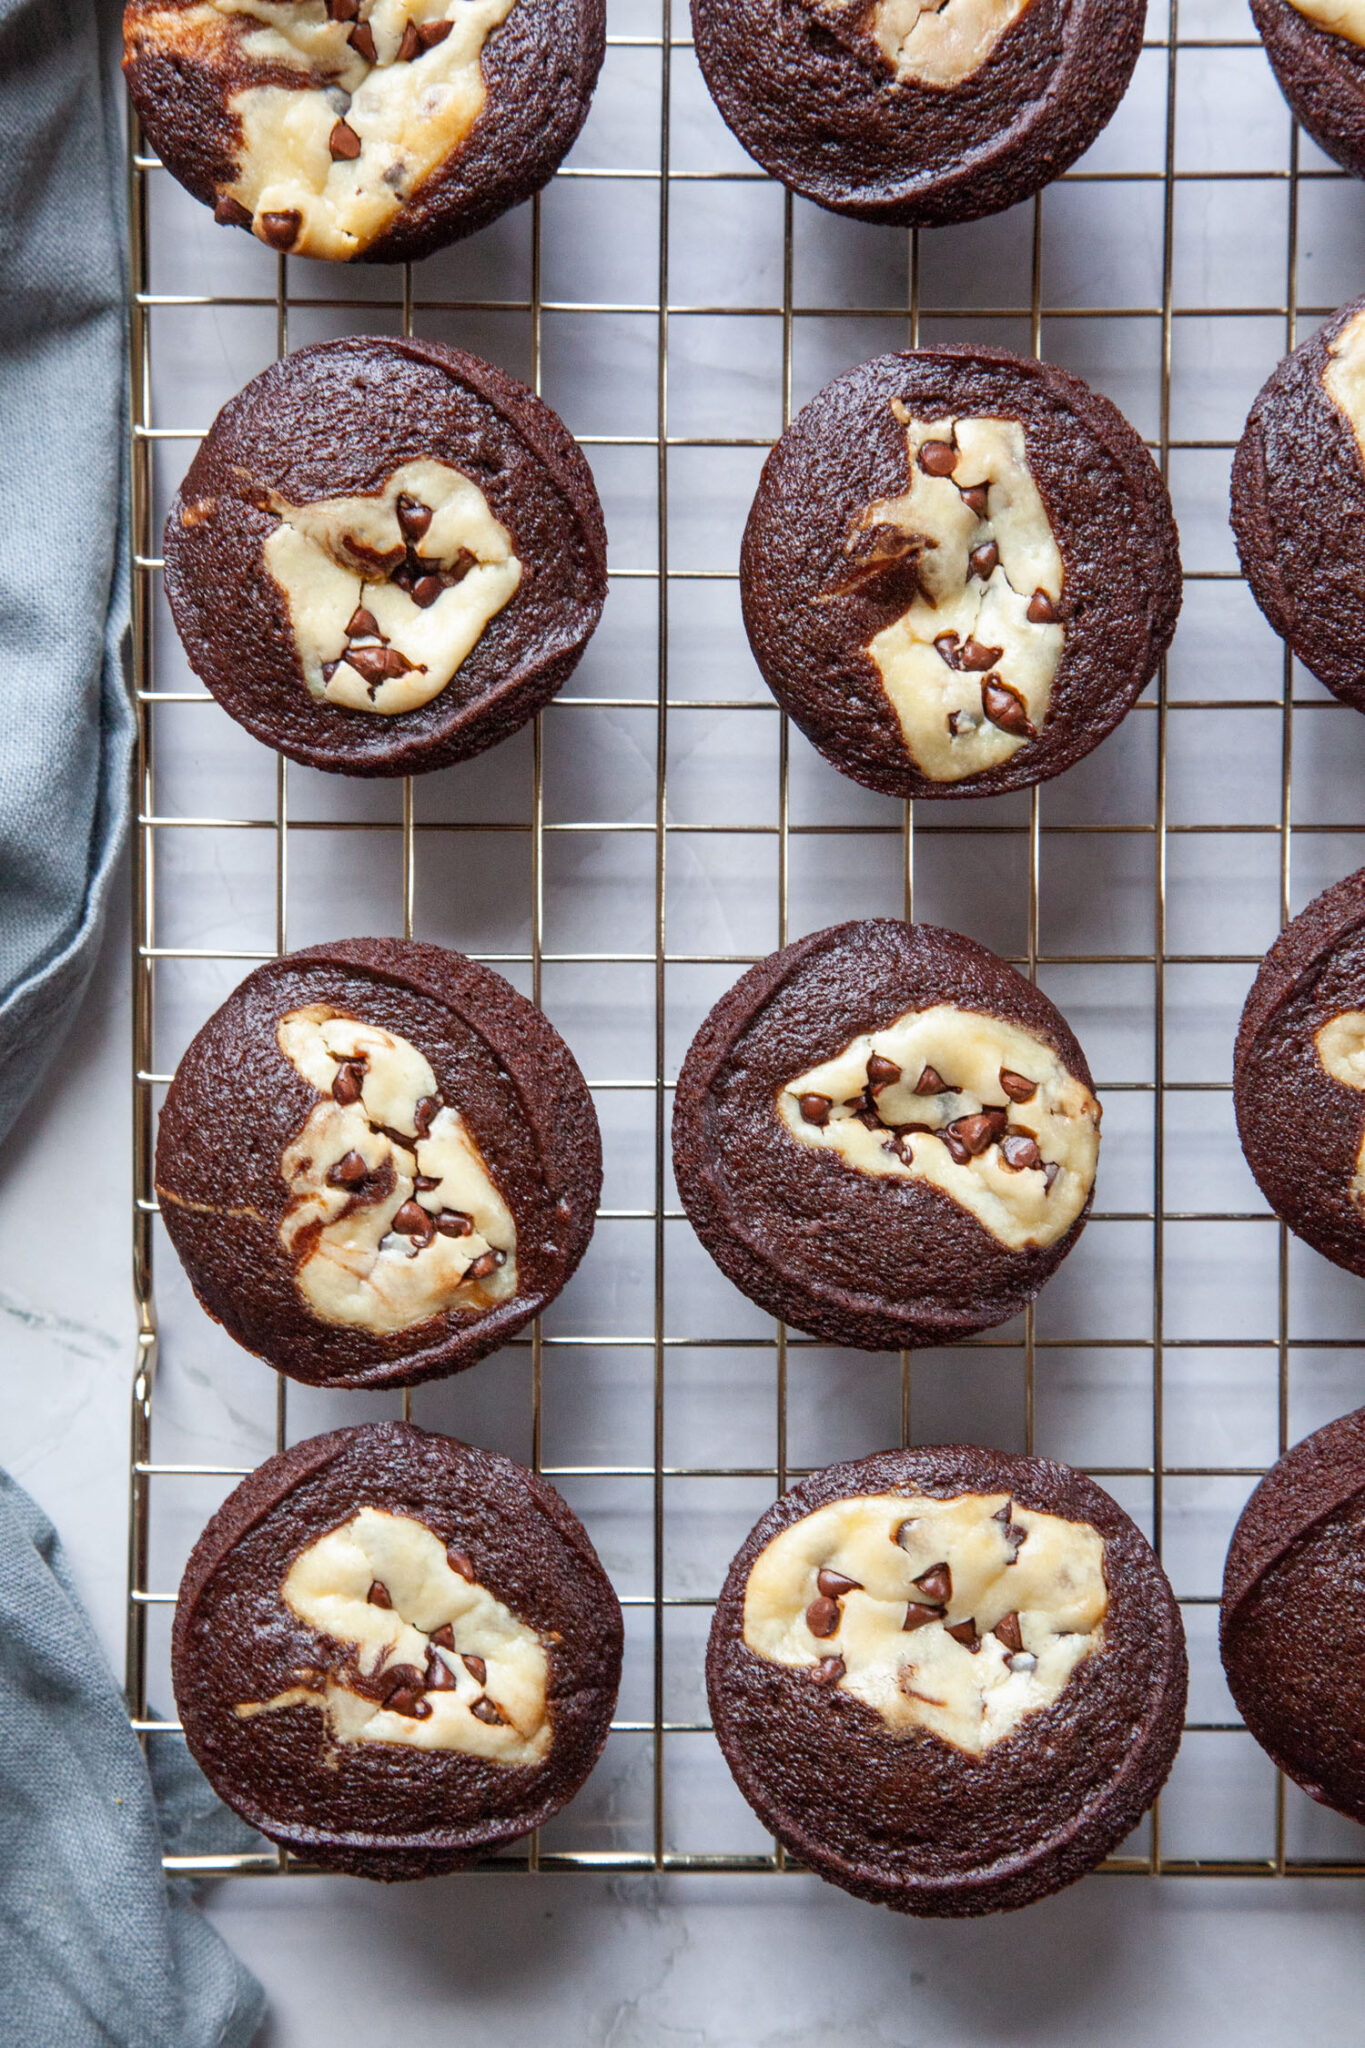
Black bottomed cupcakes on a wire cooling rack.

How to store black bottomed cupcakes

These cupcakes have cream cheese, so I recommend storing the in the fridge if you have leftovers. Store them in an airtight container for up to 5 days. You can eat them straight from the fridge (they’re delightful cold!) or just set them on the counter for an hour to warm up to room temperature.

You can also freeze these cupcakes. Just place them on a baking sheet in the freezer for 2 hours. Once frozen solid, store them in a Ziploc bag or airtight container for up to 2 months. Thaw them on the countertop for a couple of hours or until they are at room temperature before serving.
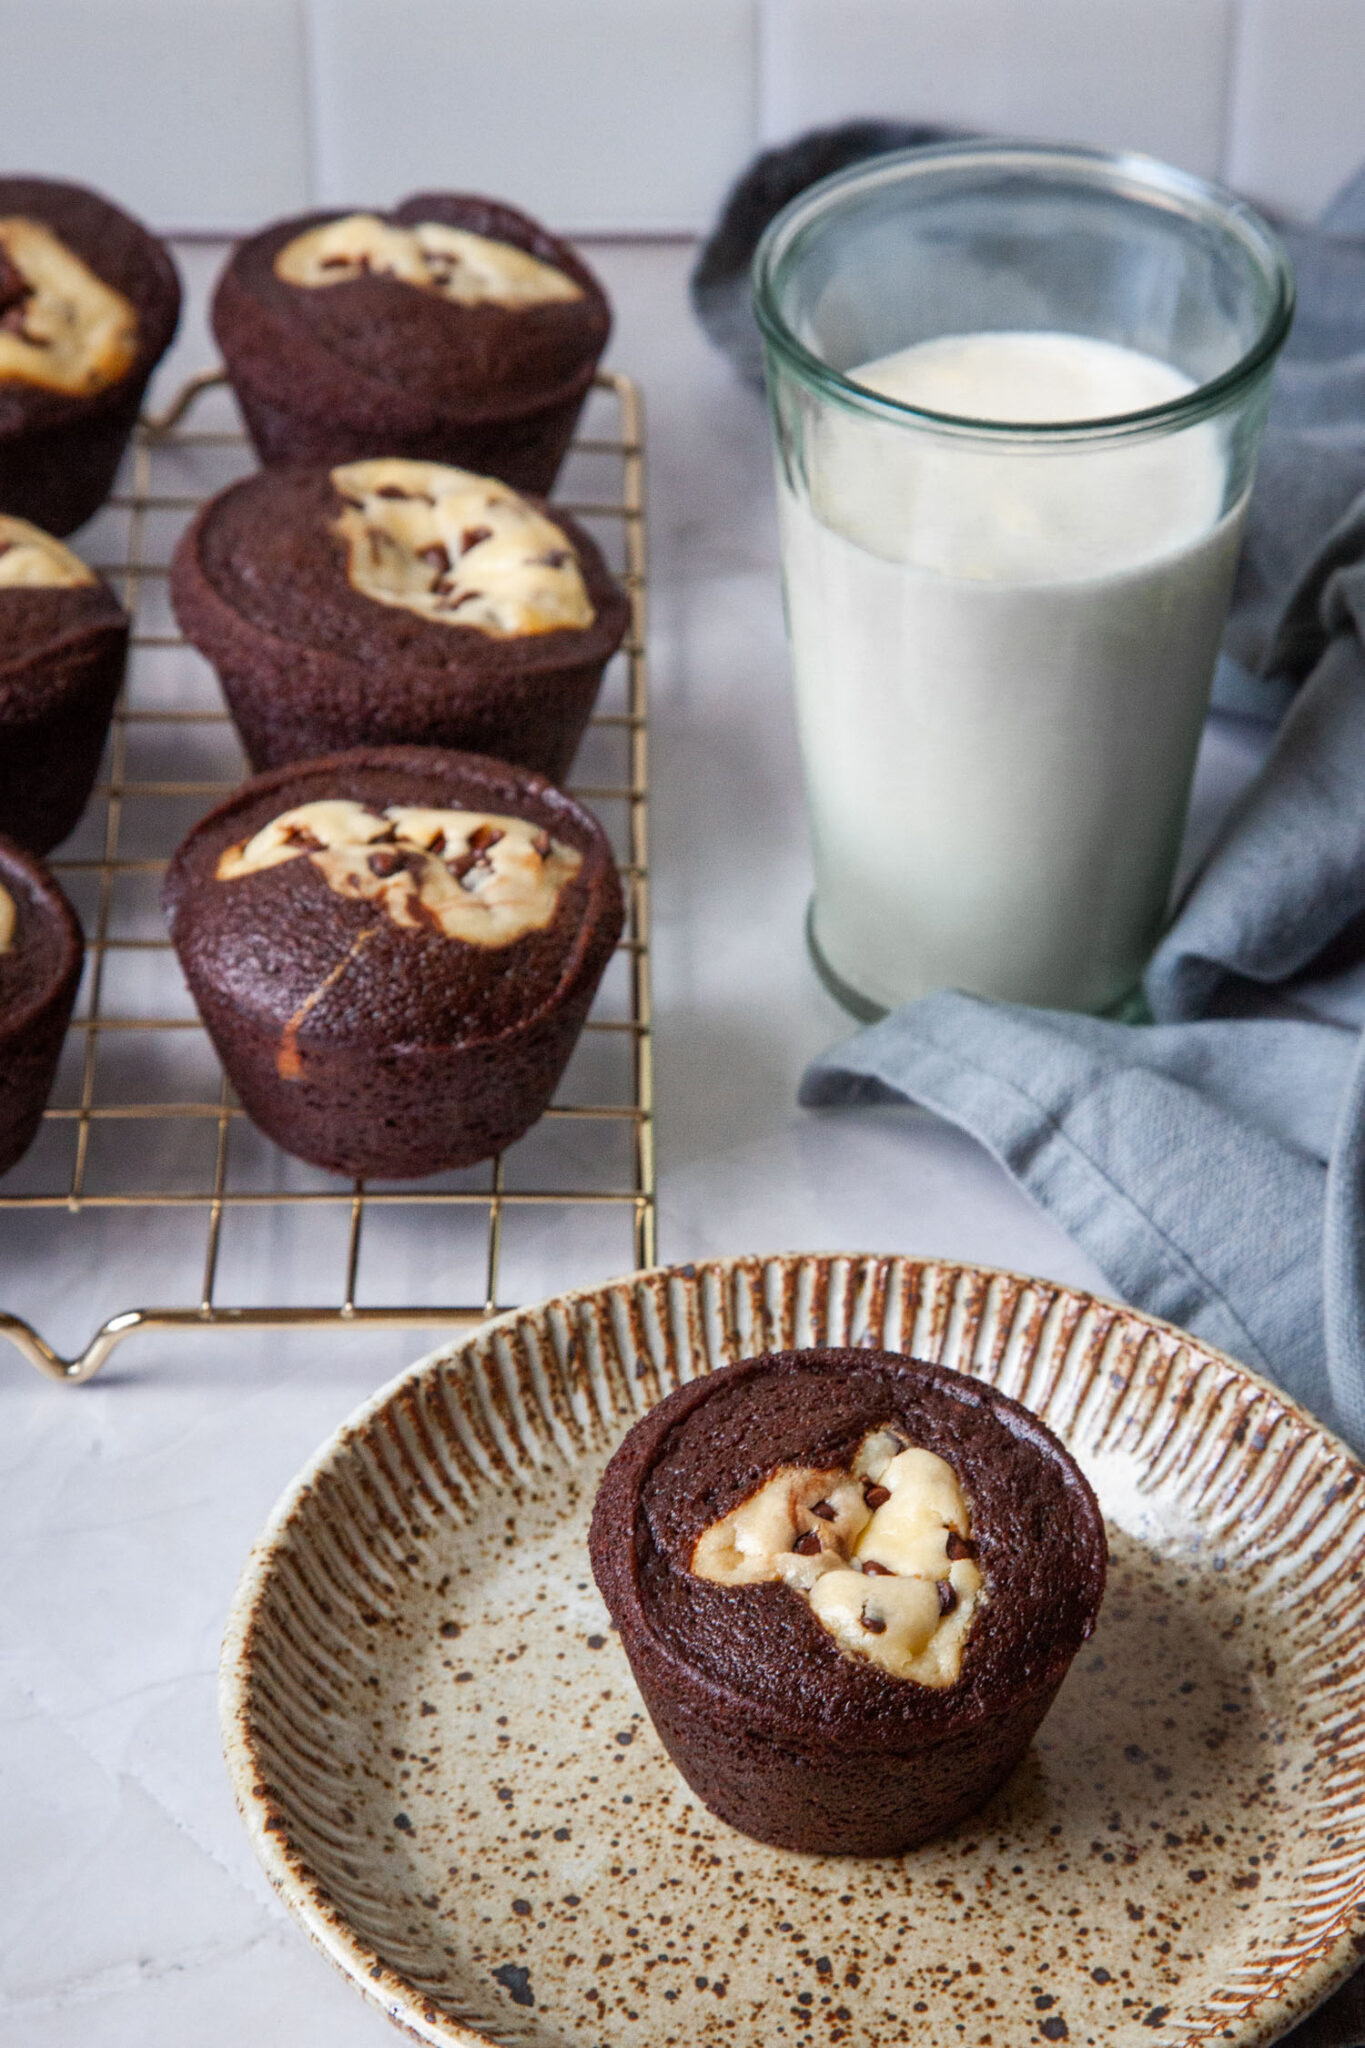
A black bottomed cupcake on a plate. A glass of milk, a cloth napkin, and a wire rack of more black bottomed cupcakes are behind the plate.

If you like these Black Bottomed Cupcakes, check out these other chocolate recipes:

  • Guinness Stout Chocolate Bundt Cake
  • Double Chocolate Chip Muffins
  • Chocolate Banana Bread
  • Bakery-Style Chocolate Chip Cookies
  • Hot Chocolate Cookies
  • Chocolate Strawberry Cheesecake
  • Chocolate Salted Caramel Stuffed Cookies
  • Reverse Chocolate Chip Cookies (Pan Banging-style)
  • Chocolate Pot de Creme with Olive Oil and Candied Kumquats
A black bottomed cupcake on a plate, split open. A glass of milk, a cloth napkin, and a wire rack of more black bottomed cupcakes are next to the plate.
Print Pin
5 from 4 votes

Black Bottomed Cupcakes

These old-fashioned vintage recipe cupcakes deserve a comeback! They’re easy to make, and don’t require frosting or any other adornment. The rich chocolate base is slightly fudgy and the tangy cream cheese filling is an ideal complement to the cake. Be sure to bring the cream cheese to room temperature before making it, otherwise it will be lumpy and no amount of mixing or whisking will fix it.
Course coffee time, Dessert, Snack
Cuisine American
Keyword chocolate, chocolate chip, cream cheese, cupcake
Prep Time 35 minutes minutes
Cook Time 25 minutes minutes
Servings 12
Calories 514kcal
Author Irvin

Ingredients

Cream cheese filling

  • 8 ounces cream cheese at room temperature 225 g or 1 brick (see section above for how to bring cream cheese to room temperature quickly)
  • 1/3 cup granulated sugar 65 g
  • 1 large egg
  • 1/3 cup mini chocolate chips 2 oz or 60 g, can use regular sized chocolate chips or chopped chocolate

Cupcake batter

  • 1 1/2 cups all-purpose flour 210 g
  • 5 tablespoons natural cocoa not Dutch-processed, 33 g (see section above for the difference between cocoa powders)
  • 1 teaspoon baking soda
  • 1/2 teaspoon kosher salt
  • 1 cup coffee or 1 cup hot water with 1 teaspoon instant coffee or instant espresso powder
  • 1 cup packed dark brown sugar 220 g
  • 1/3 cup vegetable oil
  • 1 tablespoon Balsamic vinegar can substitute apple cider or white vinegar (see section above about the vinegar)
  • 2 teaspoons vanilla extract

To finish

  • A handful of mini chocolate chips (optional, but why not?)

Instructions

  • Preheat the oven to 350°F. Butter or spray a nonstick muffin pan with cooking oil. You can also line it with cupcake liners if you wish.
    Make the cream cheese filling by placing the cream cheese, sugar and egg in a small bowl. Beat ingredients together with a balloon whisk until smooth. Don’t stress if there are tiny lumps in the batter but beat until you can get it as smooth as possible. The warmer the cream cheese, the easier it is to get the batter smooth. See my section above for warming up cream cheese quickly.
    Left image is cream cheese, sugar, egg, vanilla in a bowl. Right image is all the ingredients whisked together until smooth, with a balloon whisk in the bowl.
  • Once the cream cheese filling is blended and smooth, fold in the chocolate chips.
    Left image is mini chocolate chips added to the cream cheese filling. Right image is a blue silicone spatula in the bowl, with the mini chocolate chips folded in and evenly distributed in the batter.
  • Make the cupcake batter by placing the flour, cocoa, baking soda, and salt to a large bowl. Use a balloon whisk and vigorously stir together the dry ingredients until they are uniform in color.
    Left image is flour, cocoa, baking soda, and salt in a glass bowl. Right image is a balloon whisk in the bowl, and the ingredients all blended together, with the dry ingredients a uniform color.
  • Place the coffee, brown sugar, vegetable oil, balsamic vinegar, and vanilla extract in a medium bowl and whisk together. Pour the wet ingredients into the dry ingredients.
    Whisk ingredients together until a smooth batter forms.
    Left image is dry ingredients for the chocolate cupcake batter in a bowl, with the liquid ingredients being poured into the bowl. Right image is the batter mixed together until smooth.
  • Divide the chocolate batter into the cupcake muffin cups. It should come up to about 2/3rd full in the cups. Then spoon a generous tablespoon of cream cheese filling into the middle of each cup of chocolate batter. You want to gentle dip the spoon of cream cheese into the middle of the chocolate batter, so it settles in a bit. Don’t just spoon it on top of the batter. This will fill the muffin tins almost to the top.
    Sprinkle a few more mini chocolate chips on top if you want.
    Left image is a muffin pan filled with chocolate batter. Right image is the cream cheese filling added to each chocolate batter filled muffin cup.
  • Bake the cupcakes for about 25 minutes, or until the cream cheese filling starts to look a bit golden brown and the tops of the cupcake is springy to the touch.
    Let cool in the muffin pan, then twist and lift up each of the cupcakes and move them to a wire rack to cool completely.
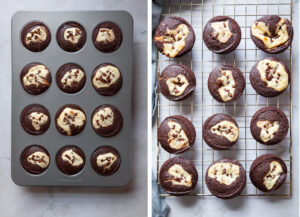
    Left image is black bottomed cupcakes baked in a muffin pan. Right image is the black bottomed cupcakes cooling on a wire rack.

Notes

Adapted from David Lebovitz’ Big Book of Chocolate cookbook (affiliate link).

Nutrition

Calories: 514kcal | Carbohydrates: 49g | Protein: 15.2g | Fat: 33.3g | Saturated Fat: 19.3g | Cholesterol: 105mg | Sodium: 4119mg | Potassium: 1206mg | Fiber: 12.9g | Sugar: 15.4g | Calcium: 122mg | Iron: 8mg

Pin this recipe for later!

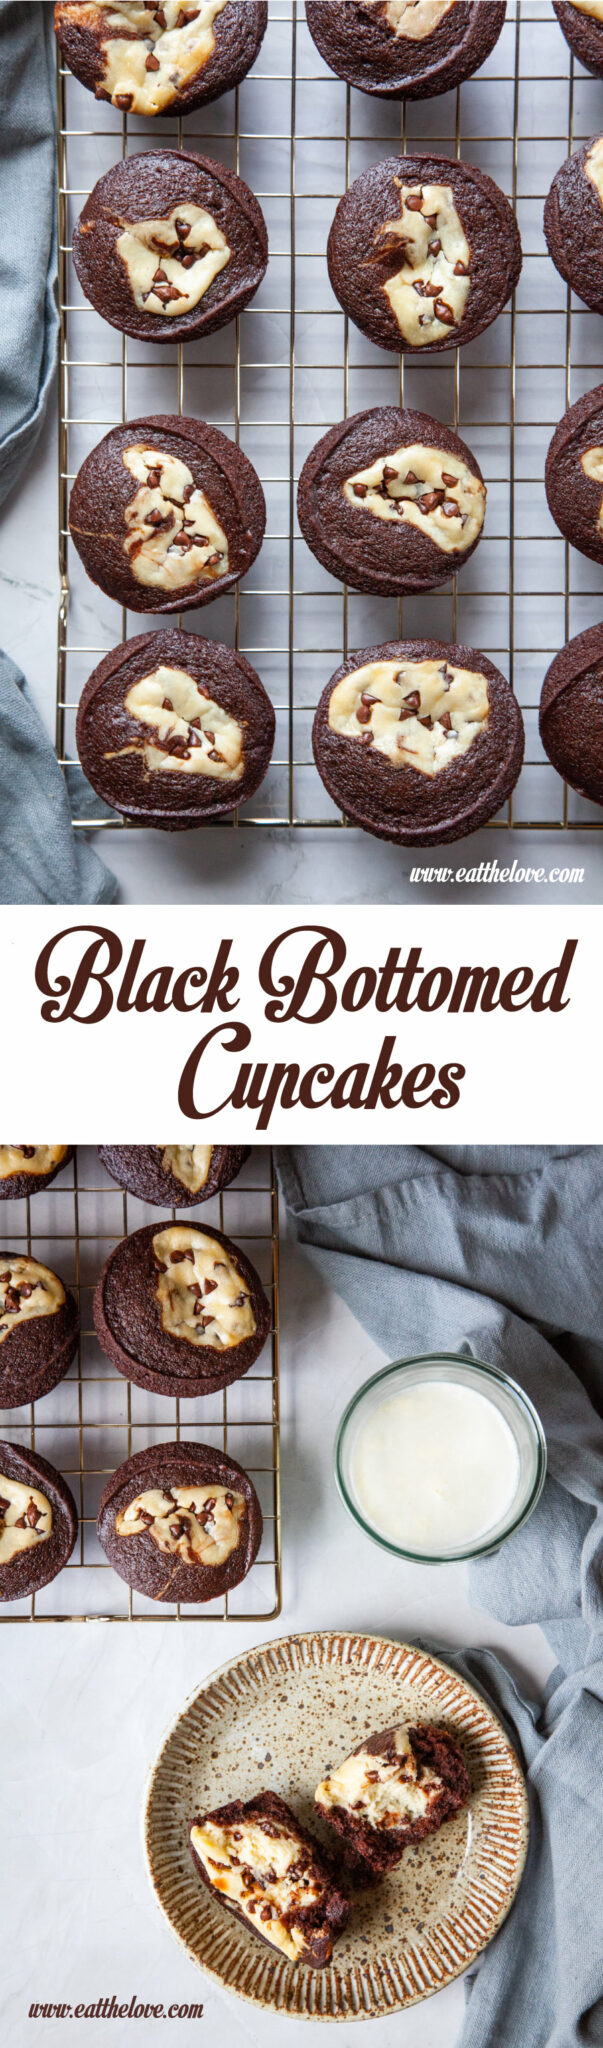
Top image is a black bottomed cupcakes cooling on a wire rack. Bottom image is a black bottomed cupcake broken in half on a plate so you can see the cream cheese filling in it. There is a glass of milk and more cupcakes on a wire rack next to it.

Filed Under: cake, chocolate, dessert, easy, muffins, snack Tagged With: chocolate, cream cheese, cupcake, easy

Reader Interactions

Comments

  1. Joseph Harding says

    February 28, 2025 at 12:46 am

    Those black bottomed cupcakes look amazing! I love how rich and decadent they seem. By the way, if you ever need a quick break from baking, you should check out poki. They have so many fun options to relax with while your cupcakes are in the oven.

    Reply
  2. sola says

    April 1, 2025 at 2:51 am

    I made this cake exactly as you instructed and it tasted amazing. Slither io

    Reply
  3. spje says

    April 1, 2025 at 2:52 am

    I made this cake exactly as you instructed and it tasted amazing. Slither io

    Reply
  4. Angela Huang says

    April 24, 2025 at 8:48 pm

    Omg, this Eton Mess recipe looks divine! Strawberries, meringue, and whipped cream? Yes, please! Definitely gonna try this out. Thanks for sharing!

    Reply
  5. Zane Blackwood says

    July 17, 2025 at 9:40 am

    I love when old recipes resurface and you get to tweak them with your own spin — it makes the experience even more rewarding. I’ve had David Lebovitz’s book on my wishlist for a while; n
    ow I’m even more tempted to grab a copy.

    On a totally different note, when I’m not baking (or snacking on what I’ve baked 😄), I unwind with quick browser games. One of my go-tos lately is head soccer — light, fun, and perfect for a short break between recipes!

    Reply
  6. Mr. Joseph says

    July 17, 2025 at 9:43 am

    I love when old recipes resurface and you get to tweak them with your own spin — it makes the experience even more rewarding. I’ve had David Lebovitz’s book on my wishlist for a while; now I’m even more tempted to grab a copy.

    On a totally different note, when I’m not baking (or snacking on what I’ve baked 😄), I unwind with quick browser games. One of my go-tos lately is head soccer — light, fun, and perfect for a short break between recipes!

    Reply
5 from 4 votes

Leave a Reply Cancel reply

Your email address will not be published. Required fields are marked *

Recipe Rating


This site uses Akismet to reduce spam. Learn how your comment data is processed.

Primary Sidebar

Follow Me On

Twitter-Link-to-Eat-the=Love Facebook-Link-to-Eat-the-Love Pinterest-Link-Eat-The-Love Instagram-Link-Eat-The-Love RSS-Feed-Link-Eat-The-Love
on Mastodon

Available Now: Marbled, Swirled and Layered
Available Now: Marbled, Swirled and Layered Available Now: Marbled, Swirled and Layered Available Now: Marbled, Swirled and Layered

"Mr. Lin, a graphic designer in San Francisco who writes the food blog Eat the Love, takes risks in nearly every one of the 150 elaborate recipes in his book. He doesn’t just paint the lily; he bejewels and shellacs it, too."
–MELISSA CLARK for the New York Times

“My goodness, this cookbook! It’s filled to the brim with recipes for the most splendidly beautiful cakes, cookies, breads, and tarts I think I’ve ever seen. My eyes kept getting wider and wider as I turned every page—both the flavor combinations and the photos are out of this world. Irvin Lin has most definitely outdone himself. This book is a triumph!”
—REE DRUMMOND, New York Times best-selling author of The Pioneer Woman Cooks

“Irvin Lin gives home-baked treats a twist, ramping them up with a range of contemporary flavors that are sure to surprise and delight. From beer-battered brownies to smoky butterscotch taking a classic cake to the next level, I can’t wait to mix, stir, and bake my way through Marbled, Swirled, and Layered!”
—DAVID LEBOVITZ, author of My Paris Kitchen

Search

Subscribe via Email

The Writer, The Baker, The Recipe Maker

Hey there! Thanks for visiting my blog. I'm Irvin Lin, a critically acclaimed cookbook author, IACP-Award winning photographer, IACP-nominated blogger, award winning baker, award winning former graphic designer, storyteller, recipe developer, writer and average joe bon vivant. I currently reside in San Francisco a block from Dolores Park and right near Tartine Bakery, Bi Rite Market & Creamery, and Delfina.

Feel free to contact me by clicking on that picture of me up above or emailing me eatthelove {at} gmail {dot} com.

IACP Photography Contest Best in Show WinnerIACP Photography Contest Best in Show Winner

“Irvin Lin is the creative mind behind his Eat the Love food blog. Lin’s impressive photography skills support his training in graphic design on the site, and you would never believe that is food blogger is a self-taught baker.” - PBS Food

“We love Eat the Love because Irvin's beautiful sweets look as good as they taste — his art director's eye appreciates the ruby sparkle of a pile of pomegranate seeds against the matte canvas of chocolate ganache.” - Saveur.com, Sites We Love

Popular Posts

Brookie Recipe (brownie and cookie) with potato chips, pretzels and double chocolate chips. Photo and recipe by Irvin Lin of Eat the Love.

Brookie Recipe with Salty Sweet Snack Treats

Perfect Soft Boiled Egg. Recipe and Photo by Irvin Lin of Eat the Love. www.eatthelove.com

Perfect Soft Boiled Egg

Korean Fried Chicken Recipe. Photo and recipe by Irvin Lin of Eat the Love. www.eatthelove.com

Korean Fried Chicken Recipe – insanely easy, super addictive

Personal Posts

Mexican Chocolate Corn Coffee Cake by Irvin Lin of Eat the Love.

Mexican Chocolate Corn Coffee Cake (and how AJ and I get engaged)

Grape and Blueberry Pie by Irvin Lin of Eat the Love.

Grape and Blueberry Pie

Crispy Oven Roasted Potatoes by Irvin Lin of Eat the Love.

Crispy Oven-Roasted Potatoes (and remembering a childhood friend)

Marbled, Swirled, and Layered.

My cookbook MARBLED, SWIRLED, and LAYERED

Recent Travel & Events

San Francisco Meals on Wheels Star Chefs and Vintners Gala 2019

Photo Essay: Meals on Wheels Gala 2019, part 2

Meals on Wheels Gala 2019

Photo Essay: Meals on Wheels Gala 2019, part 1

More Travel & Events

Wordless Recipes

EatTheLove Wordless Recipes #1 How to make your own ice cream "magic" chocolate hard shell

WORDLESS RECIPE #1: How to Make Your Own Ice Cream “Magic” Chocolate Hard Shell

Eat the Love presents: WORDLESS RECIPES #2 Halloween Edition - Haunted Honey Caramel Popcorn

WORDLESS RECIPE #2 Halloween Edition – Haunted Honey Caramel Popcorn

Molten-Lava-Chocolate-Cake-Wordless-Recipes-Valentines-Day-Eat-The-Love-Irvin-Lin-cover

WORDLESS RECIPES #3 Valentine’s Day Edition – Molten Chocolate Lava Cake

Bluth's Original Frozen Banana Copycat Wordless Recipe by Irvin Lin of Eat the Love. www.eatthelove.com

Wordless Recipe #4: Arrested Development’s Bluth’s Original Frozen Banana “Copycat” Recipe

Disclaimer

This blog currently has a partnership with Amazon.com in their affiliate program, which gives me a small percentage of sales if you buy a product through a link on my blog. I only recommend products (usually cookbooks, but sometimes ingredients or equipment) that I use and love, not for any compensation unless otherwise noted in the blog post. If you are uncomfortable with this, feel free to go directly to Amazon.com and search for the book or item of your choice.

Copyright © 2010–2026. Eat the Love. All rights reserved. | Privacy Policy

Rate This Recipe

Your vote:


A rating is required
A name is required
An email is required

Recipe Ratings without Comment

Something went wrong. Please try again.