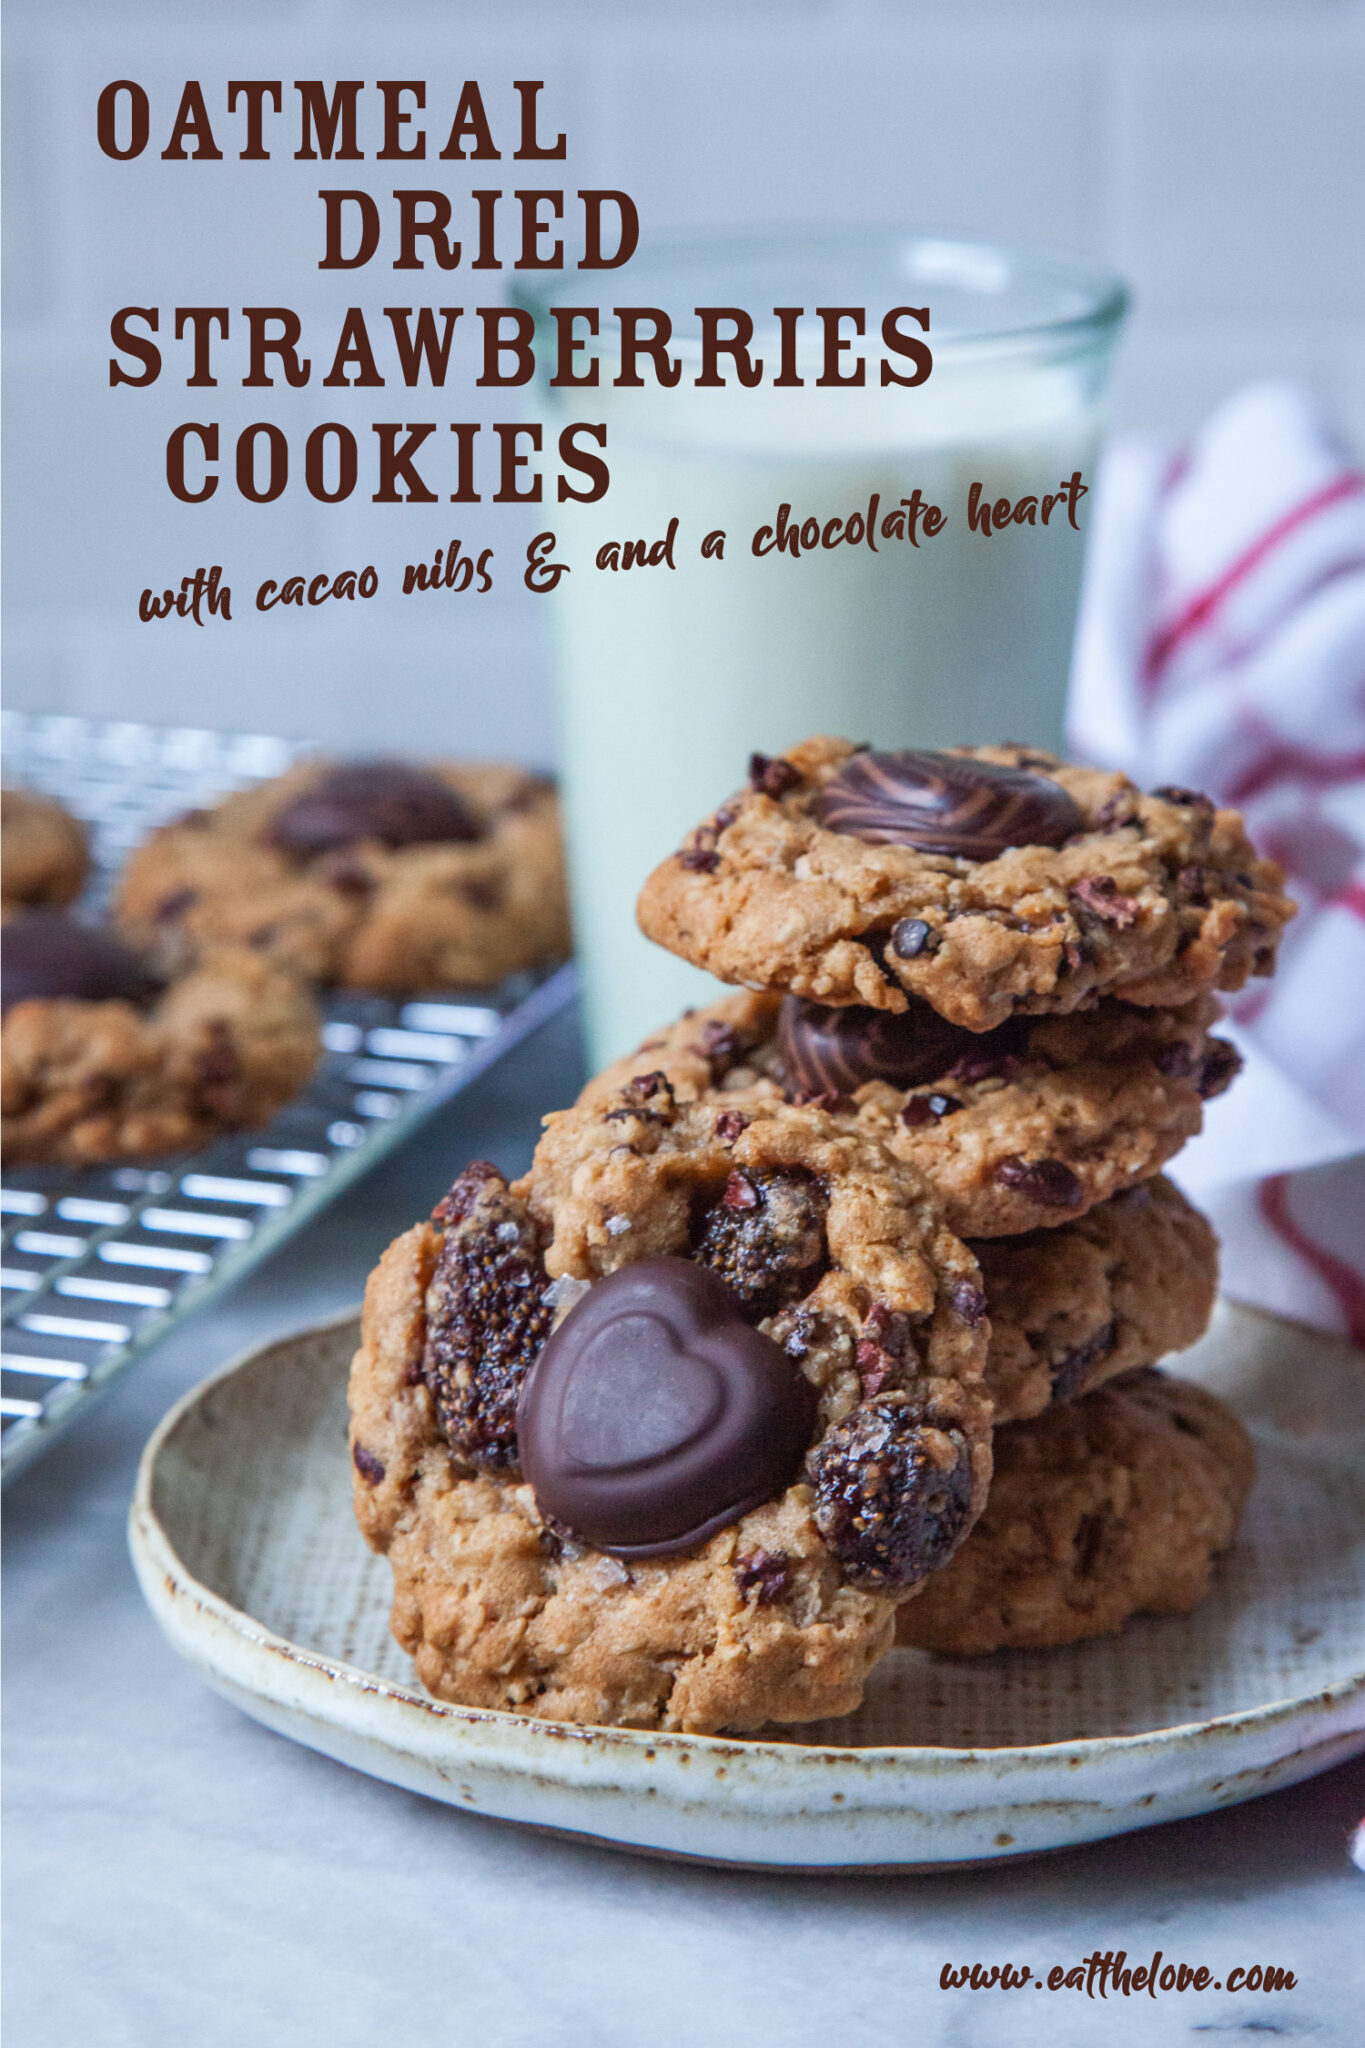
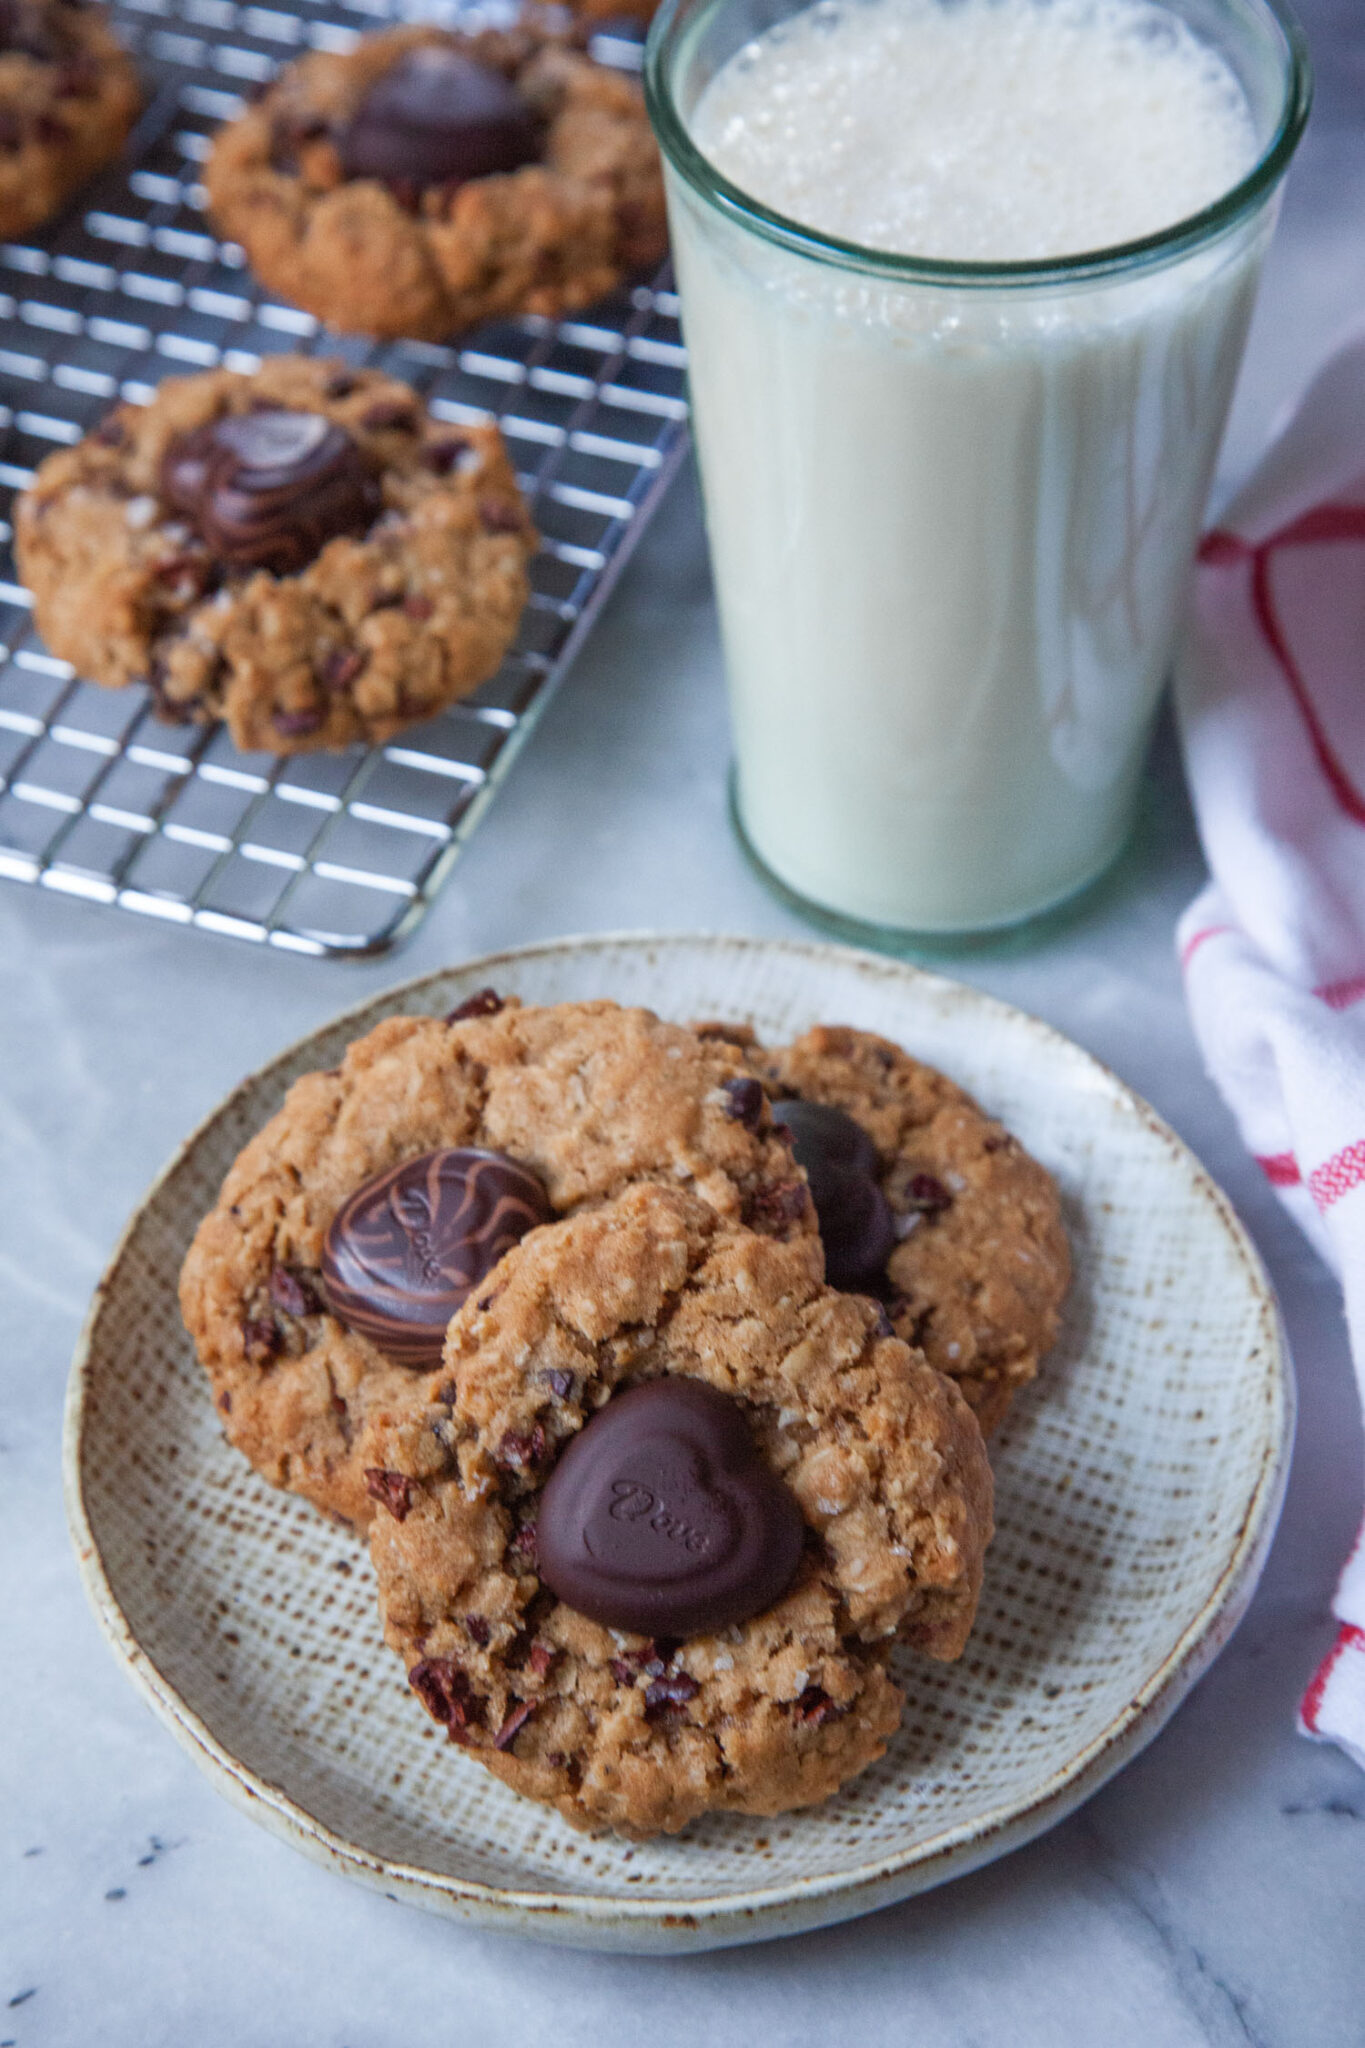
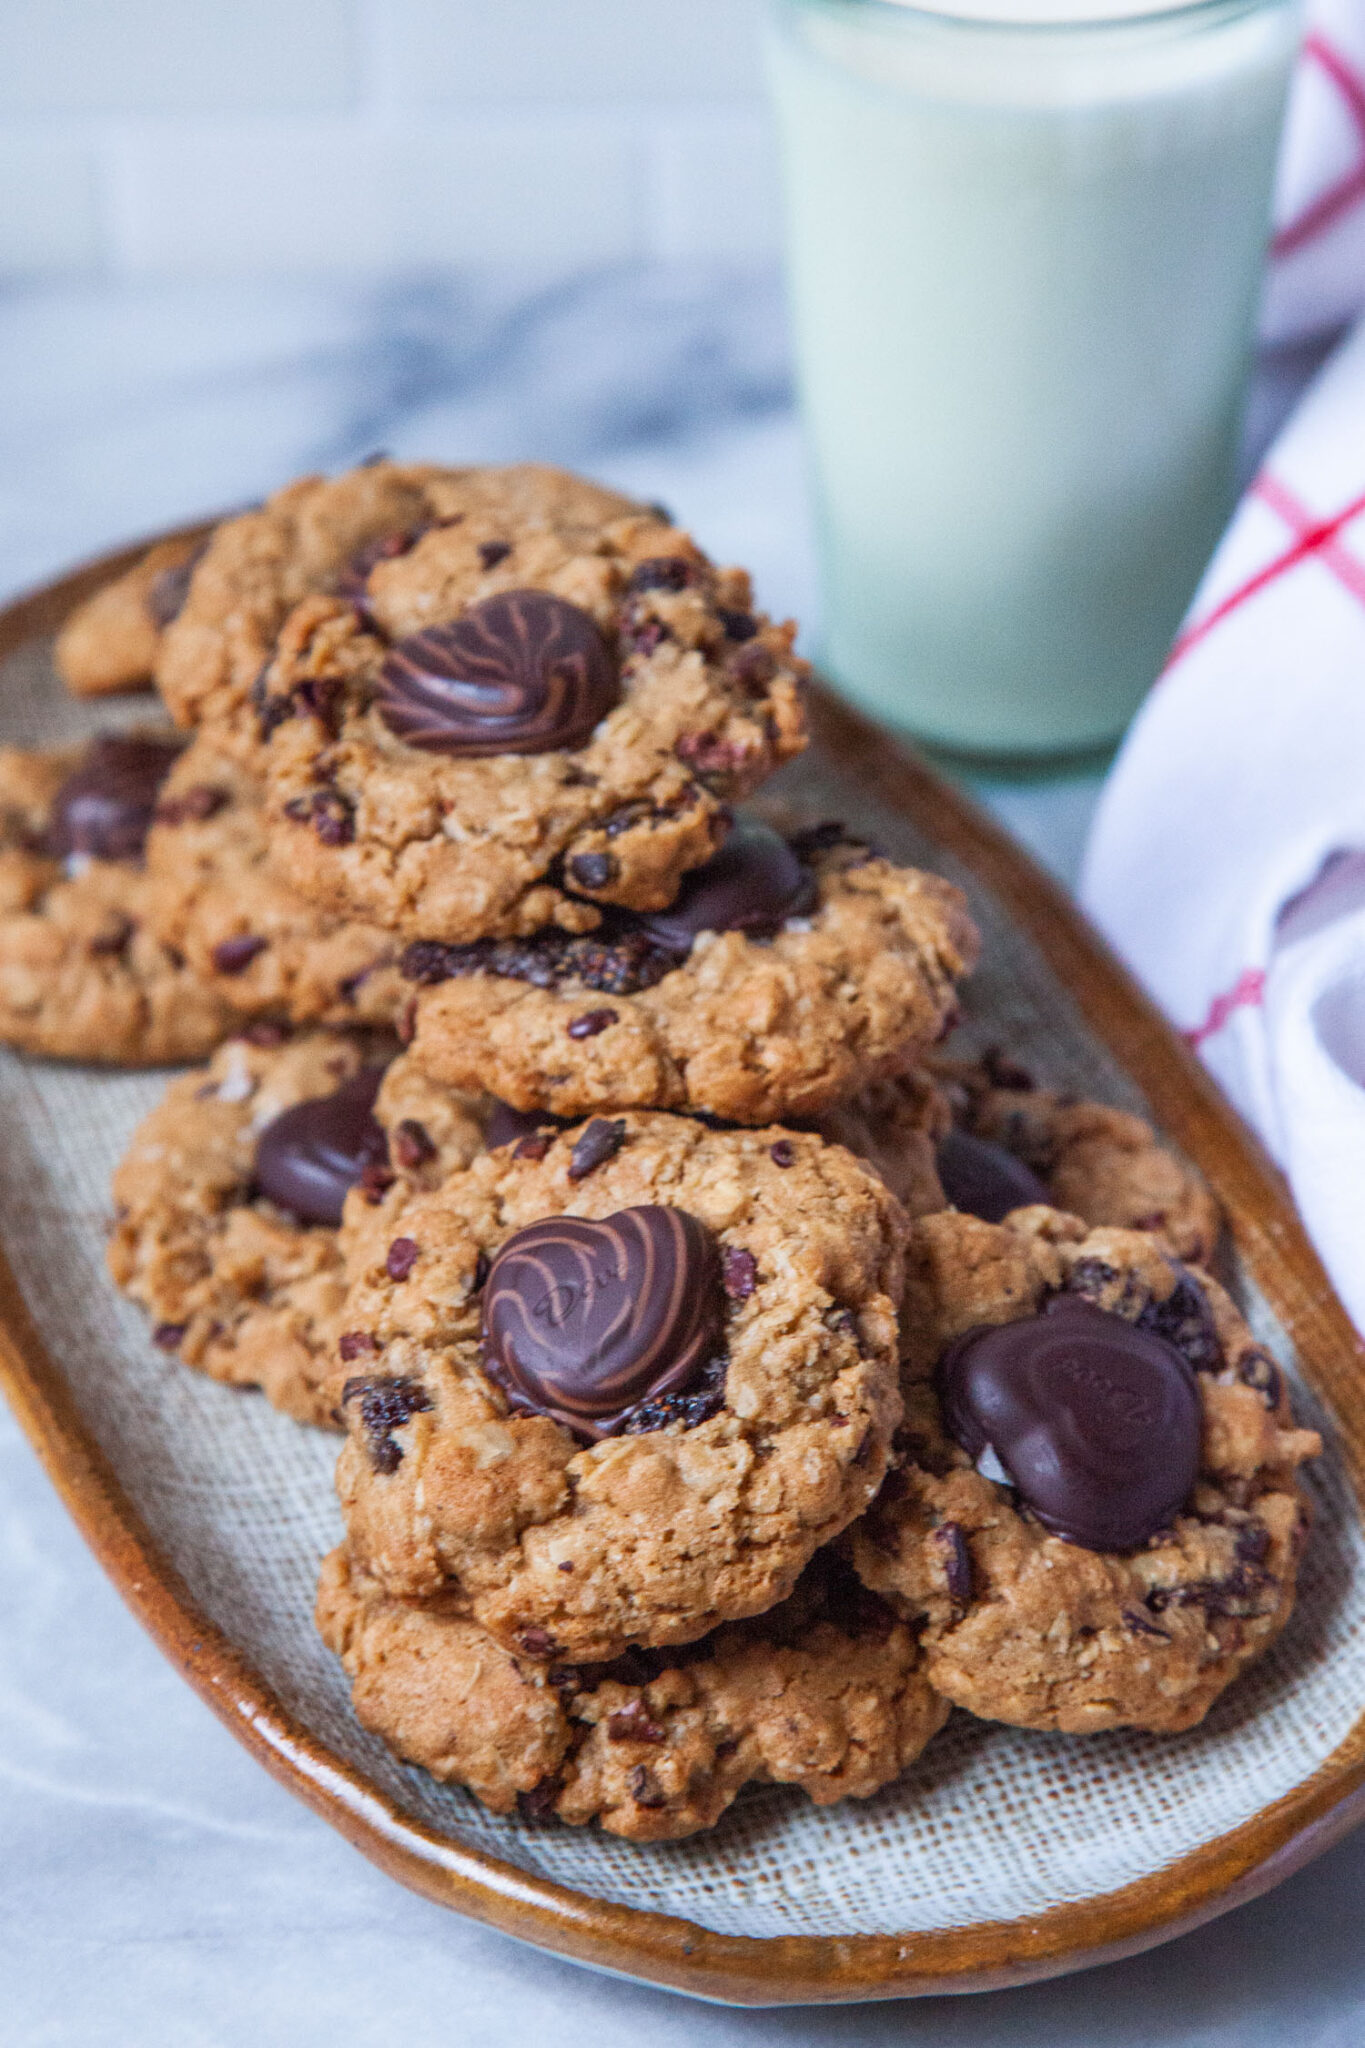
These oatmeal dried strawberry cookies have cacao nibs and a chocolate heart in the center, creating a beautifully but easy to make treat!
Valentine’s Day is around the corner, and though I will use basically ANY DAY as an excuse to bake a chocolate dessert, I’ve mellowed a bit in my years. I don’t need to do an intense chocolate dessert like easy fudge brownies, my Texas sheet cake, or my bakery-style chocolate chips cookies. I still like to occasionally make my strawberry chocolate cheesecake, but less often than I used. And of course, my grilled chocolate and strawberry sandwiches are a simple and delightfully quick dessert.
But this year I decided to do a riff on my classic oatmeal raisin cookie, but Valentin-ize it, by swapping the raisins with dried strawberries, adding in a healthy dose of cacao nibs, and placing a chocolate heart on top after it’s been baked, just like my secret ingredient peanut butter blossoms. Once cooled my husband immediately ate three of them. In an effort to not have as many in the house, I gave a few to my friend Lisa Lin and her husband Chris, who I met up with the next day. She texted me on the drive home, telling me the cookies were delicious and started asking me what was in them. Here’s the recipe, now get back to watching the road Lisa!
How to make these cookies
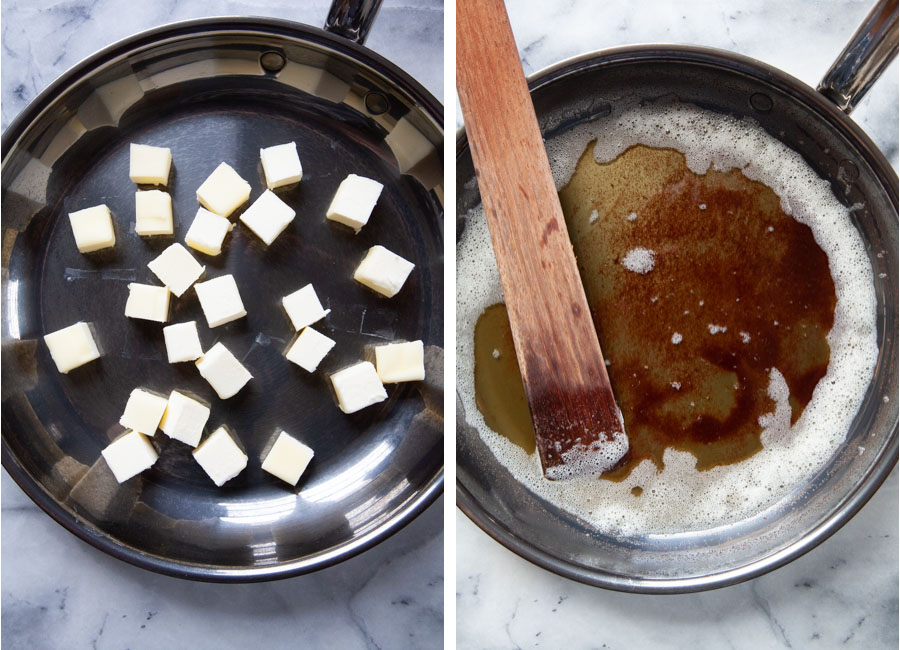
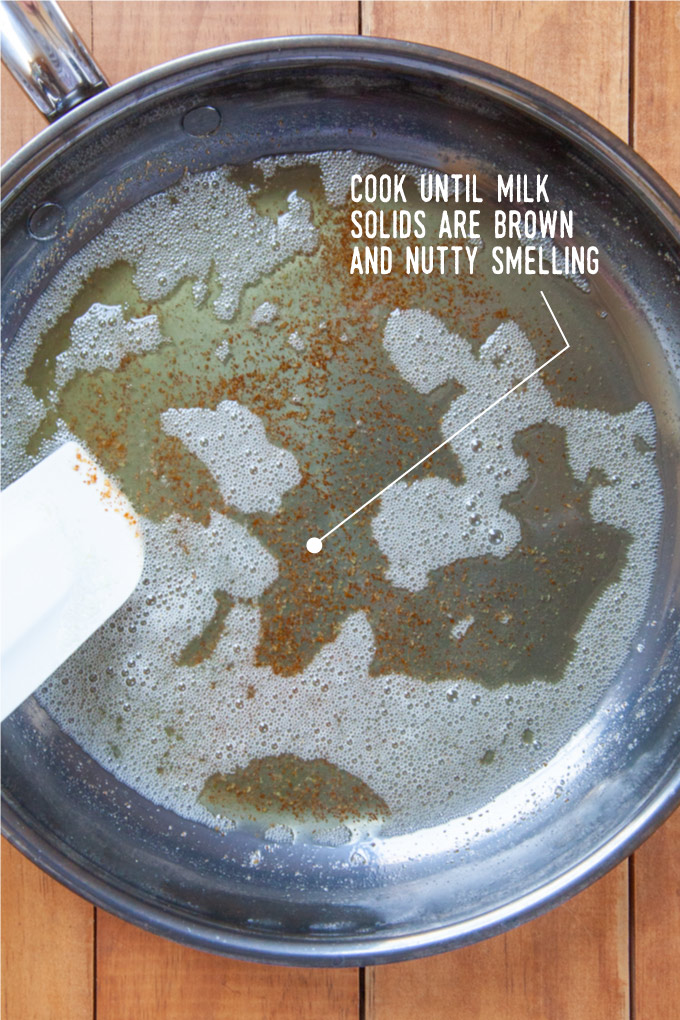
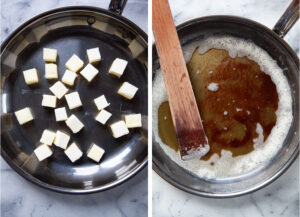
These cookies look and sound complicated, but they aren’t difficult to make! The first step is to brown the butter. I have a whole section below with tips and tricks on how to do this! But if you’re familiar with the process, just place the butter in a skillet and cook until the milk fats have browned and smelly nutty. Then pour the browned butter into a heatproof bowl and refrigerator for 30 minutes, until solid.
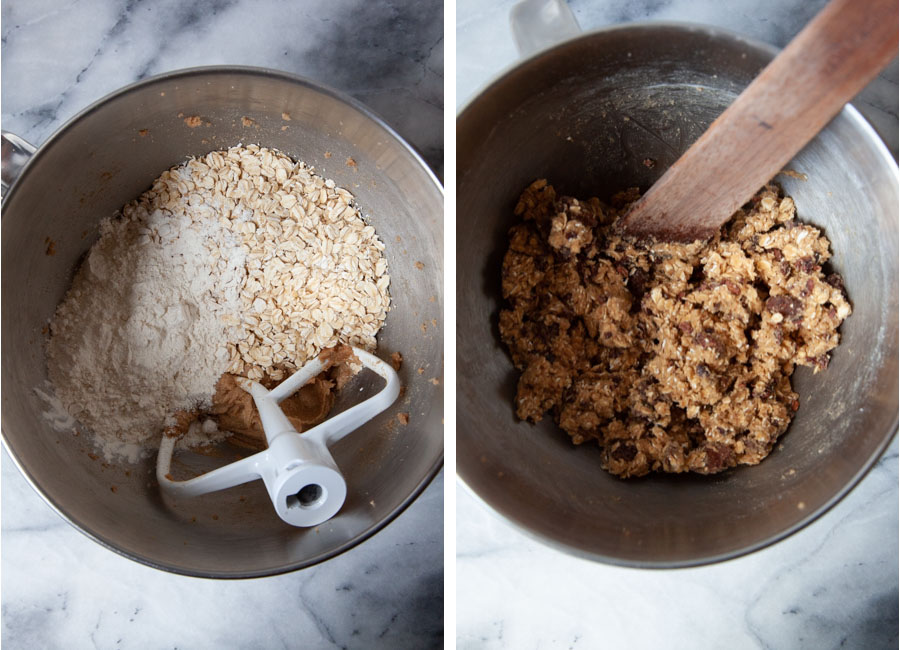
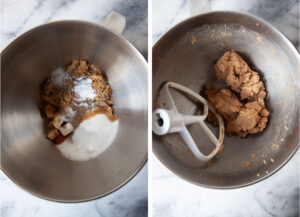
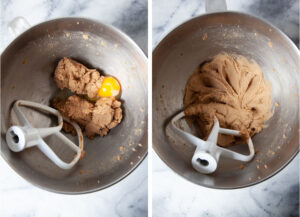
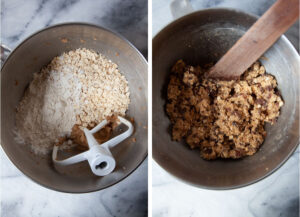
Once the butter is solid, scrape it into a mixing bowl, add brown sugar, white sugar, vanilla, baking soda, salt, cinnamon, and black pepper to it. Mix until you have a uniform paste, then add an egg. Mix and then add rolled oats and flour and combine. Then hand mix in dried strawberries and cacao nibs.
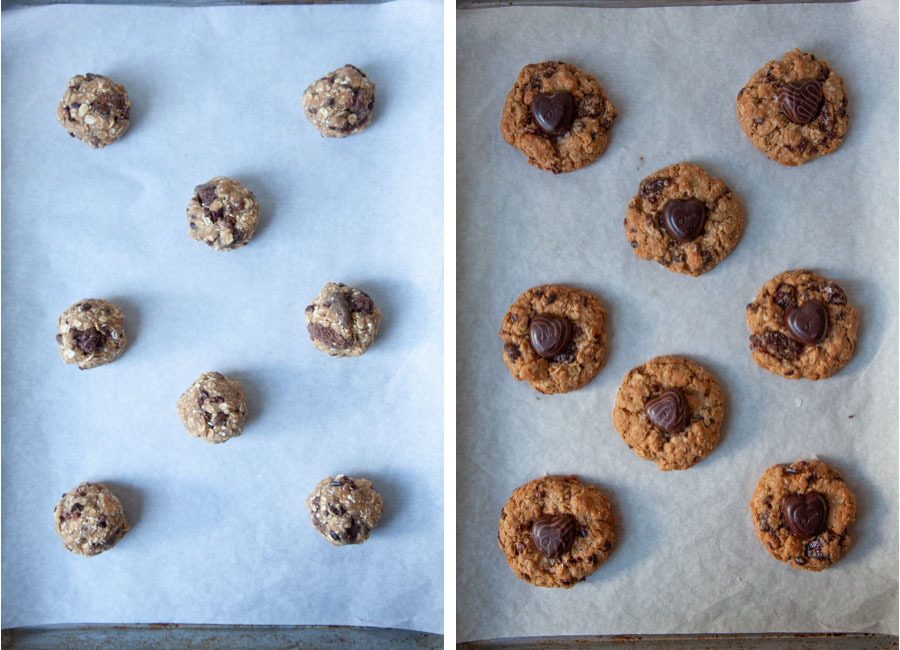
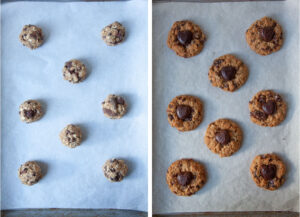
Roll into balls about the size of golf balls, sprinkle a little salt on them, and bake. Once baked, while the cookies are still hot, place the chocolate hearts on each cookie!
How to make brown butter
Browning butter can be intimidating for folks who have never done it before. The idea of brown butter is you are both driving off the water from the butter (American-style butter is anywhere from 17 to 20% water) as well as browning and caramelizing the solid milk fat, giving the butter and extra boost of flavor! Here are few tips on browning butter.
- Use a silver or light-colored pan: If you’ve never made browned butter before, I highly recommend using a silver bottomed or light-colored skillet or sauté pan. Most nonstick pans are dark, and that makes it hard to see the color of the milk fats, as they brown and caramelize. A light-colored pan means you can see the milk fats brown, allowing you to remove the pan before the fat burns.
- Use low heat: I recommend folks who aren’t familiar with browning butter to always use low heat. If you are more experienced, you can certainly use a medium to high heat, or you can just use a higher heat to melt the butter, and once the butter has melted into liquid, reduce the heat to low. It will take longer for the milk fat to brown, but you’ll have much more control over the pan and lower heat is more forgiving in terms of time. You have more leeway to remove the pan from the heat and not burn the butter.
- Stir constantly: Pick a heatproof utensil, like a silicone spatula or wooden spoon, and stir constantly. Keep in mind that most butter, especially the American style butter, will bubble, boil and foam a lot. This is the water being released and boiling off from the butter. You want to constantly stir to not only make sure all the milk fat heats consistently, but also to push aside this foaming so you can see the milk fat as it starts to solidify and brown.
- Remove pan from heat right when you see browning or smell nuttiness: If you’re still uncertain about browning butter, the minute you see any browning at all, or you smell any nuttiness, just remove the pan from the heat. Let the residual heat of the pan continue to cook the butter fat. If you need to “nudge” the fat to become more brown, you can always place it back onto the stove heating unit on low, cooking it a little bit more. But you can’t reverse the process if you blacken or burn the fat. You have to start over.
- Use your sense of smell: Finally, definitely make sure to smell the butter as you cook it! Sometimes it’s hard to see the milk fat brown, especially if your butter is foaming a lot, or you are using a dark colored pan. If you start to smell nuttiness, the butter is starting to brown. Remove the pan from the heat, stir it a bit to move the foam around, and take a look to see if the milk fat is golden brown. Using both your nose and your eyes is a great way to check on your brown butter.
Easy swaps and substitutions
- Brown Butter: If you find making brown butter too intimidating or are short on time, just skip browning it and use room temperature butter in its place. The cookies won’t taste quite as great, but they’ll still be fantastic.
- Dried Strawberries: Dried strawberries can be challenging to find but I’ve occasionally found them at Trader Joe’s, Costco, and online (affiliate link). They’re totally worth tracking down, but if you can’t find them, or don’t feel like searching for them, try swapping out dried cherries or dried cranberries. Don’t use freeze-dried strawberries or freeze-dried fruit though. You want soft and pliable dried fruit, not hard freeze-dried fruit that will break in half or turn to powder when crushed.
- Cacao Nibs: Roasted cacao nibs can be found at natural food stores, upscale grocery stores like Whole Foods and online (affiliate link). They’re basically crushed roasted cocoa beans and have a nutty bitter chocolate flavor. I like to use them because they’re a great way to add an extra boost of chocolate (without more sugar) and they are typically allergen friendly (they add texture and nuttiness without adding any actual nuts). But if you can’t find cacao nibs or don’t feel like buying them, feel free to either omit them, or swap them for a chopped nut like pistachios, pecans or walnuts.
- Chocolate Hearts: I made these for Valentine’s Day, so I used Dove’s chocolate hearts for these cookies. But you can use any chocolate hearts you find at the grocery store, like Hershey’s or Ghiradelli’s. If you don’t want to use hearts or it’s not the season for hearts, feel free to unwrap and use Dove chocolate squares, chocolate fèves (which are the chocolate baking disks that upscale chocolatiers use), Hershey’s kisses, or just chopped squares of chocolate that are roughly 1 -inch in diameter.
- Spices: These cookies have a touch of cinnamon and fresh ground black pepper to the dough. Just enough to give the cookie an added dimension. But feel free to omit these spices if you wish. Or play around with your own favorite spice. Some of my favorites that play well with oatmeal, strawberries, and chocolate include cardamom, ginger, nutmeg, ground chili and cayenne (not chili powder blend), and allspice.
How to store these cookies
Store these cookies in an airtight container for up to 5 days at room temperature. You can also freeze these cookies. Place them on a cookie sheet or baking sheet in a single layer in the freezer for 2 hours, or until they are frozen solid. Then stack them in an airtight container or in a Ziploc freezer resealable bag for longer storage. Cookies will stay fresh for up to 2 months in the freezer. Just thaw to room temperature before serving.
If you like these cookies, you’ll love these cookie recipes:
- Pumpkin Oatmeal Dried Cranberry Cookies
- Monster Cookies
- Brown Butter Blondies
- Chewy Ginger Molasses Cookies
- Miso Peanut Butter Chocolate Chip Cookies with Crystallized Ginger and Black Sesame Seeds
- Sourdough Chocolate Chunk Cookies, with rolled oats
- Hot Chocolate Cookies
- Chocolate Salted Caramel Cookies

Oatmeal Dried Strawberry Cookies with Cacao Nibs and a Chocolate Heart
Ingredients
Cookie Dough
- 1/2 cup unsalted butter 115 g or 1 stick
- 1/2 cup packed dark brown sugar 110 g
- 1/2 cup white sugar 100 g
- 1 teaspoon vanilla extract
- 1/2 teaspoon baking soda
- 1/4 teaspoon kosher salt
- 1/2 teaspoon cinnamon
- 1/4 teaspoon fresh ground black pepper optional but recommended
- 1 large egg
- 1 1/2 cups rolled oats, regular or thick-cut, not quick cook 165 g
- 3/4 cup all-purpose flour 105 g
- 1/2 cup dried strawberries or dried cherries, 85 g
- 1/4 cup roasted cacao nibs 35 g (swap chopped nuts if you want)
To finish
- Pinch of flaky salt like Maldon or sea salt (optional but recommended)
- 16 chocolate hearts or other 1-inch in diameter chocolate
Instructions
- Preheat the oven to 350°F. Line a baking sheet with parchment paper or silicone baking mat.Brown the butter by cutting the butter up and placing it in a medium-sized skillet or saute pan. Cook the butter on high heat until it melts, then reduce the heat to medium low. Continue to cook, stirring constantly, until the solid milk fats start to brown and smell fragrant. Immediately remove from heat and pour into a heatproof bowl or container, scraping out all the brown bits. See my section above on tips on browning butter. Refrigerate the bowl of browned butter for 30 minutes, or until it is solid.

- Once the butter has cooled and solidified, scrape it into the bowl of a stand mixer fitted with a paddle attachment. Add the brown sugar, white sugar, vanilla extract, baking soda, salt, cinnamon, and black pepper. Mix the ingredients on low speed, until the ingredients start to blend, and then increase the speed to medium. Mix together until all the ingredients are creamy and uniform in color, about 1 to 2 minutes.
- Add the egg, and mix to incorporate, scraping down the sides halfway.
- Add the rolled oats and flour to the bowl, and mix on slow speed, until the dry ingredients are incorporated.Add the dried strawberries and cacao nibs to the bowl. You can blend these ingredients in on low speed, but I like to hand mix them in, to prevent the strawberries from being smushed too much or the cacao nibs breaking up. Plus when I do it by hand, I have more control and can make sure all the ingredients are evenly distributed.
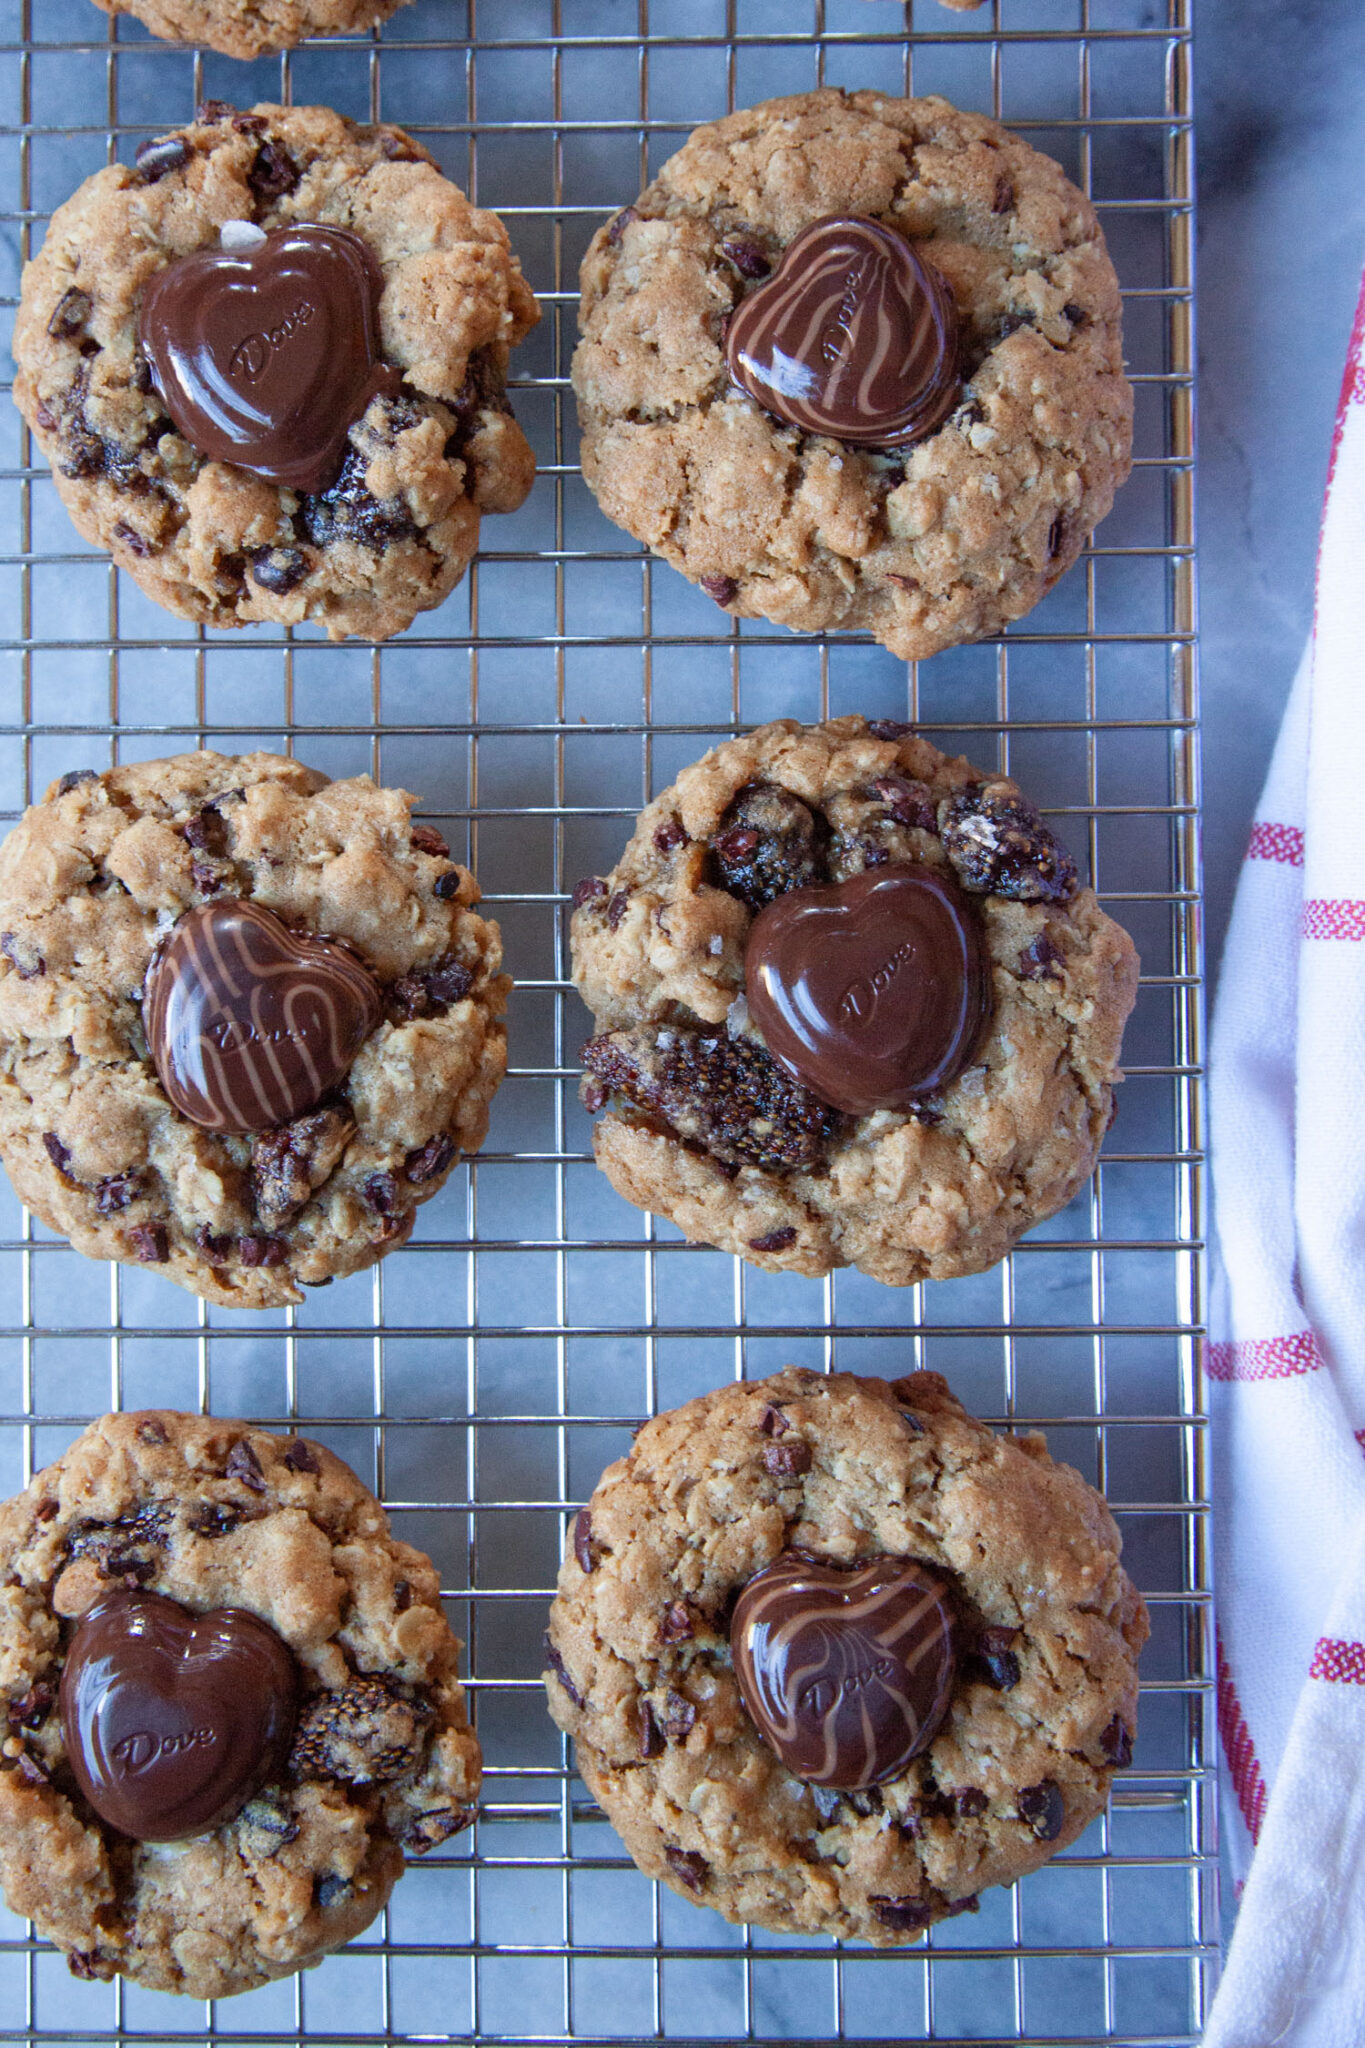
- Once the dough is made, portion out golfball-sized balls of dough. If you have a scale, this is about 45 to 50 grams of dough per cookie. Roll up 8 cookies and place them staggered on the baking sheet. Sprinkle each cookie dough ball with a pinch of sea salt if you wish.Bake for 12 to 14 minutes, or until the cookie is golden brown around the edges. While the first batch of cookies are baking, unwrap 8 chocolate hearts (I used Dove brand chocolate hearts). When the cookies are done baking, take them out of the oven and place each heart in the middle of the still warm cookie. The heat of the cookie will melt the chocolate slightly, adhering it to the cookie. Let the cookies cool for about 4 to 5 minutes on the baking sheet, then carefully move them to a wire cooling rack. Let cool completely before serving (the chocolate will turn shiny, then dull a bit after the cookies and chocolate have cooled completely).Repeat this process with the remaining cookie dough and chocolates.
Jhon Kamla says
A delicious and amazing recipe brings together fresh ingredients and rich flavors for a perfect dish. Whether it’s a hearty meal or a sweet treat, the right balance of spices and textures makes it unforgettable. Simple yet flavorful, every bite is a delight to the taste buds. Cooking with love and creativity turns any recipe into a masterpiece!
elonmakmalon says
Whether it’s a hearty meal or a sweet treat, the right balance of spices and textures makes it unforgettable block blast free.