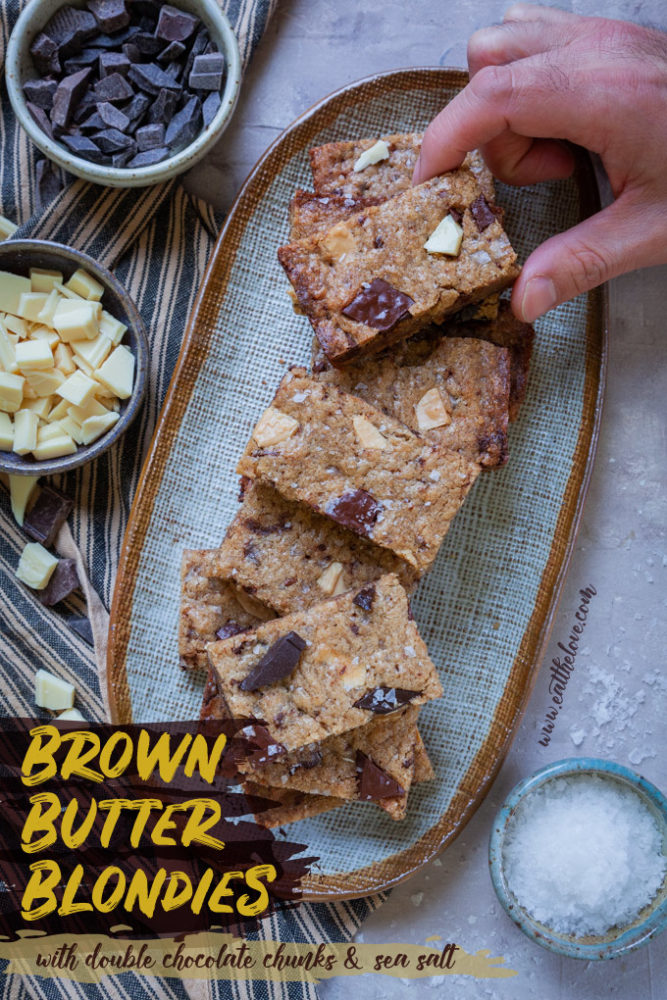
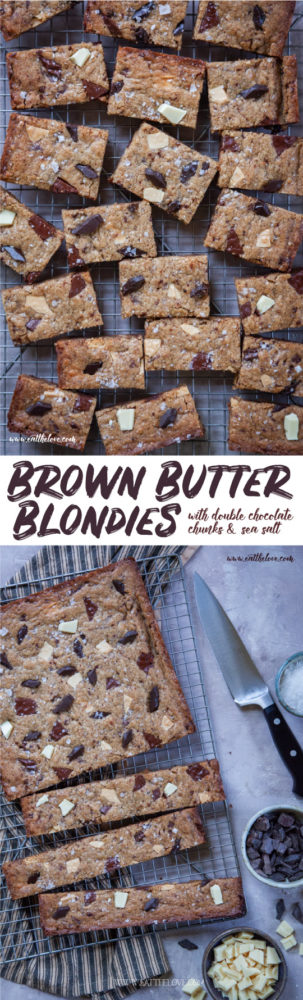
These Brown Butter Blondies are an easy-to-make chocolate chunk cookie bar that have an incredible depth of flavor from browning the butter beforehand!
I’ve long loved my friend Michelle’s blog Hummingbird High. I met her years ago in Portland, before she moved to San Francisco where we did not hang out together (I don’t know why that is, probably because we were both insanely busy), and then she left SF to move to New York and then when she moved back to Portland. In short, I knew her before she moved three times! And in that time I’ve watch her explode into the Rockstar that she is. Ever since she announced her cookbook Weeknight Baking (<-affiliate link), I’ve been anxiously awaiting it. And it Did. Not. Disappoint. I immediately wanted to make every single recipe but ended up making the Brown Butter Blondies because blondies and baked bars (like my apple pie bars, salted caramel bars, brookie bars, and hermit cookie bars) have totally become a holiday tradition.
In fact, as I was baking these intensely rich bars, my partner AJ crept into the kitchen and said “it smells like the holidays now!” because somehow chocolate chip cookies and brown butter just equate the holidays to him. I’m not disagreeing with him, but it does make me wonder if I should start making brown butter more often because it should NOT be limited to the holidays. It’s like the secret weapon of baking!
Which is why I adore how Michelle incorporated it into Weeknight Baking, which is exactly what it sounds like, uncomplicated baking that can be done after a hard day of working. I adore that concept as I have my own habit of making things OVERLY COMPLICATED just because I like to make my life difficult. But Michelle streamlines and simplifies and for anyone that is looking for accessible baking recipes…this book is for you! Go put it on your Christmas list, and if you don’t get it from Santa, be sure to buy it for yourself anyway.

What is a blondie?
Blondies are the “blond” equivalent to brownies where the cocoa is omitted and you add a health amount of vanilla! Basically, they are cookie bars, and can include additions like chocolate chips and nuts. Congo bars, which is what I make pretty much every year, are blondies! Don’t confuse blondies with white chocolate brownies though. That’s a delicious different creature, and I have a few versions of those on this blog as well, including a strawberry swirled white chocolate brownie and a white chocolate green tea brownie.
How do you make Brown Butter Blondies
First you make the brown butter on the stove by melting the butter and letting the milk fat turn golden brown. Then you place brown sugar, vanilla, salt, and a dash of nutmeg in the bowl of a stand mixer. Add the brown butter and mix until everything is incorporated and uniform. Add the eggs, one at a time, and then the flour. Stir in the chopped chocolate, sprinkle with some flaky sea salt and bake!
Though this recipe is pretty close to Michelle’s original recipe in the book, I did do some adaptations to it, including adding a little nutmeg (just enough to boost the nutty buttery-ness of the brown butter) as well as using a mix of chopped chocolate and a healthy sprinkle of the flaky salt. Michelle’s recipe is awesome as is though! You can find it in her book.
What is brown butter and how do you make it?
If you’ve never browned butter, it’s super easy! You basically just cook the butter on the stove, driving off all the water, and then cooking the milk fat so it turns golden brown. The main thing to remember when making brown butter is to watch it carefully, as it can go from golden brown to burnt super fast! Here are some tips on making brown butter if you have never done it before:
- If you can, use a pan that has a silver, white or light colored bottom. That way you can totally judge the color of the milk fat and make sure to stop before it is too late.
- Use hot heat in the beginning to melt the butter, but then reduce the heat to medium to low heat. It will take longer but if you’ve never made brown butter, it’s better to go slow and not too fast with the browning.
- The water and the butter tends to foam a LOT. So swirl and use a spatula to stir the butter as it cooks to get a good look at the milk fat as it browns.
- Remember to scrape the sides of the pan with your heatproof spatula. Milkfat tends to accumulate on the sides and can burn faster there.
- Remove the pan from the heat right as the butter starts to brown. Then let the residual heat of the pan to continue to cook the milkfat. If it’s not as brown as you’d like you can always return the pan back on the stove. But you can’t go backwards!
- Finally, if you have taken your brown butter right to the point where you want it on the hot stove and you haven’t removed it from the heat, pour the butter and scrape out all the brown bits into a heatproof bowl or glass measuring cup. This removes the brown butter immediately from the hot pan and stops it from cooking and potentially burning!

Why is there no baking soda or baking powder in the recipe?
Michelle omits leavening in this recipe which leads to a really dense and rich cookie bar. If you are looking for a blondie recipe that is slightly less dense, check out my congo bars recipe.
What chocolate is used in these blondies? What else can I use instead?
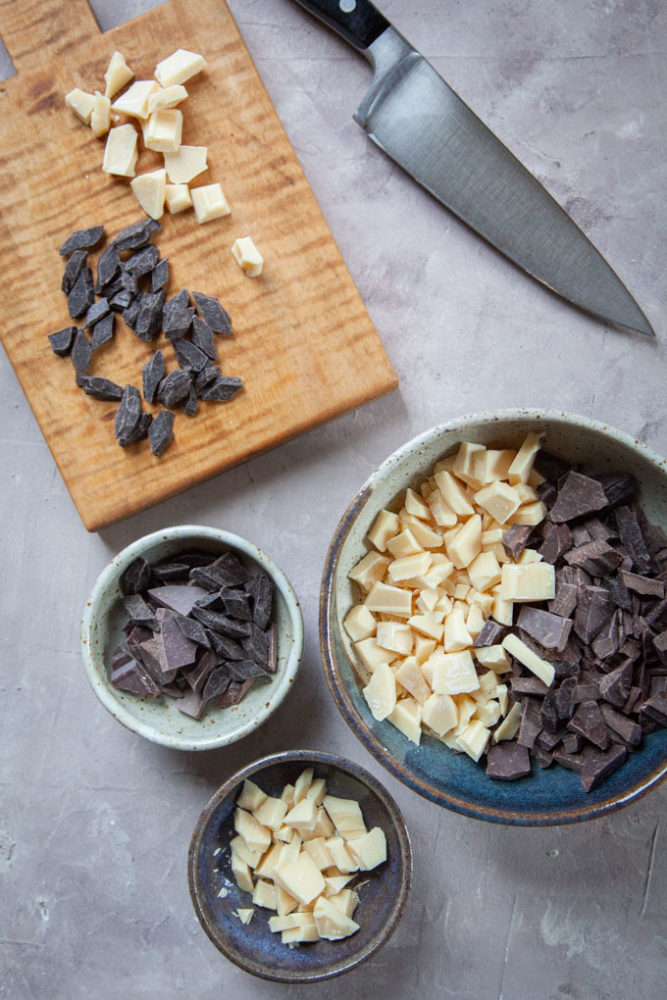
Michelle’s original recipe uses chopped white chocolate which caramelizes slightly in these bars. I opted to use a mix of white chocolate and dark chocolate in my version. But you can use whatever mix of chocolate you like, just as long as they total about 1 1/2 cups total! Here are some additions you can try to add to blondies to make them your own:
- Chopped chocolate, white, milk or dark
- Chocolate chips, white, milk, dark
- M&M candies
- Reese’s pieces
- Butterscotch chips
- Cinnamon chips
- Chopped nuts, like pistachios, walnuts, pecans or hazelnuts
- Roasted cacao nibs
- Sprinkles
- Dried fruit
- Crystallized ginger
- Chopped mini pretzels
- Lightly crushed potato chips

How do I store blondies?
Store the blondies in an airtight container or resealable Ziploc bag at room temperature for up to 3 days.
Can I freeze blondies?
Yes! You can totally freeze blondies. Just store them in an airtight container or a resealeable Ziploc freezer bag. The blondies will keep for up to three months.
Can I freeze the raw blondie dough?
The blondie dough is fairly fast to make but if you want to make it ahead of time and freeze it, you can. Just keep in mind the best way to freeze it is already pressed into a baking pan, so you need space in your freezer and a spare baking pan!
Place the entire baking pan in a giant 2-gallon freezer resealable bag and place it in the freezer. When you want to bake it, just take it out of the freezer and let it thaw on the counter as you preheat the oven. By the time the oven has come to temperature (about 10 to 15 minutes) the blondie dough will have partially thawed. Just bake your blondies a minute or two longer to accommodate the cold dough.
If you like these Brown Butter Blondies, check out some of these other brown butter treats!
- Bay Leaf, Brown Butter and Vanilla Chocolate Chip Cookies
- Pistachio Cranberry Brown Butter Cookies
- Brown Butter Chocolate Chip Cookies
- Open Faced Brown Butter Apple Pie
- Pumpkin Bundt Cake with Brown Butter and Bay Leaf

Brown Butter Blondies with Chocolate Chunks
Ingredients
- 1 cup unsalted butter 225 g or 2 sticks
- 1 3/4 cups packed dark brown sugar 385 g
- 1 tablespoon vanilla extract
- 1 teaspoon kosher salt
- 1/8 teaspoon ground nutmeg
- 2 large eggs
- 2 cups all-purpose flour 280 g
- 4 ounces white chocolate, chopped 115 g, about 3/4 cup, divided
- 4 ounce dark chocolate, chopped 115 g about 3/4 cup, divided
- 1 to 2 teaspoon flaky sea salt like Maldon, Sel de Gris or Diamond brand Kosher salt
Instructions
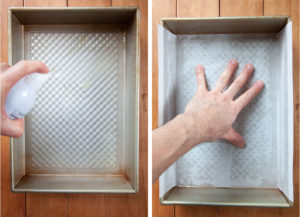
- Preheat the oven to 350°F. Lightly spray a 9 x 13 x 2 inch pan with cooking oil then line the pan with parchment paper.

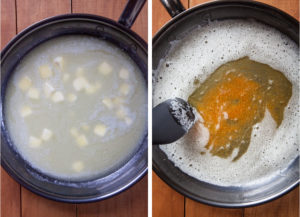
- Cut the butter into 1/2 inch chunks and place it in a large skillet or saute pan, preferably one with a light colored bottom. Heat the pan on high, until the butter has melted, and then reduce the heat to medium to low. Cook the butter, stirring and scraping the sides of the pan with a heatproof silicon spatula, until the milk fat starts to turn brown and starts to smell “nutty”. The butter will start to sputter and foam, so you’ll have to swirl and scrape the pan with the spatula to see the milk fat at the bottom! Once it starts to brown, remove the pan from the heat and continue to stir, letting the residual heat continue to brown the milk fat. If it’s not brown enough for you, return to heat to nudge it along a bit. Just be careful, as brown butter goes from brown to burnt black pretty fast!
- Once the butter is browned, set it aside to cool slightly (about 5 minutes). If the pan is still hot and the milk fat is the color you want, pour the butter and scrape out the brown bits into a heatproof bowl to stop the cooking.
- Place the brown sugar, vanilla, salt, and nutmeg in the bowl of a stand mixer fitted with a paddle attachment. Pour the butter into the pan (it’s ok if it’s still warm) into the pan and turn the mixer on medium low. Mix until all the ingredients are incorporated and uniform in color.
- Add the eggs one at a time, scraping down the sides of the bowl between additions. Add the flour and mix on low until absorbed.
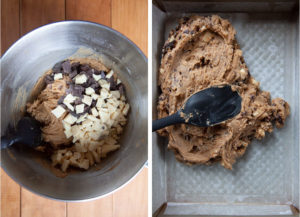
- Add about 3 1/2 ounces of each chocolate (reserving about 2 to 3 tablespoons of each chocolate for later) and mix on low until the chocolate is thoroughly incorporated and distributed evenly in the dough. Scrape the dough into the prepared pan and spread evenly into the pan with a butter knife, silicon spatula or offset spatula.
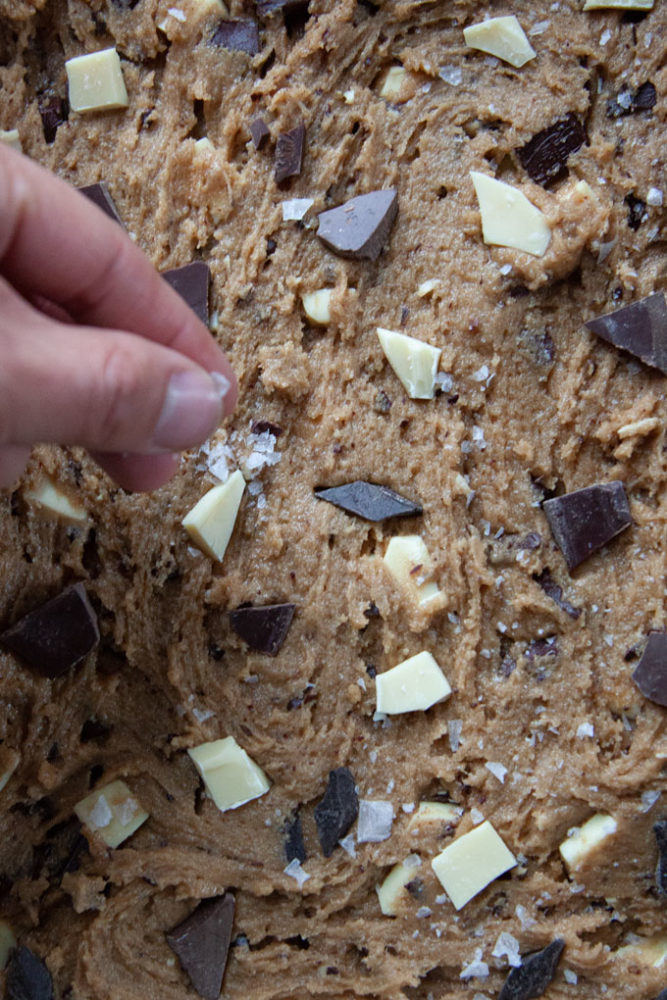
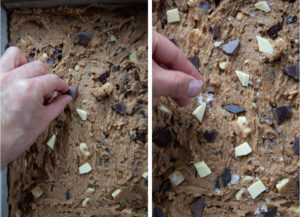
- Take the remaining reserve chocolate and push them into the top of the dough all over. Sprinkle the flaky salt over the top of the dough.
- Bake in the oven for 20 to 25 minutes, or until a toothpick inserted into the middle of the pan comes out clean with a few crumbs attached.
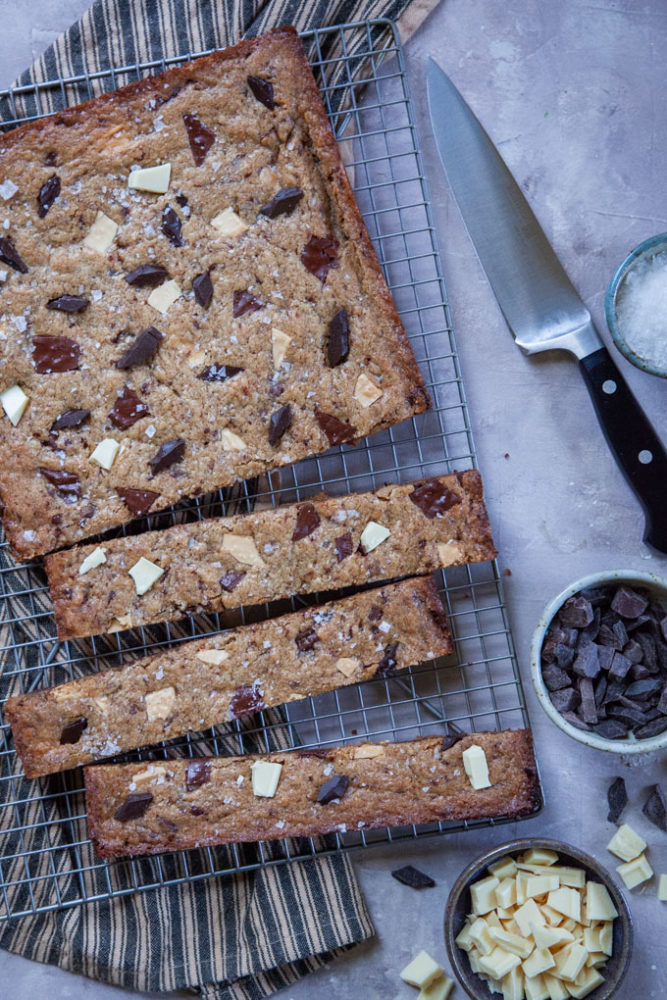
- Let the blondies cool completely in the pan on a wire rack, then lift the entire pan of blondies out using the parchment paper. Remove the paper and cut the blondies into 1 x 2 inch bars.


michelle @ hummingbird high says
irvin!!! thank you for baking from my book; i love the detail you included in this post, too. i can’t believe we’ve known each other for so long!!! xo
Claudia says
I’m here because my son and grandson want chocolate chip cookies for Christmas. What?! With all the Christmas cookies in the world! But I knew there had to be a better way, and you would have it! The last time I made these, it was like I had crack in the kitchen! These will rock their world! Thank you ever so much! And Happiest of Holidays to you and AJ! ❤️