This luscious summer fruit jam is bursting with flavor while the touch of rosemary tempers the jam’s sweetness. (Jump directly to the recipe.)

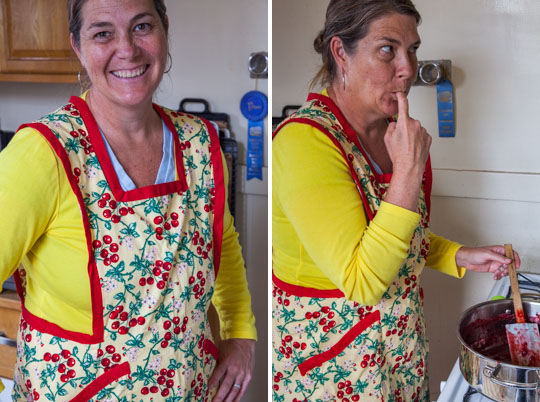
“Hey are you planning to make plum jam this season? Can I tag along for a team jam session?’ texted my friend Tina. I had given her a batch of my vanilla and bay leaf plum jam from last year (a variation of my lavender plum jam recipe) and she absolutely fell in love with it. I’m not a jamming expert by any means but I’m always happy to have an excuse to hang out with my friends. So I said “hell yeah!” and this time round, we made a batch of that vanilla and bay leaf plum jam as well as a batch of Strawberry Plum Jam with Rosemary that Tina declared was her “new favorite” jam!
AJ and I were heading out to New York in a week for me to speak at the big BlogHer conference as well to get a little downtime. So I dug around in my refrigerator and found a box of strawberries that needed to be used. Add the plums from my prolific tree in the backyard and the jam practically made itself. I had seen a version of this recipe in one of my favorite jamming books, The Blue Chair Jam cookbook, so I easily adapted it with for this jam session.
Tina, by the way, is a hoot. If you don’t follow her on twitter go check her out. She’s working on her first novel and I’m super excited for her. We meet monthly along with our friend Hadley, to chat about writing and to check in our progress for our individual writing projects. And occasionally to make jam, as one does in San Francisco.
Strawberry Plum Jam with Rosemary
By Irvin Lin
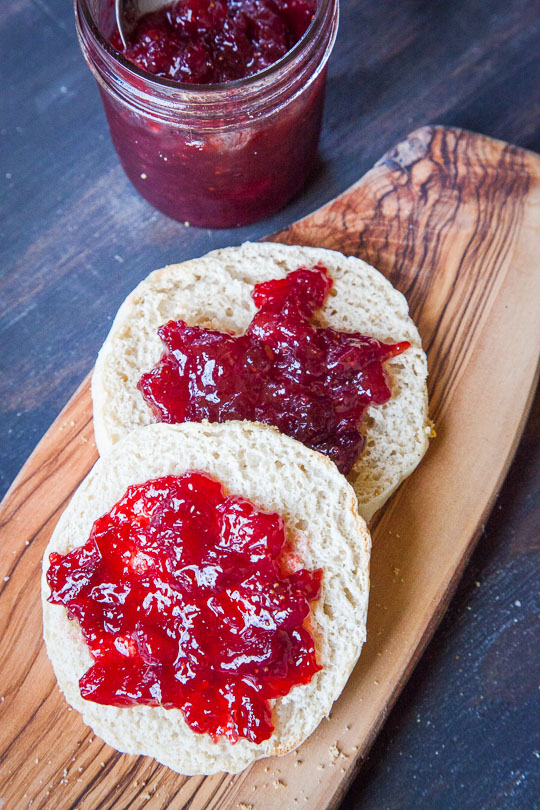
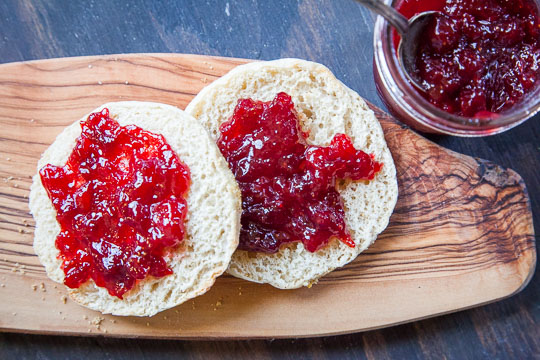
This luscious fruit jam is everything you want in a jam. Bursting with summer flavor, the touch of rosemary gives it an herbaceous note that tempers sweetness that is inherent in jam. Strawberries and plums are a perfect combination together. If you can, use a few plums or strawberries that are under-ripe, as they have more pectin in them, which helps the jam solidify. If, for whatever reason, the jam doesn’t jell properly, no worries, just use the resulting loose jam as sauce over cake or ice cream!
Adapted from The Blue Chair Jam cookbook recipe
Ingredients
3 pounds (1365 g) red plums (like Santa Rosa)
1 1/2 pounds (685 g) strawberries
4 cups (800 g) granulated white sugar
1/2 cup fresh squeezed lemon juice
2 to 3 sprigs of fresh rosemary
Directions
1. Cut the plums in half and pit each plum. Chop the plums into 1/2-inch chunks, leaving the skin on. Hull the strawberries by cutting off the green tops, discarding the green tops, then quarter each strawberry. Place all the fruit in a large non-reactive pot and add the sugar. Let the fruit sit in the pot for 30 minutes for the fruit to release some juice. In the meanwhile, place three metal spoons in the freezer.
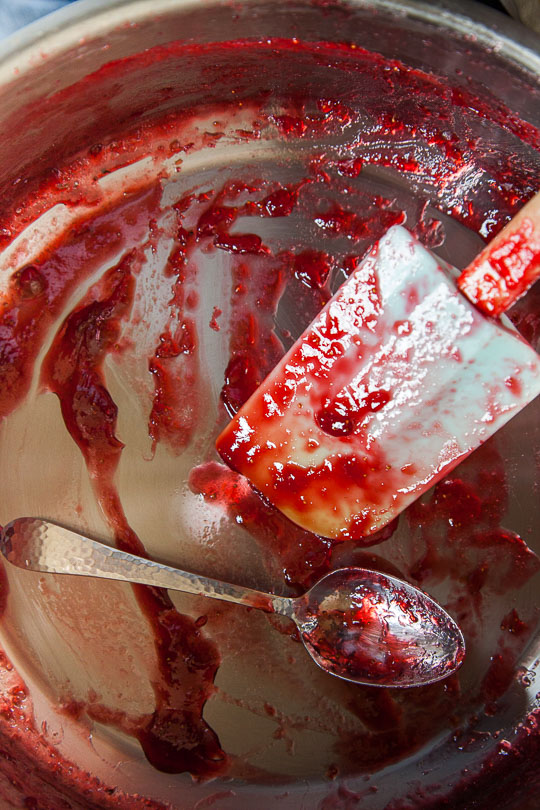
2. Add the lemon juice and stir in. Place the pot on the burner and turn it up to medium high, stirring until the liquid is boiling. Lower until the jam is simmering, and cook for about 30 to 40 minutes, stirring frequently. Once the jam starts to thicken, and resemble the viscosity of cold maple syrup, place a small spoonful of the jam on one of the cold spoons from the freezer. Place back in the freezer for 3 minutes. Take the jam out and press on the jam. If it is set and “wrinkles” then the jam is done.
3. Remove from the heat and add the fresh rosemary. Stir in, and let sit for 5 to 10 minutes, depending on how much rosemary flavor you want (you can taste it and if it’s not strong enough, leave it in for a few more minutes). Remove the rosemary and process the jam in cans if you want.
To can jam
1. Sterilize 6 half pint jars by first washing the jars, lids and rings in hot soapy water (or run them through a dishwasher). Place a wire rack in a large stockpot and fill it with hot water from the tap, enough to cover the cans by 2 inches. Place the clean hot jars inside the stock pot on the wire rack. Make sure they aren’t touching, cover and turn the heat up to bring the water to a boil. Once boiling, continue to boil for 10 minutes to sterilize the jars. Place the lids in a small pot filled with hot water and bring to a gentle simmer. Let them sit in simmering water but don’t let it boil. You can cover it to prevent the water from evaporating. Turn the oven on to 200˚F and place a large pan with a wire rack on it inside.
2. Once the jars are sterilized, turn the heat off and use your canning tongs to reach in and grab them. Pour the water back into the stock pot and place the jars on the wire rack in the oven. Do the same thing with the lids. I use a magnetic wand that is designed for this sort of thing but I’m fancy that way. You can just use tongs, just make sure they are rubber or silicon tipped not metal as you don’t want to scratch the lids. Close the oven and let them sit in the oven for 10 minutes or more to dry out.
3. Once the jam is done, pull the jars from the oven, turn the oven off and turn the heat on for the large stockpot full of water again and bring it to a boil. Fill the jars with the hot jam, leaving 1/4-inch headspace in each jar. Remove any bubbles you see in the jam with a toothpick. Make sure the edge of the jar is clean and dry and there isn’t any jam on it. Place a lid on top of the jar tightly, and then use a ring to close it (don’t tighten too much, just tight enough to keep the lids on).
4. Place the jars carefully in the boiling water for 10 minutes then turn the heat off and let sit in the water for another 5 minutes. Remove from the water and let sit on a wire rack to cool. The jars should seal with a satisfying ping noise as they cool and seal. Sealed and processed jars will keep on the shelf for 1 year. If a jar doesn’t seal let it cool to room temperature and stick it in the fridge for immediate use. Once open, the jam should be consumed within a month.
Makes 5 to 6 half-pint cans of jam.
Debbie says
Two of my favorite fruits! The color of this jam is just beautiful and the addition of rosemary must make for a flavorful jam. I can not wait to make some for myself.
Arthur in the Garden! says
Yummy!
Clare says
This sounds like a delicious combibation. I am on a bit of a jam-making spree at the moment and have just adapted your strawberry curd recipe so might give this a go next time some plums come my way…
Oana says
This has such a beautiful color! That bright red is so appealing!
Elke says
Why spoons in the freezer??
Irvin says
You want the spoons super cold so when you drop the plum jam to test, it will chill the hot jam to the point where you can tell if it is set or not.